Transport: A Junior Conceptual Transport Project by Mia Polcyn (2017)
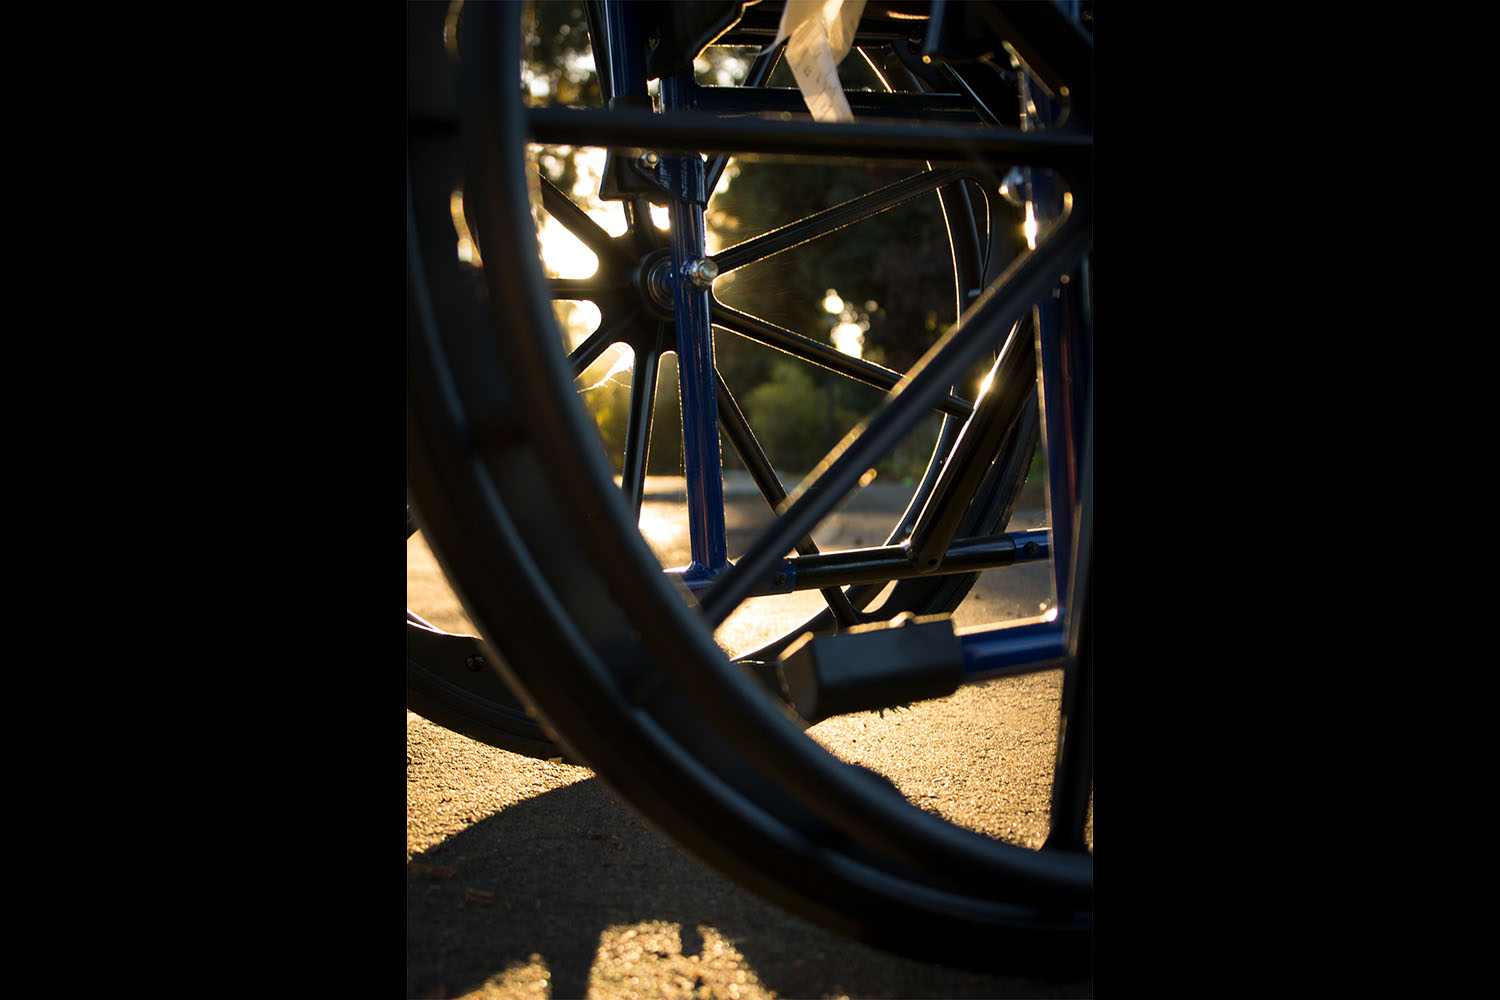
For my first project in Design, I chose to photograph a wheelchair as my non-motorized mode of transportation. Usually, we don’t pay attention to how these wheelchairs work or move, as we are constantly looking from above. Because we never truly see wheelchairs from a viewpoint that emphasizes its strength, I chose to photograph this object from the ground, peering through both wheels to examine the structure. I took these photos during golden hour, as I feel that this time of day provides the most satisfyingly warm color scheme and sharp shadows. The shadows further create contrast, which is important to bring depth into the image. I shot this photo with backlighting, so I could purposefully position the edge of the wheel in front of the sun, still allowing some rays to find their way through the wheels to create lens flares that add a nice touch to an image. I happened to be in a parking lot as the sun began to set, which was preferable as it provided a clean yet golden background. Because I chose to go to a park in order to take these photos, there were trees in the background that acted as a funnel for the sunlight. Also, it gave my photo a nice bokeh effect of greens and yellows with the low aperture I used. I was originally shooting on a tennis court, but as the sun set I noticed that the parking lot was still fairly lighted with a beautiful gold tint. It was not what I originally planned but the product was one I really enjoyed. In order to add depth and make it clear that the object was a wheelchair, I shot through one side of the wheels and chose to have the back set of wheels become my focal point. I believe that the use of depth in my photo pulls the viewer in, and prompts them to immediately look at the part of the photo where the sun hits the wheel.
In order to enhance my photo even more, I used Photoshop to adjust the colors and mood that I envisioned for the photo. I chose to play around with the temperature and hue until I achieved the warmth that I was looking for. Also, I used the quick selection tool to single out parts of my background that I wanted to desaturate in order to make the wheel stand out rather than the greens in the back. Because I shot in a parking lot under trees, there were a few random objects–sticks, leaves, etc.– that I wanted to get rid of. I used the healing tool to cover up parts of the photo that were distracting, in order to give the photo a very sharp and clean appearance. Through editing in Photoshop, I learned how to properly make accurate selections with the tools that would give me the best outcome. In addition, I furthered my knowledge of adjustment layers and how they may be used in order to add hue and saturation to an image. Altogether, the use of Photoshop’s tools and my camera settings, I was able to produce a composition that uses advanced elements of understanding and editing techniques that will assist me in my further experimentation with photography and Photoshop. I also learned that while and image may not turn out exactly how I envisioned, the product may be better than I could’ve hoped.