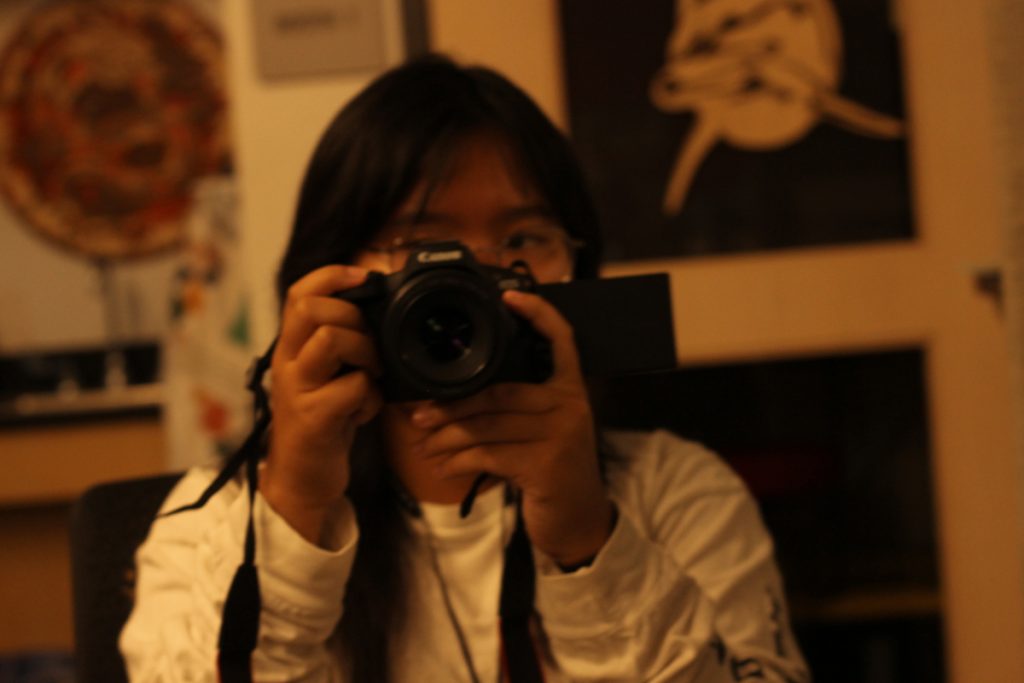
This semester in 2025, I worked on many projects across digital media, allowing me to express myself through music, video, film, and experimental photography. Throughout the course, I learned to work with advanced technological tools such as DSLR cameras, Tascam audio recorders, Adobe Photoshop, Adobe Premiere Pro, Adobe Audition, and WordPress. Gaining familiarity with these tools helped me discover new ways to communicate my ideas visually and sonically.
All of the assignments were conceptual projects, each built around an underlying artistic theme. These included a video reflection on an artwork I saw, a parody song that I wrote and performed, Photoshop-based image edits, DSLR photography experiments, a nature-based project where I found my name in the environment, and even a conceptual photograph designed to convey emotion and meaning.
My first major project combined English and digital media. In the English component, I explored my initial impressions of an artwork, focusing on my own interpretation rather than the artist’s intended meaning. In the media portion, I learned how to use Adobe Premiere Pro to turn my reflection into a video. At first, I wasn’t confident I could create something high-quality, but as I learned tools like the timeline, keyframing, adding text, and recording a voiceover, my confidence grew. By completing this project, I realized that I am capable of learning new technologies and using them to express myself creatively.
ART REFLECTION
During our SF MOMA field trip, we viewed artworks that we later reflected on through both English writing and Digital Media. My reflection focused on Adrian Piper’s Art for the Art World Surface Pattern, where I learned to write from raw emotion rather than only analysis. This assignment asked me to think conceptually and translate that feeling into a video using Adobe Premiere Pro. Artistically, I learned to focus on a few powerful images instead of every detail, and technically, I practiced editing tools like keyframing, text, and voiceover to support the tone I wanted. Overall, this project helped me grow as both a thinker and a creator, learning to express meaning through words, visuals, and sound together.
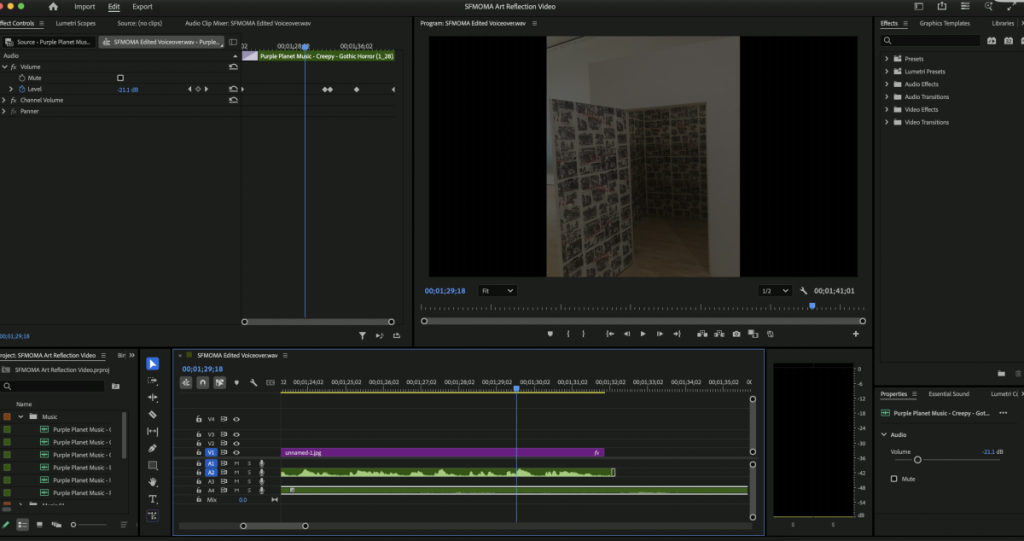
This is the Premiere Pro interface. Here you can see the video editing features that I used such as the timeline, and a key framing menu, adding texts, and adding my voiceover track.
In English, I was able to learn how to express my feelings of awe towards a work of art at the SFMOMA in a simple paragraph! And in Digital Media class, I learned basic Adobe Premiere Pro editing, such as importing footage, using different fonts, and creating text effects. Learning how to use these techniques is very important in the future, and not just in simple projects due for class, since our world is drifting more into the digital era. So I could be unstoppable.
PARODY INTRODUCTION
For the Parody Song Project, I had to choose a topic and rewrite the lyrics of an existing song, then sing and record my own version. At first, I was nervous about writing and especially about recording my voice, but the project ended up being fun and surprisingly rewarding.
The hardest part was getting comfortable with singing and hearing myself recorded. Once I picked a song I truly loved“Another Terrible Day” from the Percy Jackson musical, my ideas flowed more naturally. I first considered writing about the recording booth since it was new to me, but I switched to something more familiar and humorous: a parody about Costco. Using Adobe Audition, I edited the audio so it sounded like a conversation between two people rather than talking to myself, and by the end, I felt proud of what I made. Even if it felt a bit silly, it pushed me artistically and technically to try something new.
Artist Statement
Costco Has It ALL Because I love the humor and sarcasm in “Another Terrible Day” from The Lightning Thief Musical, I chose to make a parody of it. The original song is about Percy’s life being chaotic and full of misfortune, but I wanted to turn a “terrible day” into an unexpected one.
At first, I brainstormed situations that could be “terrible” but actually end up kind of awesome. After deciding on Costco, I listened to the original song to match the rhythm and tone. Then I started writing my own lyrics by imagining a conversation between two friends, one surprised and one amused about being left behind. I focused on keeping the rhythm casual, like how Percy’s tone is in the musical. What I valued most about the process of making this parody was how creative it can be to mix sound tracks and make a new one and still sound magical.
My message with my lyrics was about finding light when something goes wrong. In life, I think it’s important to see the good side of things, so I wrote my parody lyrics to show that perspective. I am most proud of how the dialogue style lyrics sound natural and playful, especially when I list things like “books of plenty” or “stoves that shine so bright.” It captures the mix of humor and positivity that I wanted to express. I hope listeners can realize that something small and silly could actually make you laugh and maybe even think differently about what a “terrible day” really means.
▶ Costco Has It all
⏸ Costco Has It all
Alicia Zhuang (Costco Has It all) October / 2025
A: Ur dad left you at Costco? B: Ya, but I liked it! A: You liked it? Why B: They had so many things there A: Like what B: Books of plenty, blankets that wrapped up nicely. Food that can last all ur life, and stoves that shine so bright A: What about technology? B: Oh they have that to. A: Really. B: Ya flat screen tv, and more A: So are u going to go back there B: Probably A: Really B: Ya
This is the audio editing software called Adobe Audition that I used to edit my vocals. I added some audio effects such as normalizing my audio witch made my singing louder, making the instrumental track quieter, changing parts of my audio to sound like someone else, and then adding fade ins and outs.
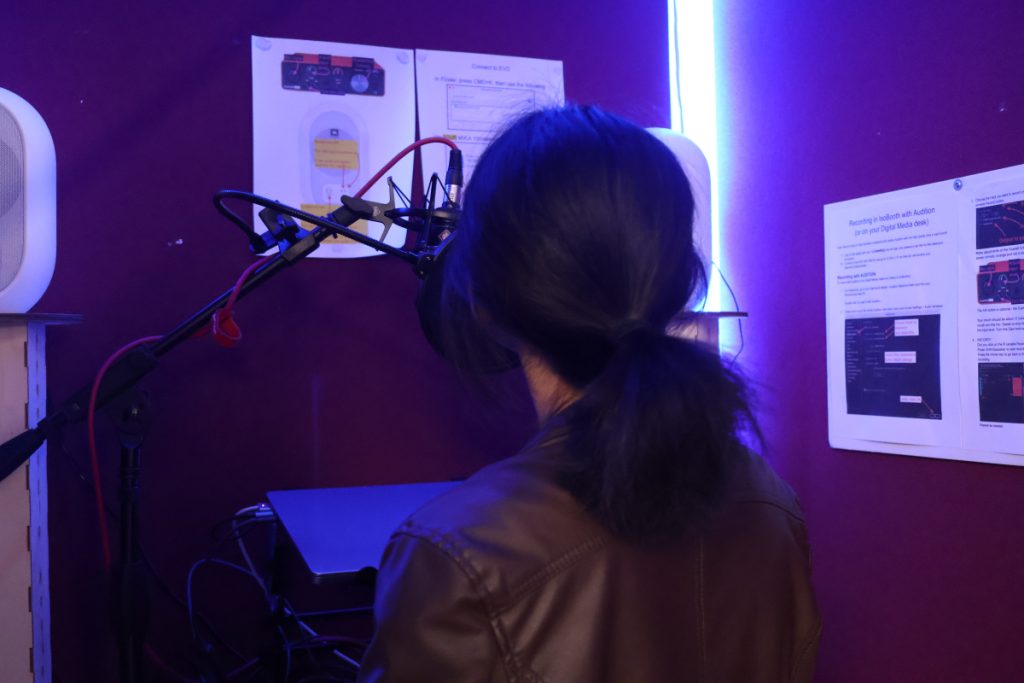
Behind the Scenes of recording the Parody. This is the recording room where I recorded our singing by using the microphone to record, and the laptop to save our track.
PHOTOSHOP BLEND MODE EDITING
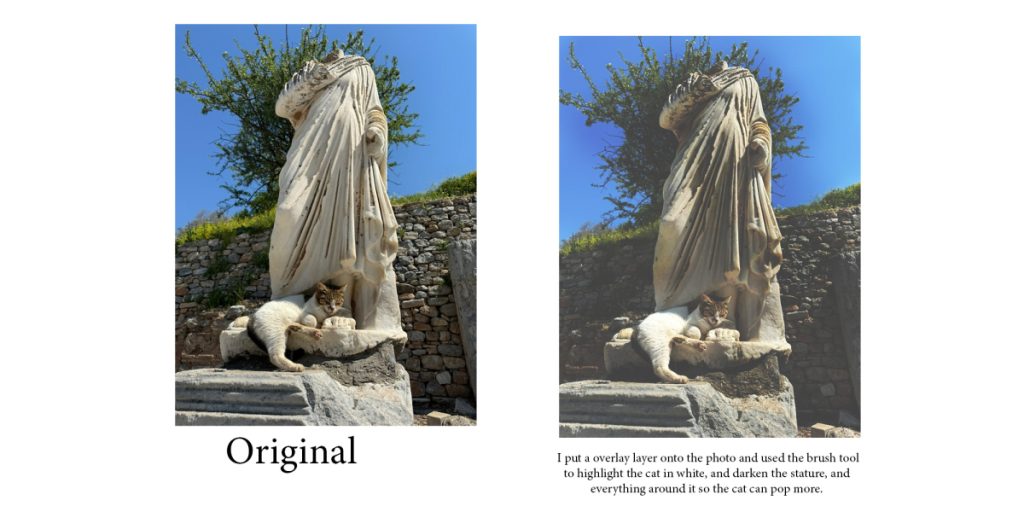
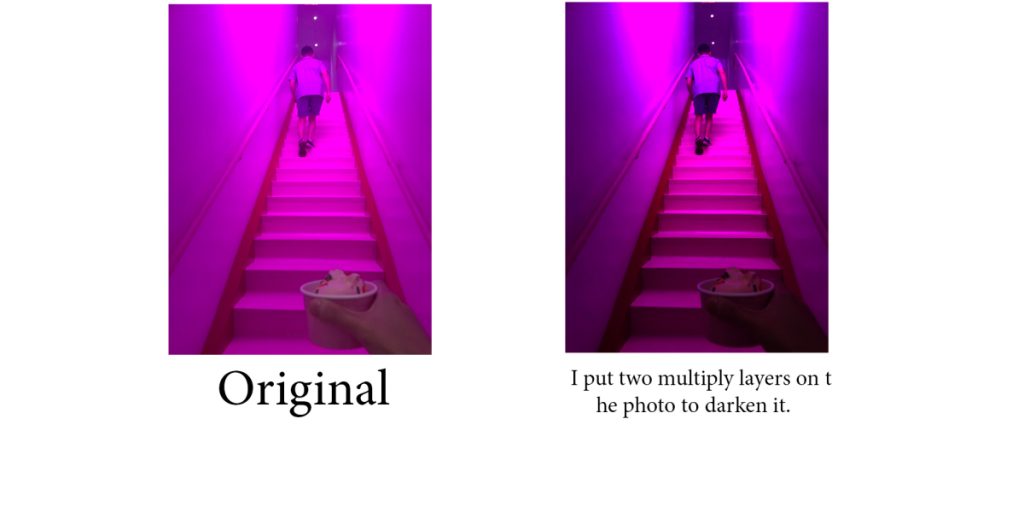
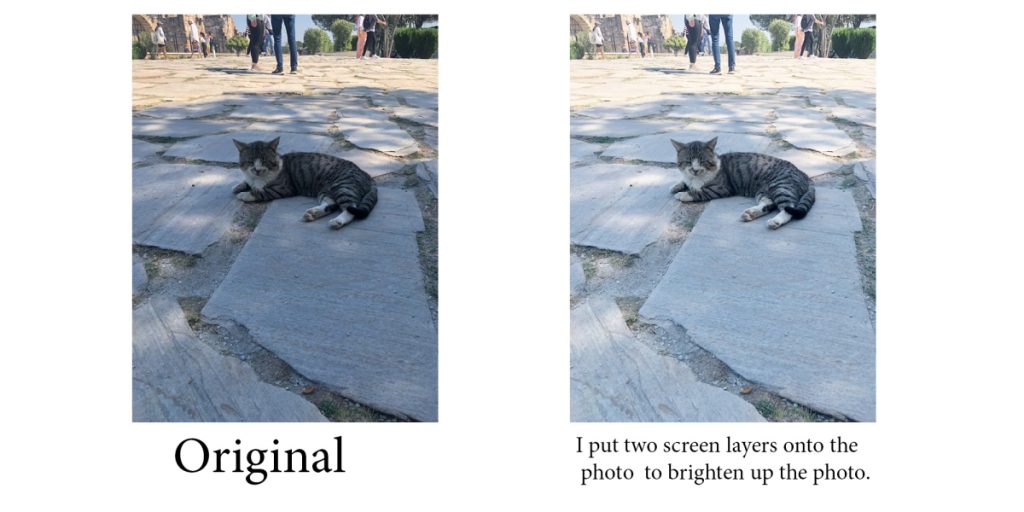
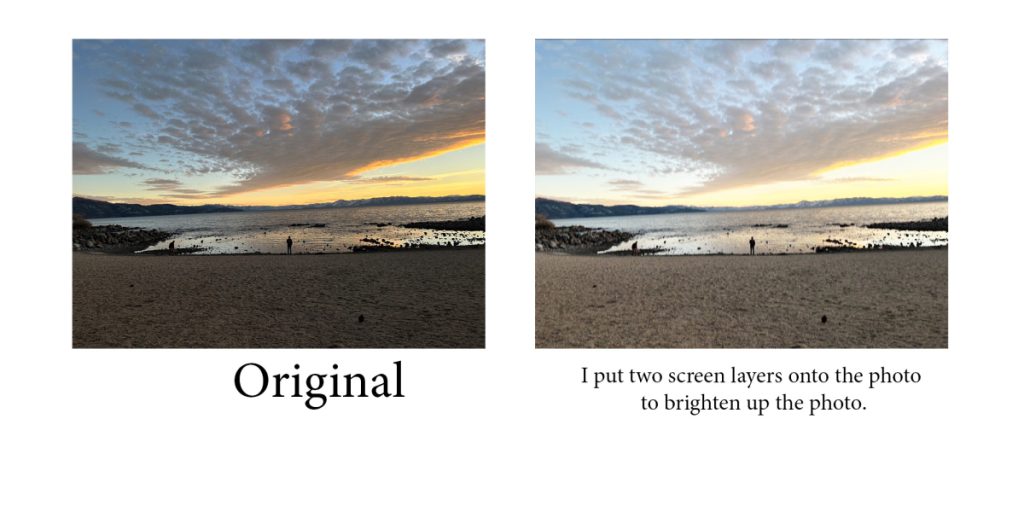
We did this project in photoshop which is a platform I use in both my design and digital media class. I was tasked to darken images, lighten images, lighten different parts of images, darken other parts of images, and layer images so the images look like one.
1)What do you value about learning about and creatively using Photoshop Blend Modes? I really value learning how to use the tool called Overlay because it helps me be creative when it comes to combining completely different pictures together.
2)How do you see yourself using your new Photoshop skills with your creative projects? I see myself using overlay a lot to make the most craziest realistic pictures.
DSLR PRACTICE PHOTOS
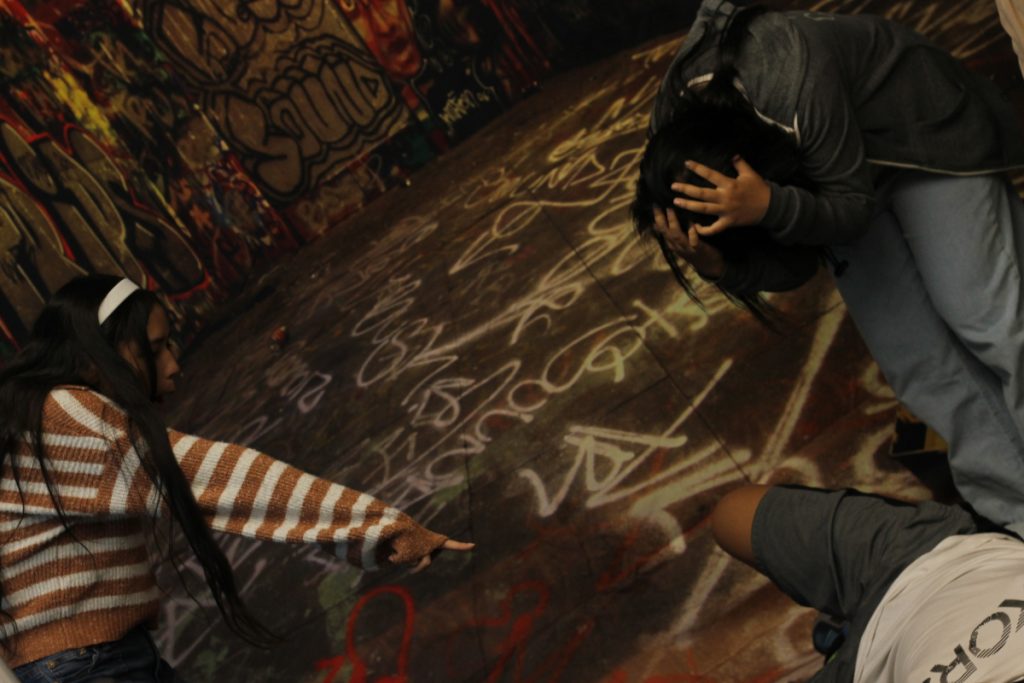
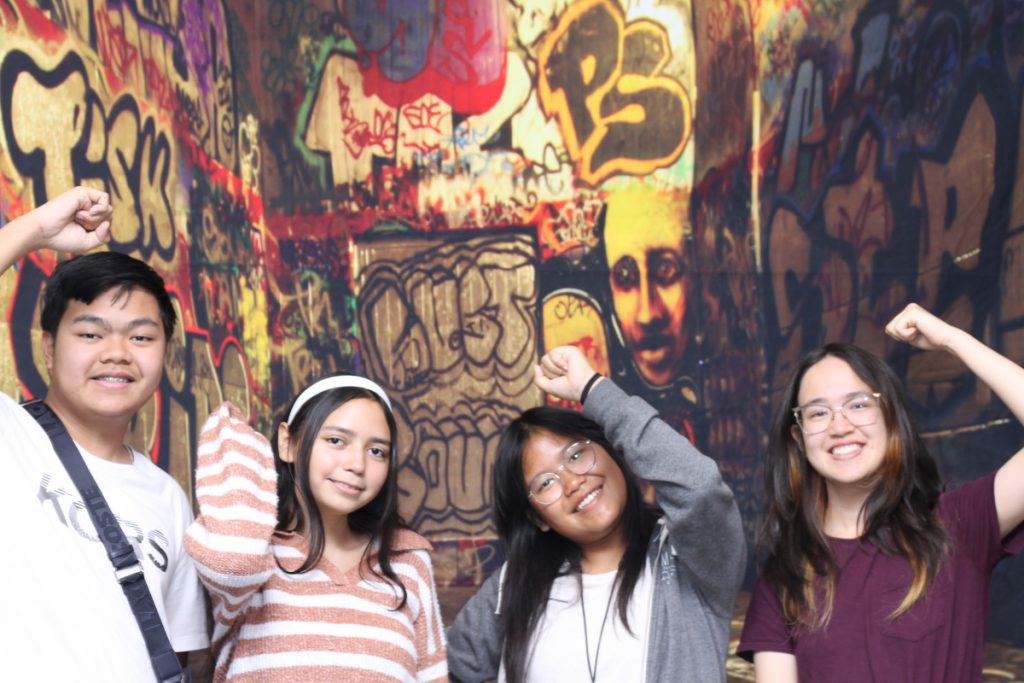
In This activity, I took photos of someone using different settings on my camera. The different settings are as following:
Av Mode with shallow and deep depth of field
Tv mode with long exposure night photography
Flash practice with portraits in front of backdrops
P-mode with ISO changes
Altering White Balance
Focus
I learned how to use my DSLR camera in different lighting conditions, as well as what mistakes to avoid when shooting. Exploring techniques that real photographers use daily has been a really exciting journey, and it’s one I hope to continue. With every new skill I learn, I better understand how important each element is in photography. I never realized how complex photography could be, and how fun and rewarding it is at the same time.
DESIGN
What is design? Many people think of designer fashion, interior design, or logo design, but design goes far beyond aesthetics. At its core, design is about shaping how something looks, feels, and communicates. A designer isn’t the object itself, but the person who intentionally creates experiences, whether visual, physical, or digital. Designers solve problems, communicate ideas, and make things more functional, meaningful, or visually compelling.
This semester, we also focused on conceptual design, projects that aren’t just about making something look nice, but about expressing an idea, emotion, or message. Each assignment asked us not just to create, but to think about why we create and what our work is trying to say.
ALPHABET NAME PHOTOGRAPHY
For the Name Photography project, we were challenged to find anything that looked like the letters of our name without arranging anything or having the object literally be a letter, and making sure the letter was in nature, and macro close up. After we found those objects, we took a photo of each of those objects, then chose the best photos, and arranged it in Photoshop. The outcome was a nice colorful row of photos that spelled out our name.
This is my Alpha Name Photo. These photos from left to right, Show twig going through a fence, small branches bent by mother nature, a bud of a stand alone flower, a plants leaves cupping themselves, and a fallen tree branch . Together, these photos spell out the name Alicia!Behind the Scenes of arranging my name photo. Here is the user interface of Adobe Photoshop. In using Photoshop, I made use of many features, such as cropping, resizing, using layers, adjusting brightness, and recoloring in order to make this piece come together.
CONCEPTUAL PHOTO
In the Conceptual Project for Design class, we were challenged to take a abstract photo based on the statement given to us by our Design teacher. The statement students got in general was along the lines of “I am experiencing a feeling of ____ through _____ experience.” Then, we had to find two objects that indirectly represent our statement, which had us think outside of the box, because it had to be far from literal, no animal or body part was allowed to be shown. This project took a lot of brainstorming, and a lot of photo shooting of our objects arrangements, and shoot in many different angles. Finally, after that, we narrowed down our list of photos until we were left with the best one.
“I am exploring the feeling of shock when Stargazing.”
Artist Statement – “I am exploring the feeling of shock when Stargazing.“
In my photograph, the yellow “CAUTION” tape represents the shock factor in my concept. The overwhelming reaction mirrors the feeling of awe one experiences when stargazing. The red string symbolizes the “stargazing” aspect itself, inspired by the Red String Theory, which believes that all people are invisibly connected by fate. I wanted to link this idea to the experience of stargazing. When we look up at the night sky, we are all standing beneath the same stars, connected across time and space. I aimed to create a sense of awe using caution tape, while the looping red string adds movement and complexity. The green grass background grounds the scene in reality, contrasting the cosmic meaning behind the symbols. Together, these choices visualize both the shock and wonder of recognizing our shared existence under the stars.
Throughout this process, I learned how both camera angles and editing techniques can change the emotion of a photograph. By experimenting with different perspectives, I discovered how shifting the camera’s angle could affect the story being told, making the scene feel more dramatic. In Photoshop, I explored how color adjustments and contrast could deepen those emotions even further. I enhanced the red tones to strengthen the feeling of connection and brightened the yellow to create a stronger sense of alertness. I adjusted shadows and brightness to give the image greater depth and mood. Through these experiments, I realized that every technical choice, from where the camera is placed to how an image is rendered, can shape viewers’ emotional experience..
Behind the Scenes of my Conceptual Project. Here in Photoshop, I am editing my image by adjusting the brightness and cropping out unnecessary elements.