Introduction
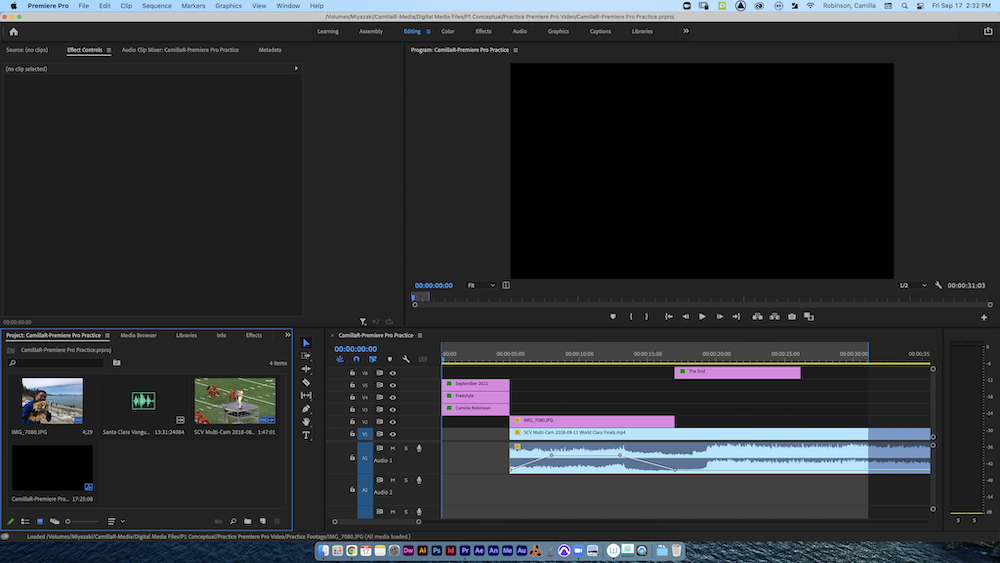
During our Conceptual project, our central question was, “How can I use unconventional forms to express myself?”. As we tried to answer this question, we developed our abstract thinking and communication skills. There was a concentration in taking risks, whether it was in our writing, animations, music, and art, as we tried to develop our own personal artistic style and aesthetic. We learned to use a wide variety skills, technology, and applications to help us with this goal, including a DSLR Camera, Tascam Audio Recorders, Adobe Photoshop, Adobe Premiere Pro, Adobe After Effects, Avid Pro Tools, and WordPress.
What I value about being in Freestyle are all the opportunities for hands on learning as a lot of it is project-based. There is very little of the “lectures, followed by a quiz and a test”, but rather an overarching end goal with mini projects so we could learn the tools needed to create a great final project. It was a mix of instruction as well as trial and error in order to develop our own style of doing things.
Haiku
Our first major project was a collaboration of Digital Media and English. We first learned about haikus and studied them before starting to write our own. We spend about a week creating haikus based off of prompts before we were given a concept statement to base our final haiku. My statement was “exploring the feeling of despair through the act of growing up”. After we finished our Haiku in English, we brought what we had written and the photo we took to Digital Media to put into video format, as well as add a voice over and background music with Premiere Pro.
I think what I valued the most about this project was the creative process as well as learning the ins and outs of Premiere Pro. The creative process was a lot of fun as we messed around with concepts and changed words to fit with the 5-7-5 syllable format. It was a challenge, but an interesting one to attempt. The other thing I felt was valuable was learning Premiere Pro. This was an adventure to figure out, but extremely useful, especially for problem solving in Animation later down the road.
Poetry
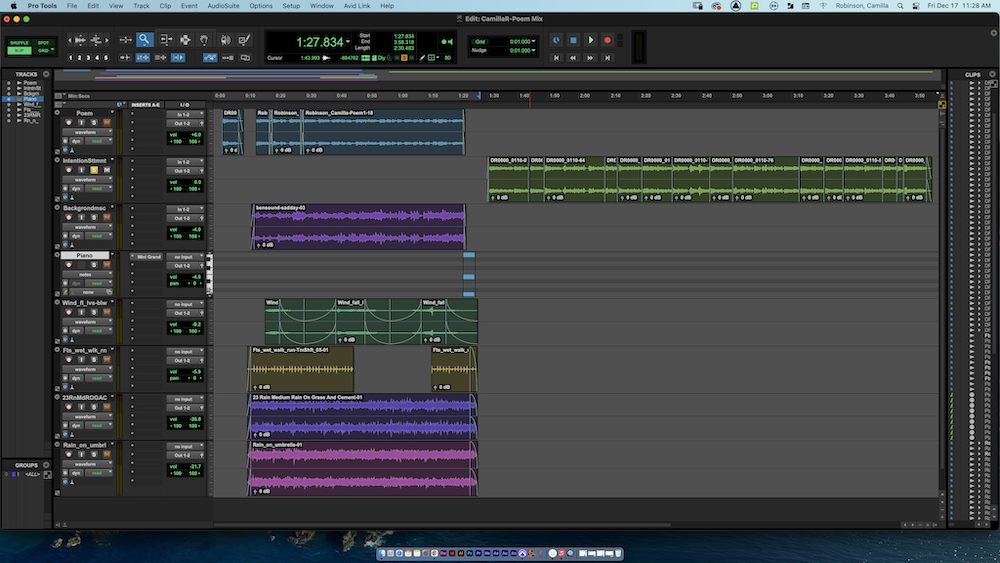
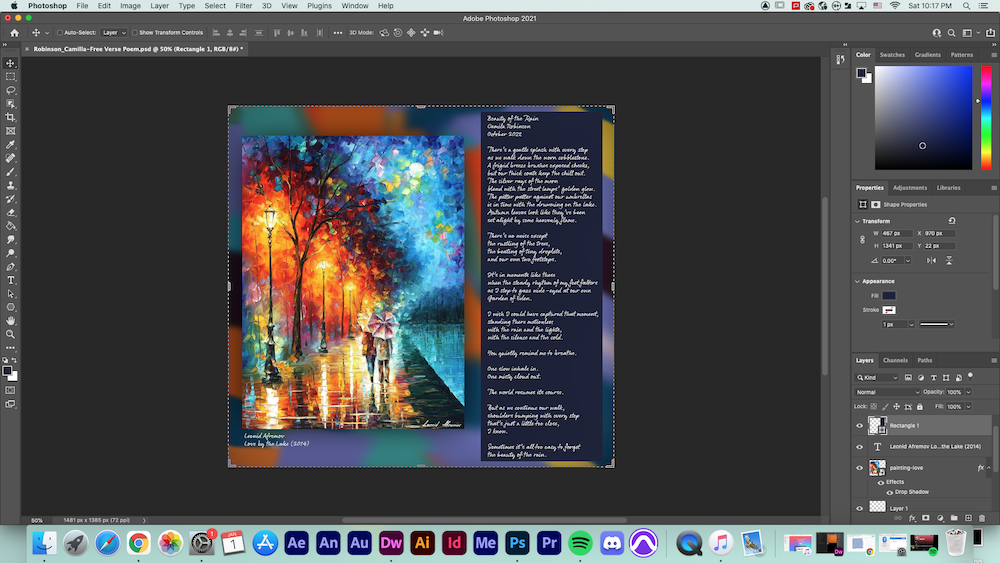
Our next major project was also a collaboration between Digital Media and English. We once again learned about free verse poetry in English, looking at various examples of what it was and analyzing them, before attempting our own. We were given prompts frequently and wrote about 5 or 6 poems in total. We figured out later that this was because we were going to choose the best one to revise and edit. After several peer revisions, we turned in our favorite poem and moved it over to Digital Media, where we learned to use Photoshop to format it and add a background, creating the finished product.
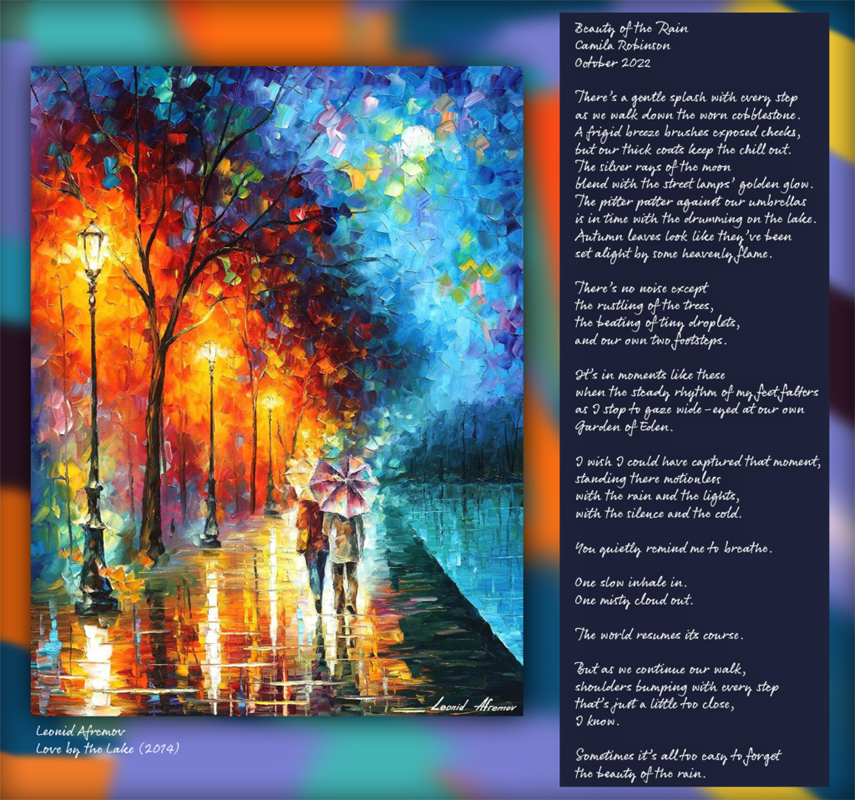
“Beauty of the Rain” is an ekphrastic free verse poem about paying attention to the world around us in order to find beautiful moments that might have otherwise been ignored. It was created in response to Leonid Afremov’s oil painting, Love by the Lake. The first stanza is written with a lot of imagery to create a scene and set the stage. The majority of it primarily originates from the painting itself and my own experiences with walking through the rain. The scene itself reminded me of a street in Paris or somewhere in Europe, which often has cobblestone roads next to major waterways for walking paths. The blue and red tones contrasting with each other were the source behind the silver rays and golden glow lines. The very vibrantly colored leaves inspired the final lines of the stanza. With all the descriptions, I wanted to create the sensation of a slow discovery and having different pieces of the puzzle or larger scene slowly add to each other. I used this by having structural repetition where a specific subject would be given two lines and the first line would introduce the primary subject and the second line would add to it in some way, either by introducing a complimentary secondary subject or having it be put in a larger context. It was difficult during the editing process to find unique adjectives for each scenario and have it work with the tone that I wanted to create. The second stanza is to really cement the feeling of silence and peace and give the speaker room to contemplate the world around them without distractions. This stanza also has structural repetition with a repeated “the (verb) of (noun)” which is broken with the last line which says “our own two footsteps”, which places significance onto the line. Footsteps and the act of walking (or the lack of it) are an important part of the poem, despite the rain being the main objective correlative. Whenever they are mentioned, the poem changes in some way. In the first stanza, it introduces the poem. In the second, it breaks the pattern to lead to the climax of the poem where their walking stops, and later as the speaker is having the realization, they are motionless. In the final stanza, they begin walking again as the epiphany is over and “the world resumes its course”. As mentioned previously, the climax of the poem is when they stop to look around. There is symbolism in the use of the “Garden of Eden”. The Garden of Eden is a biblical reference that is often associated with peace and perfection and God could dwell there. By using it, the speaker is suggesting that that moment was something otherworldly and perfect. The next few stanzas are the “coming back to earth”. The second to last stanza is a moment that brings the speaker and reader out of the epiphany and back into reality before closing with a final introspective thought.
This project was extremely fun. I really enjoyed the creative writing portion and eventually the combination of that and art. I think that what I valued most from this project was probably the learning curve of using photoshop. I had to use a lot of trial and error and in order to create what I wanted, which had be learning a lot of the uses of the tools and what effect different settings had. This was especially useful later when we started more complex Photoshop projects.
Photoshop Blend Mode Editing
During these project, we learned about how to edit photos using blend modes. This involved learning how to use overlay, screen, and multiply blend modes. We learned the basics of how each one worked, and then we were given various tasks to complete using each of these blend modes. Then we had to do the same thing, but editing the photos that we took ourselves. After we had successfully completed all of that, then we combined all three to more of our own photos in order to creatively blend them.
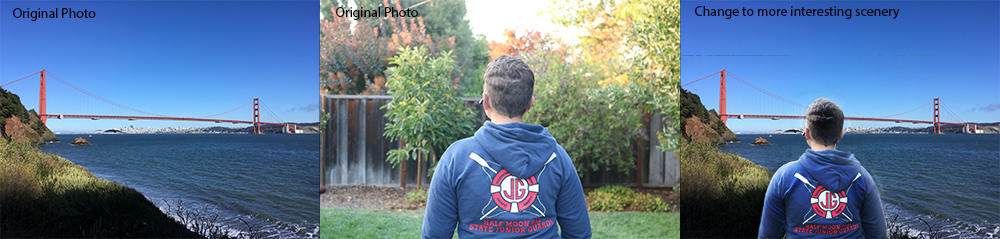
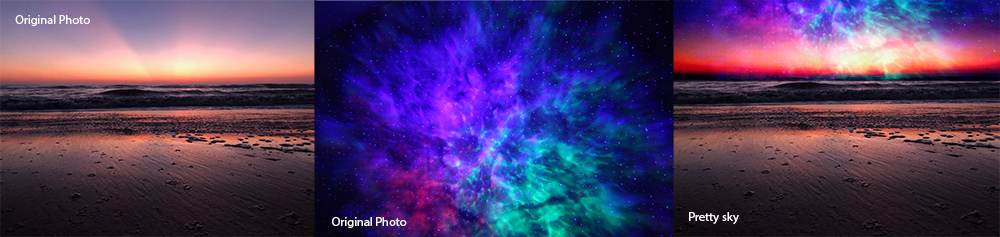

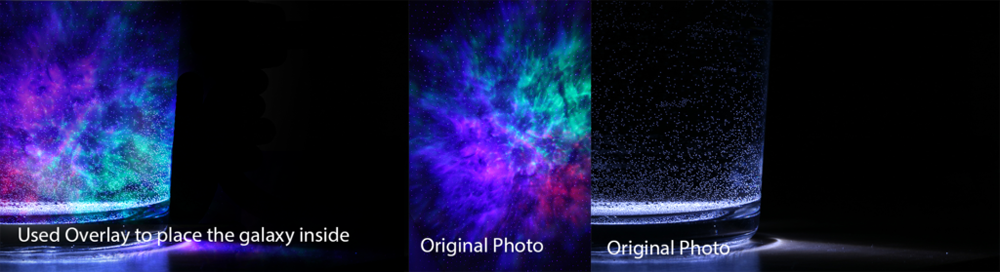
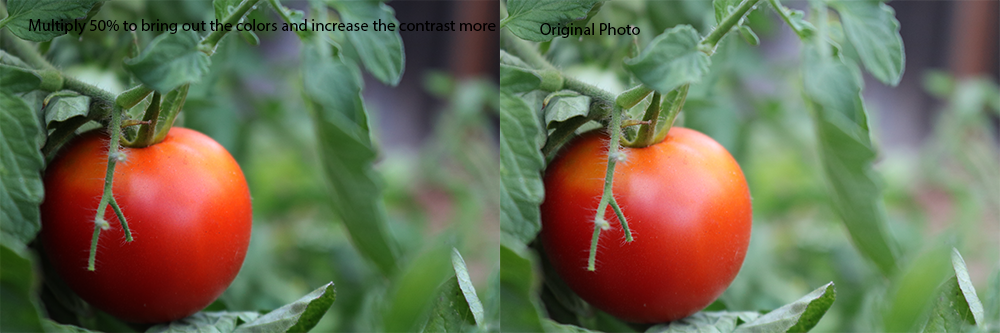
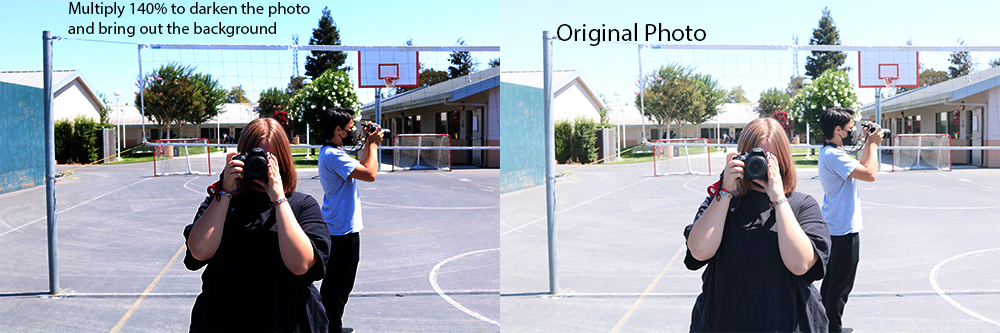
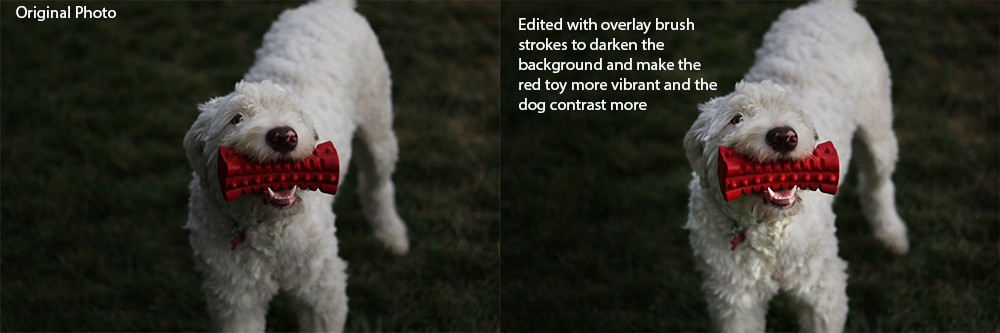
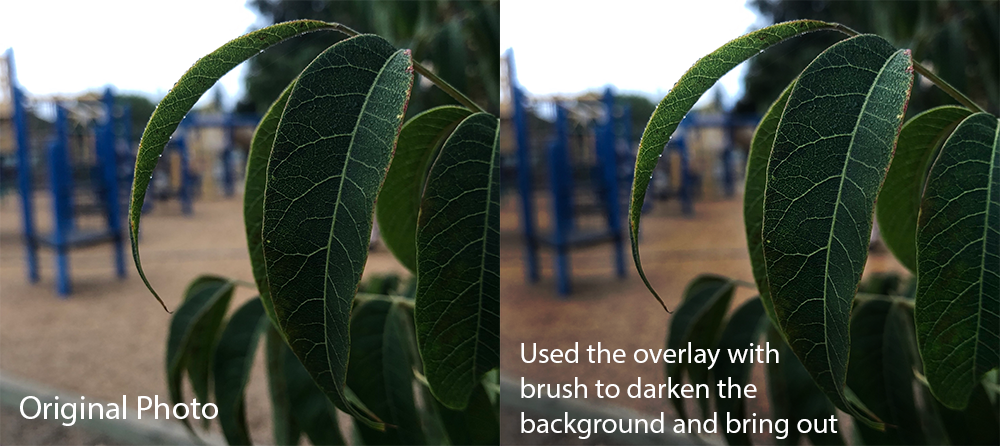
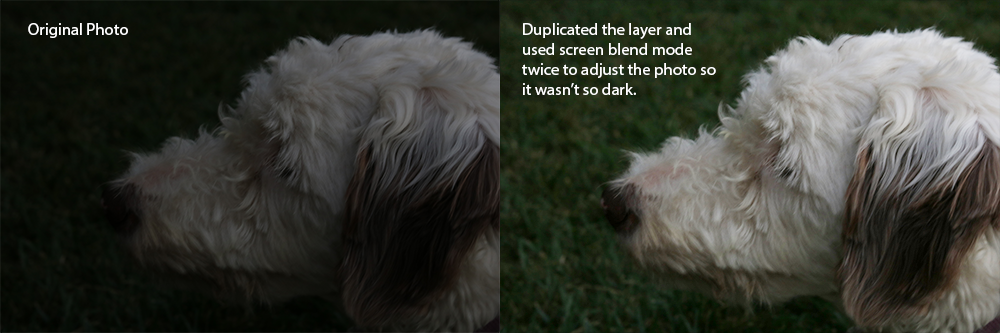
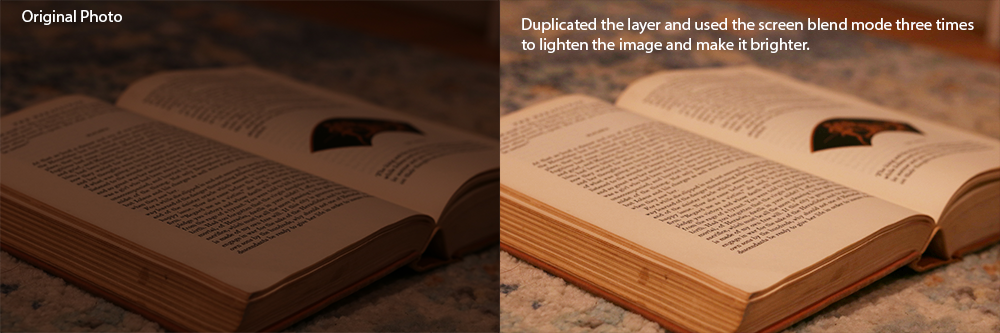
Blend Modes was both easier and more complicated than I was expecting. It was definitely a new experience, but a valuable one. I think it is so helpful how to brighten a photo because all my photos end being underexposed, even if they look fine on the camera screen before I put them into the computer. I also ended up using it to create my own backgrounds.
Animation
Zoetrope
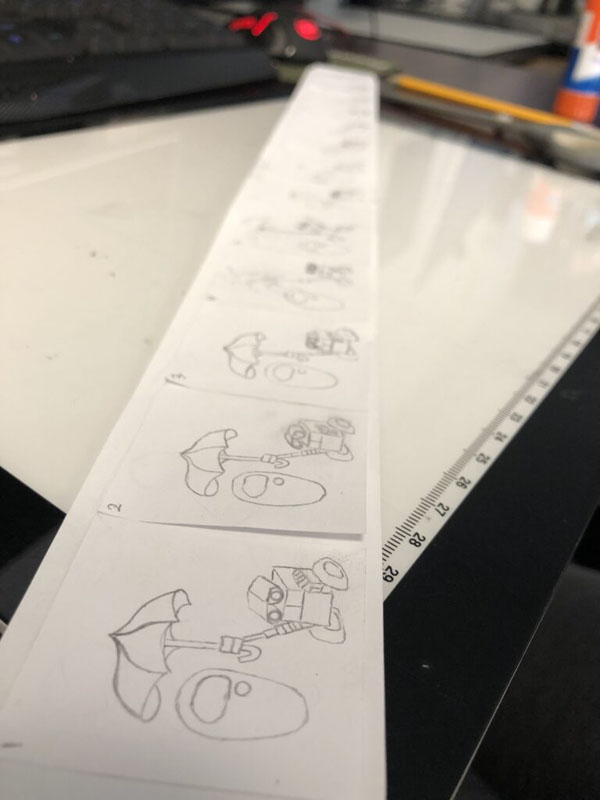
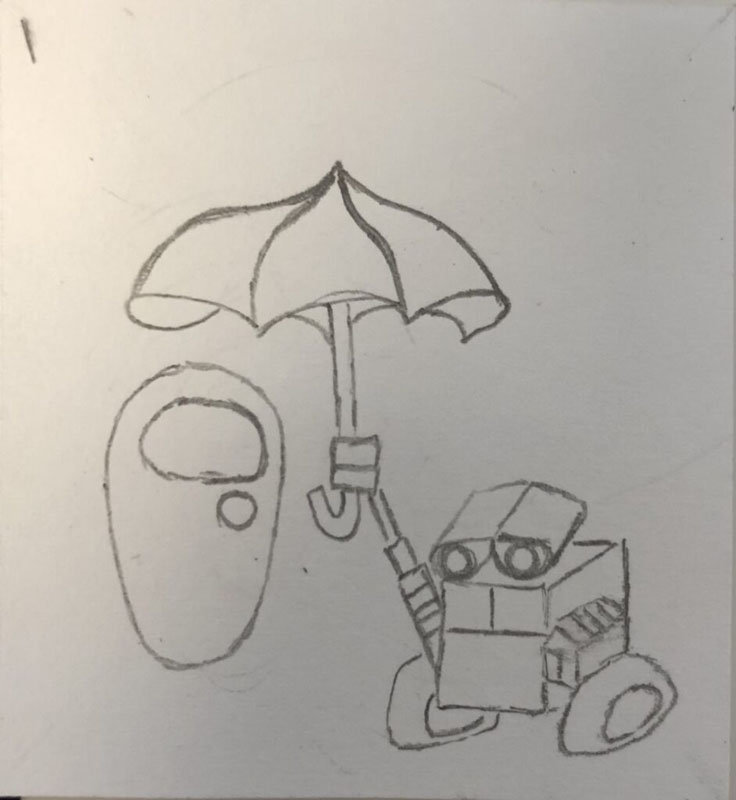
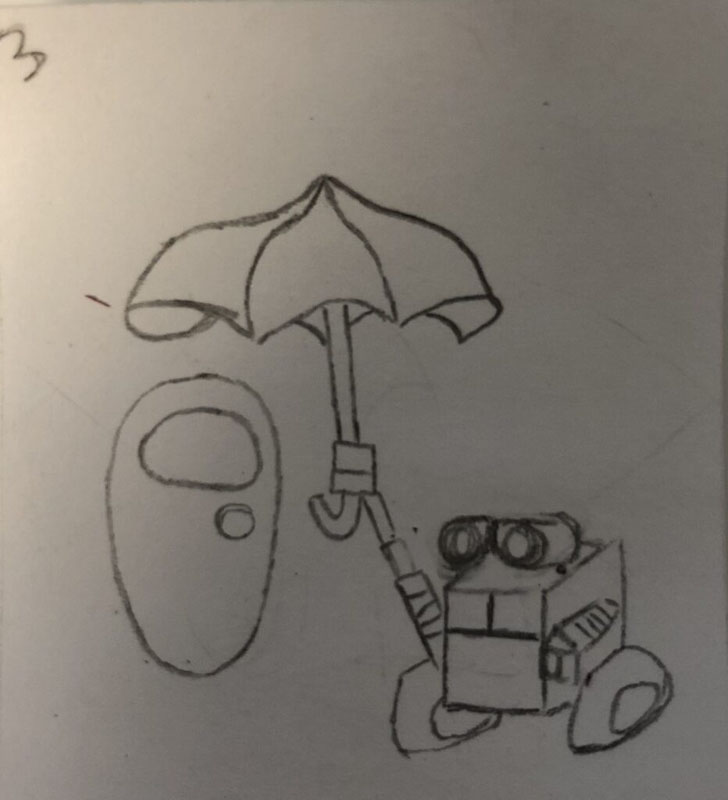
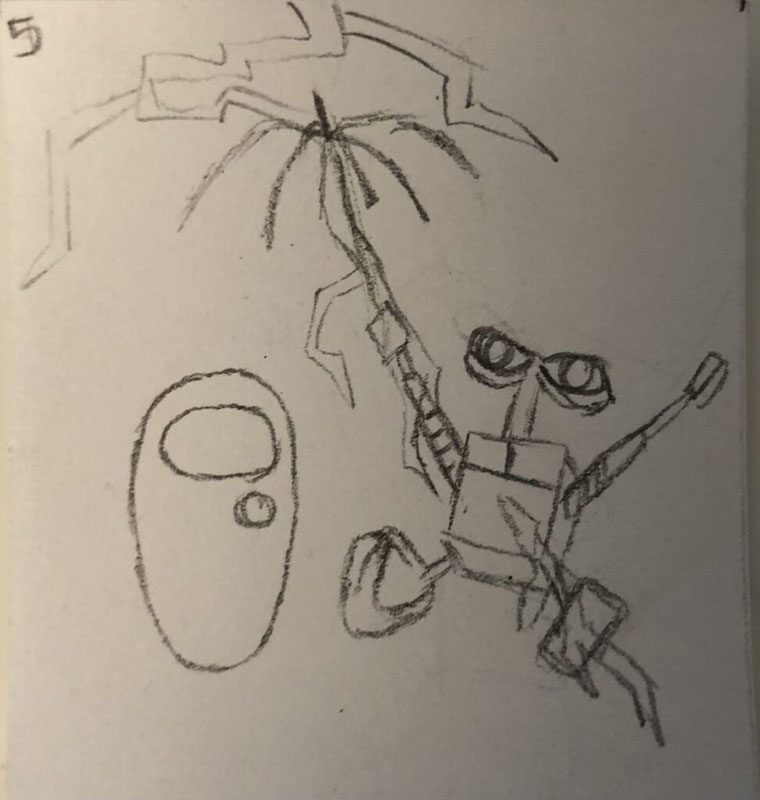
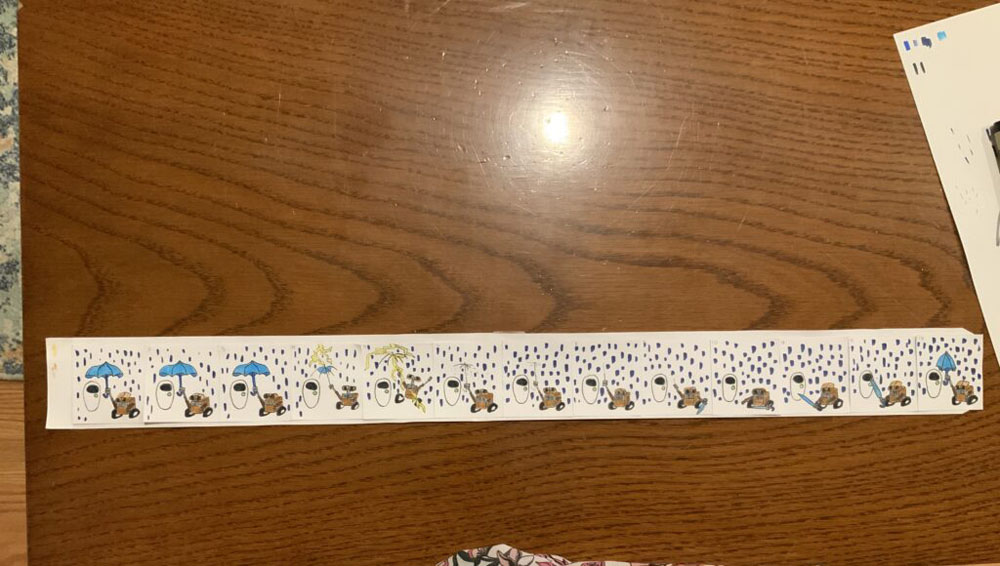
A zoetrope is a type of animation that was invented in 1865. It involves a long sheet of paper with the frames of an animation drawn on as well as a device with mirrors that shows you the animation whenever a person spins it. We did our own version of it by creating a 13 frame animation and then putting it in the device. My zoetrope is of a moment in Wall-E when Wall-E attempts to shield EVE from the rain, but the umbrella he is holding ends up getting zapped by lightning.
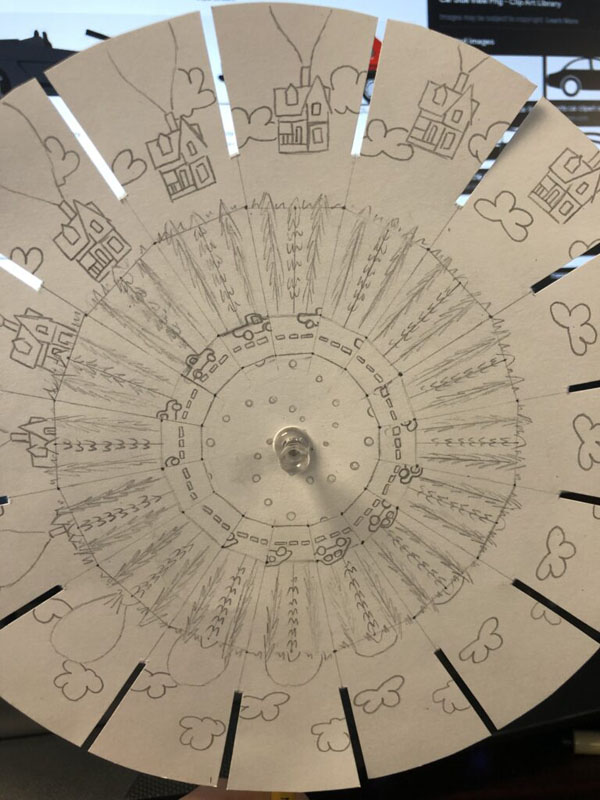
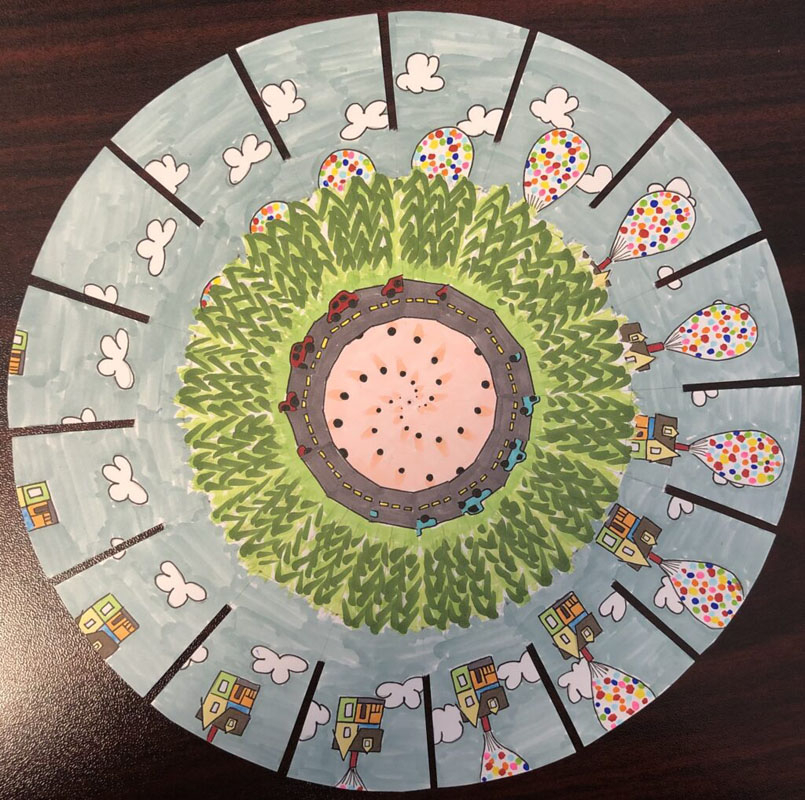
Phenakistoscope Wheel
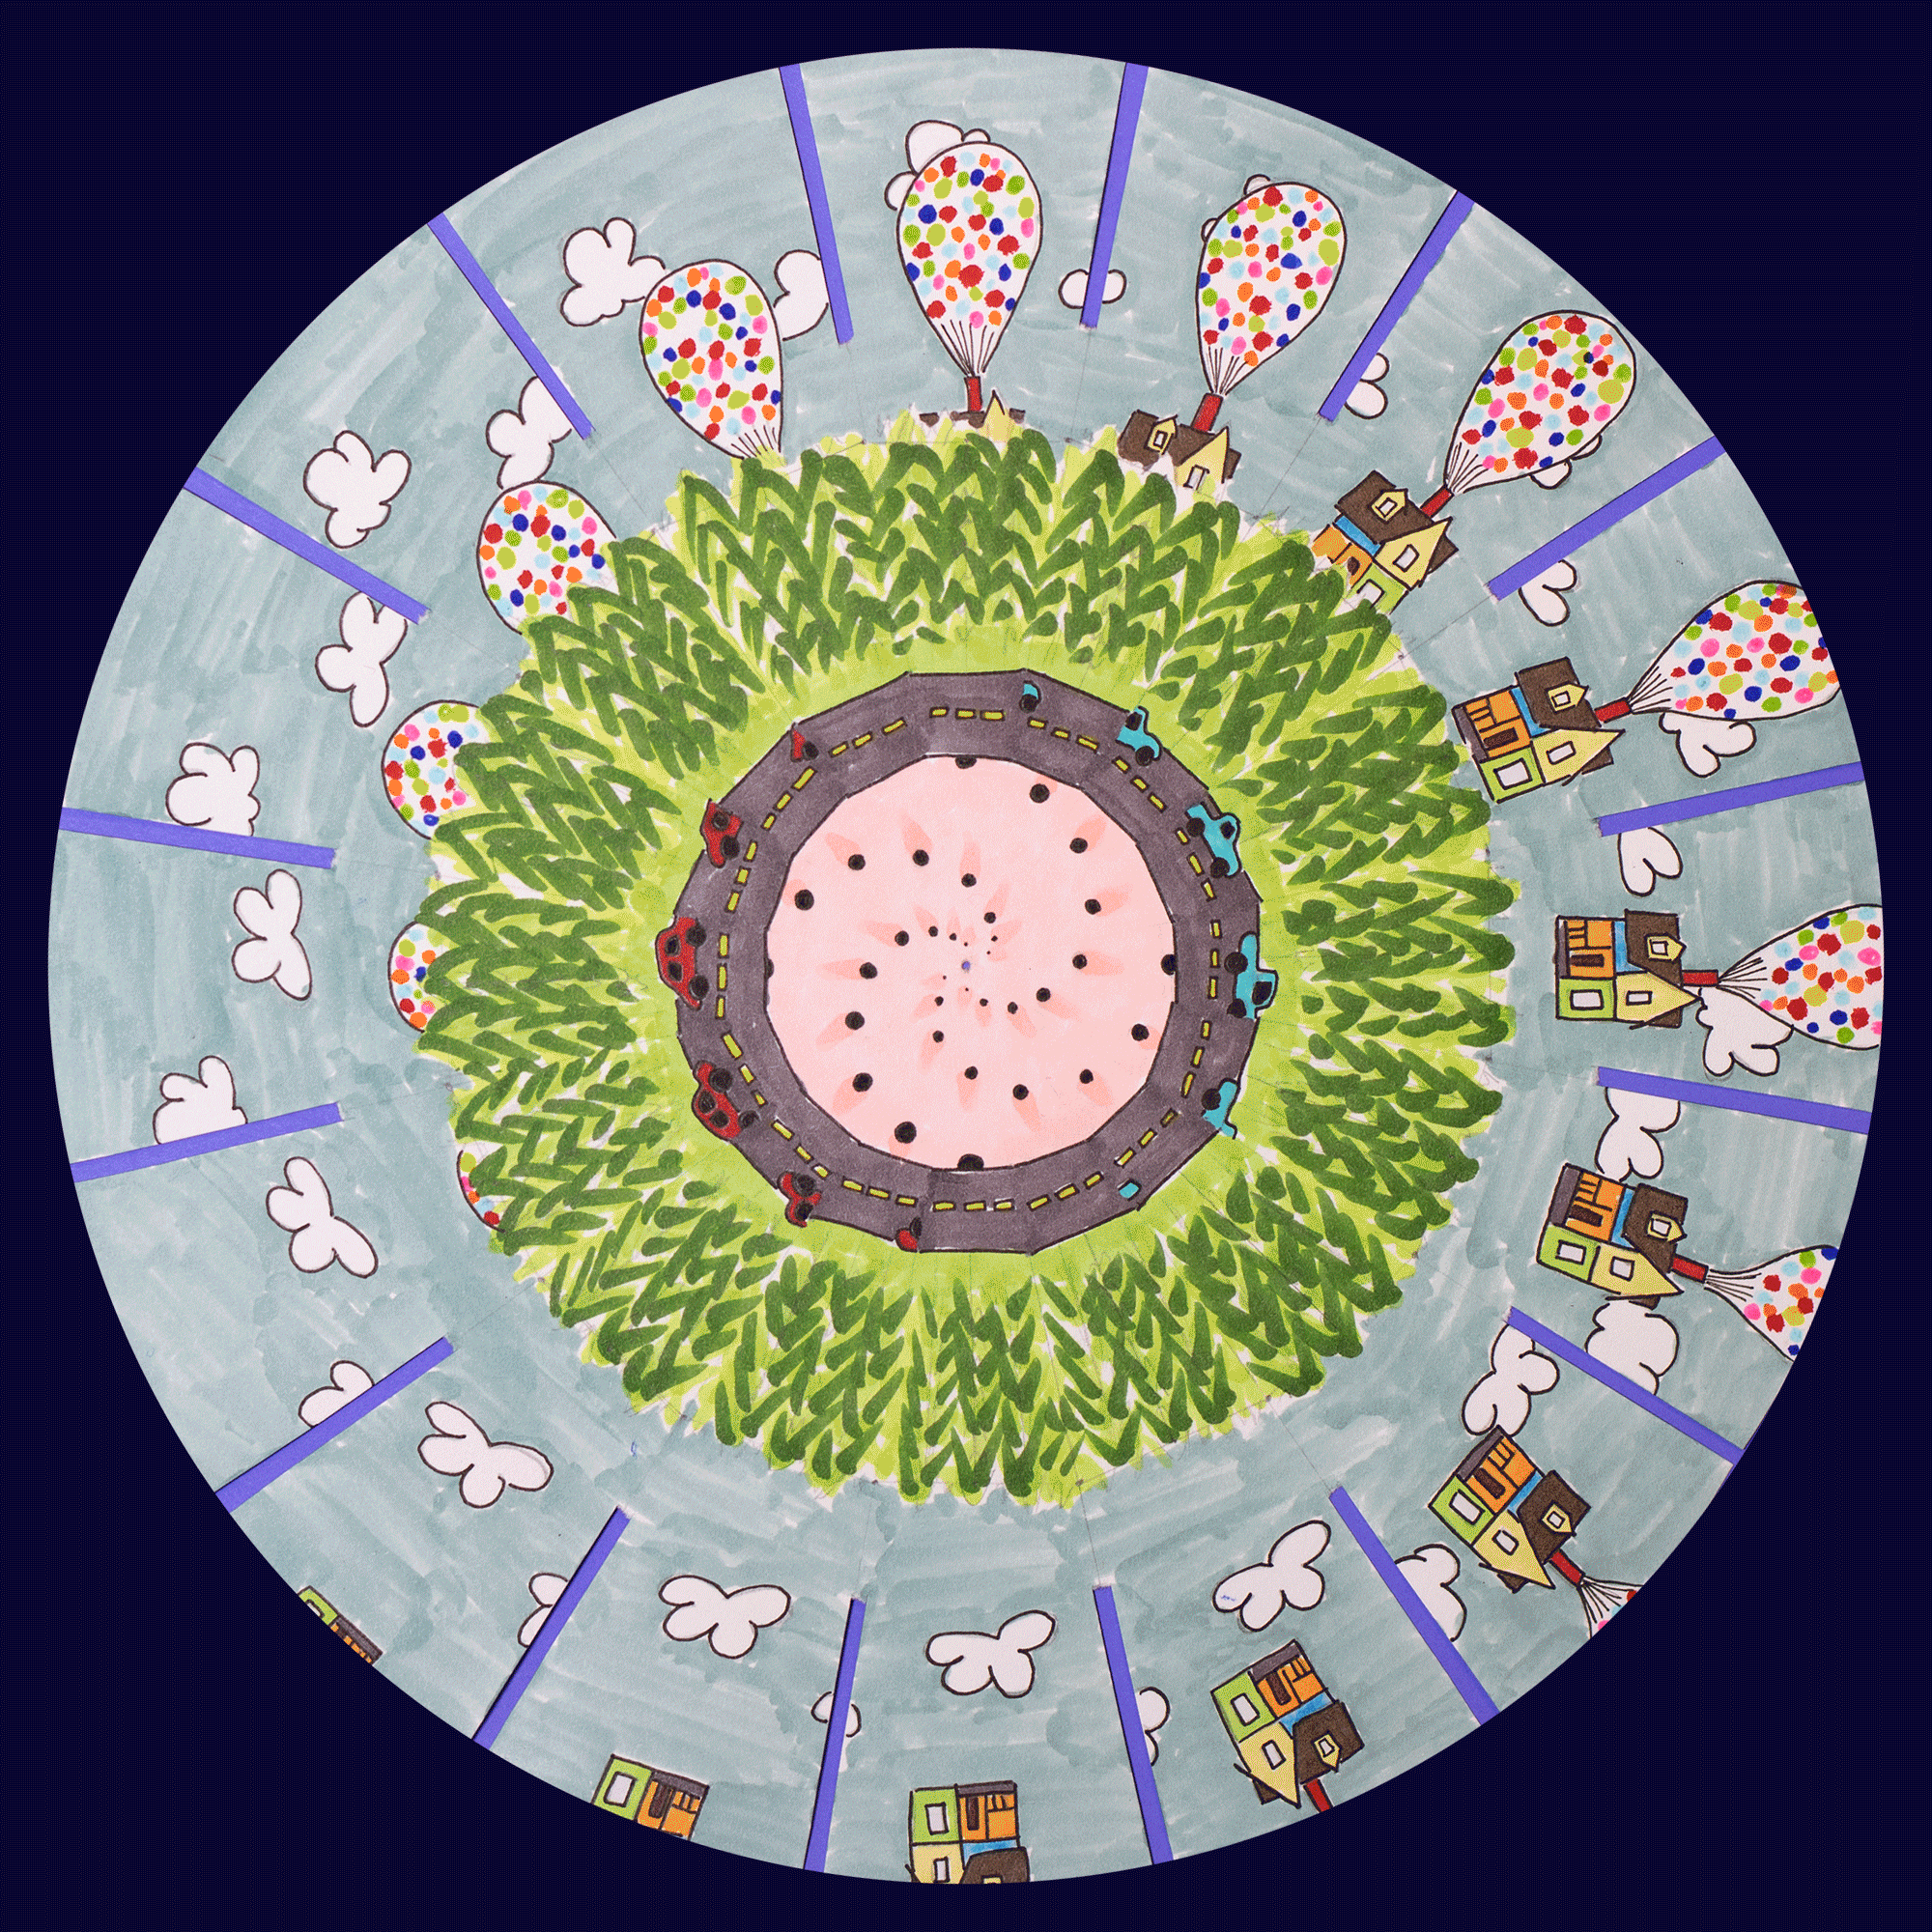
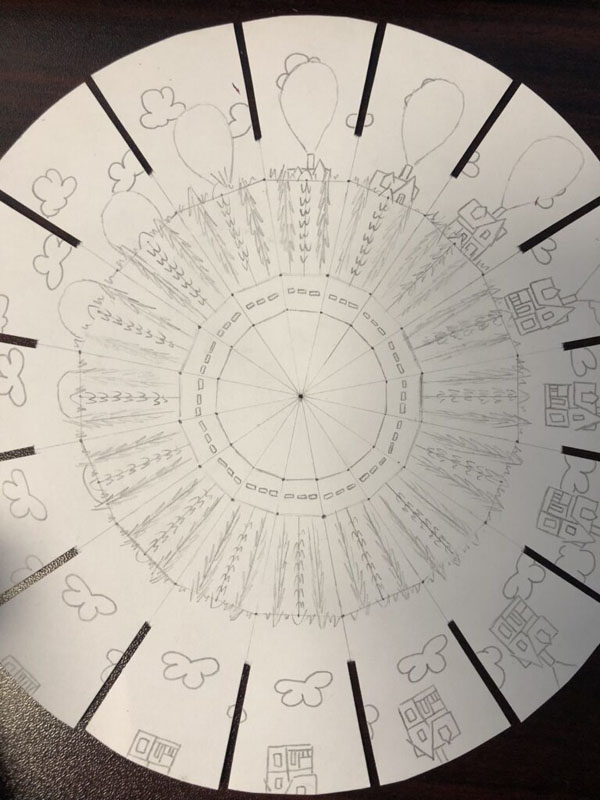
A phenakistoscope is also an early animation toy that a person would spin to see the animation. Our version was 16 frames of any topic we chose. I ended up choosing the house from the movie UP rising above the treetops. This was our second animation project and a little more difficult than the Zoetrope. Not only did the the frame number increase, but so did the area we had to cover and color in our animation.
Flipbook
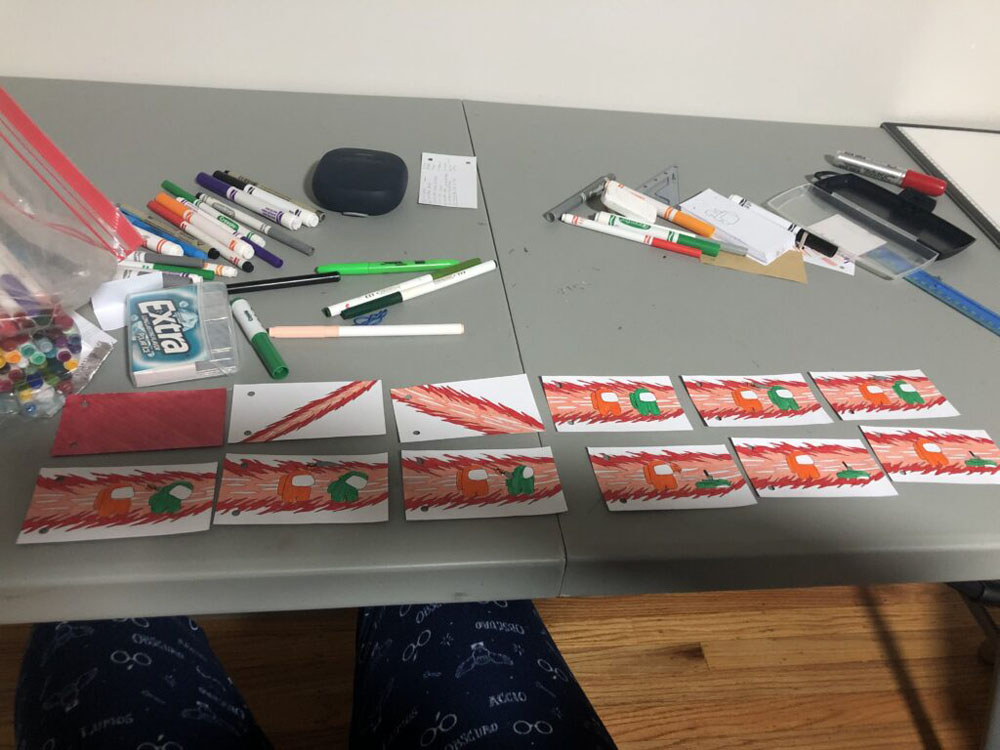
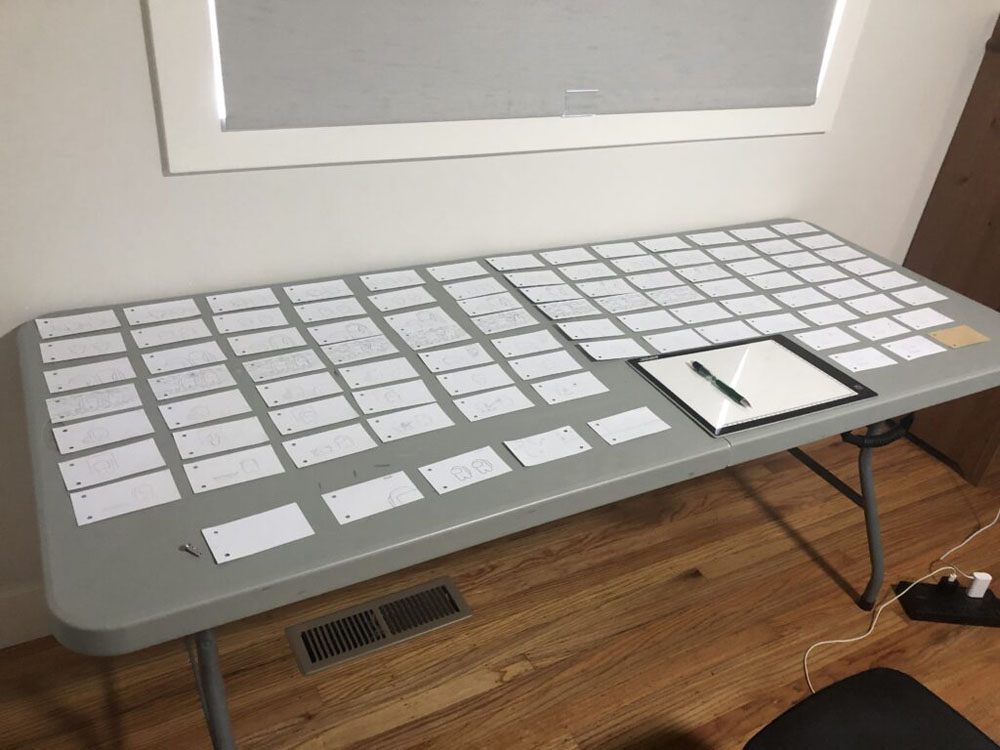
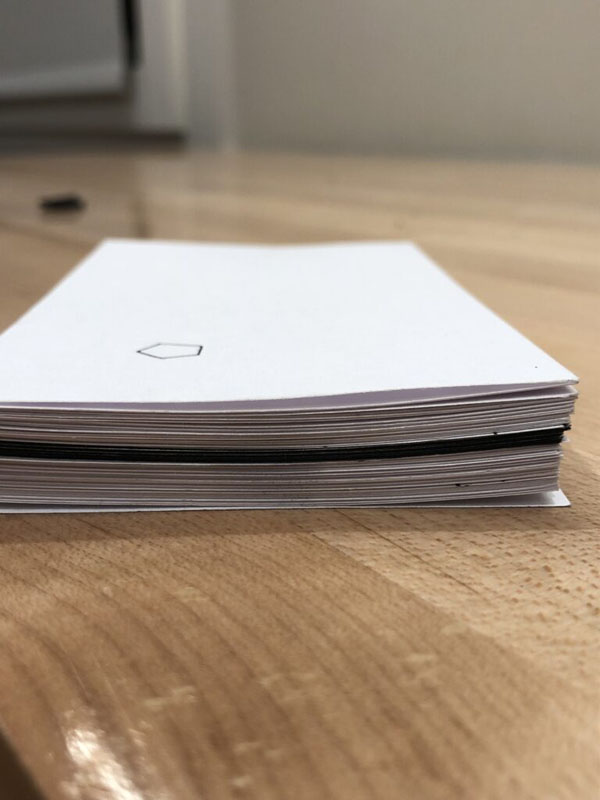
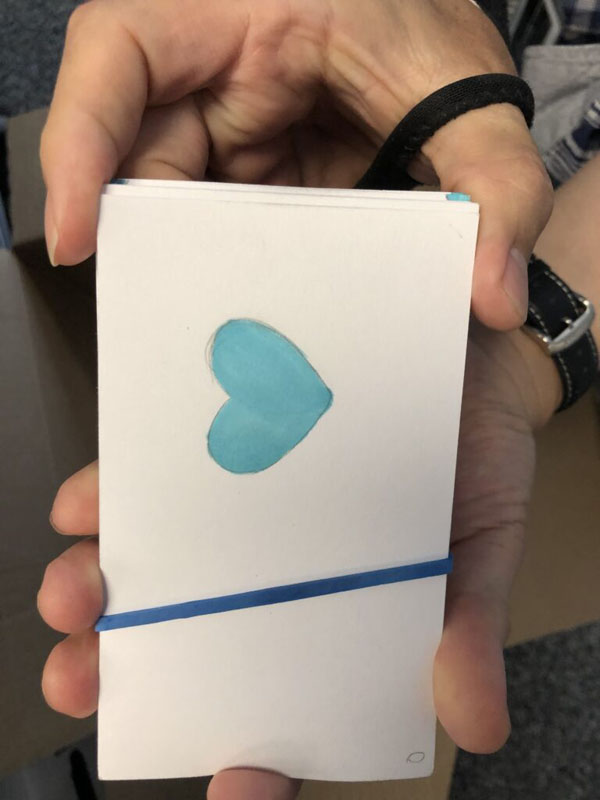
This flipbook was our first big animation project. We had to create 90 frames of colored animations for this project, which was 74 more frames than we had ever done previously. I chose to do a short animation inspired by the game Among Us. This project was long and it ended up taking around 37 hours of dedicated work in order to complete. There was definitely a learning curve and a big lesson about efficiency and adding too much detail during that time.
Exquisite Corpse Flipbook
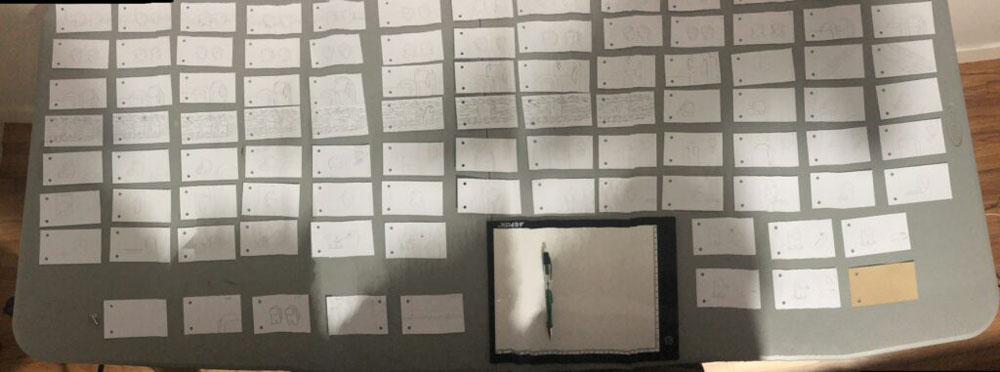
Exquisite Corpse Art is a style that originally started out as a game. One person would draw a head, another person drew the torso, and the last person drew the legs. Then, once it was done, they would combine it into one drawing. After trying this out ourselves, we applied this flipbooks. One person would receive someone’s ending frame as their starting frame and their ending frame would become someone else’s starting frame. This project was only 60 frames and, using the lessons learned from the last flipbook, only took 6 hours of work to complete.
Paper Animation
The paper animation was one of the more difficult ones to complete. We used the program DragonFrame in order to create it, and I had a lot of trouble using it at first. The program wasn’t the only thing that gave me troubles unfortunately. When moving a lot of small pieces, it is extremely easy to bump the table and throw everything out of order, so you have to go back and fix everything again. Eventually, I realized that I should have just used tape, but until I had that epiphany, I was constantly adjusting to make sure that everything was correct.
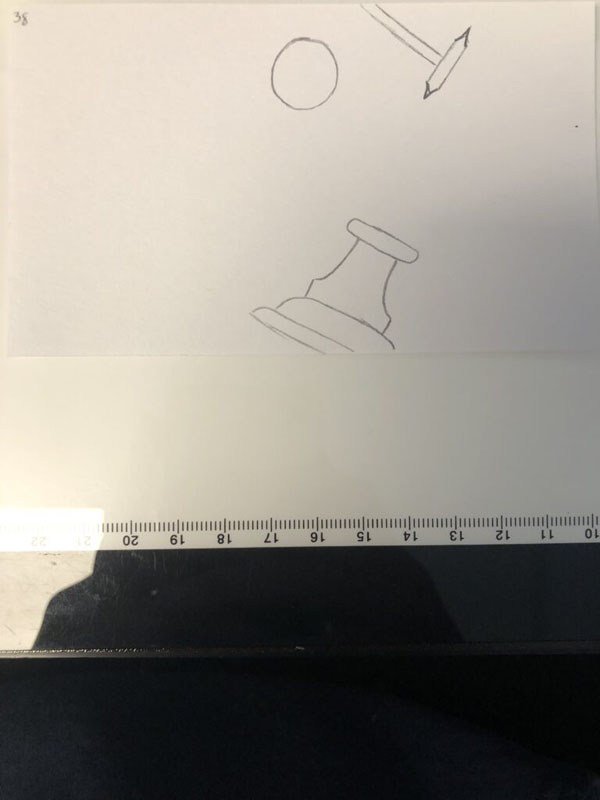
Object Animation
The object animation was much easier to do after I had completed the paper animation. I knew how to use the program and how to make sure everything stayed in place, which made things much smoother. I chose to have origami fold itself for my project. There was a bit of a challenge to try and create partial folds so it would look like it was folding itself instead of magically appearing with a fold. For some of the more tricky folds that couldn’t really be expressed super well in animation, I had to problem solve in order to figure out how to progress without showing the process, while still having it make sense in the animation.