Introduction
The Conceptual unit is the first unit in Freestyle Academy. In our Conceptual Projects, we learn the basic skills and tools such as creating a website, using Adobe Photoshop, using Adobe Audition, and many more. Through this process, we learn how to take creative risks to create something authentic.
The projects assigned in Freestyle Academy had a different structure then regular classes. For one, almost all projects integrated Digital Media, English, and an elective class (Animation in my case). Also, projects in Freestyle Academy are more intensive, and have many required steps. Personally, while I found this system stressful, the project-focused approach of Freestyle taught me an important lesson: time management.
Admittedly, I am still learning how to manage my time properly. Throughout the year, and especially near the end, the amount of projects given were overwhelming. I didn’t know the concept of “perfect is the enemy of good enough” at that time, but I also wasn’t good at my organization skills in general. Therefore, I kept falling further and further behind, until eventually during Winter Break, I faced the hard truth. To face these projects, I must efficiently do my tasks. I spent Winter Break working on these projects, and while at first it felt like a chore, I realized that Freestyle Academy offered something that I was missing. The project-based style unlocked my creative side, making the projects more enjoyable to work on than I initially thought.
Art Reflection Video
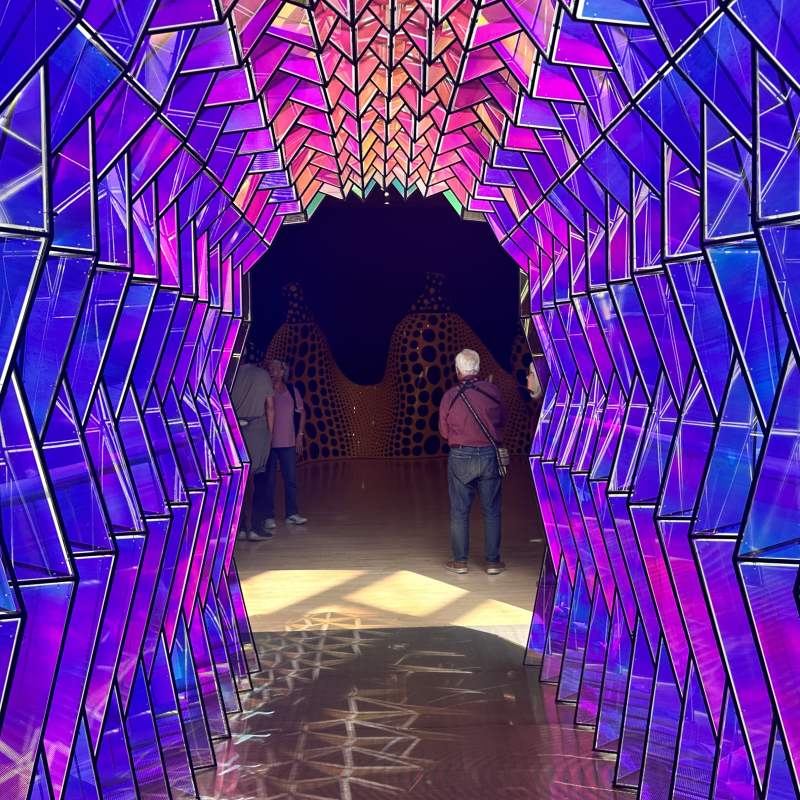
During the first quarter of the Semester, we all went on a trip to the SFMOMA museum. It was a worthwhile visit that showed us how art has evolved over the years.
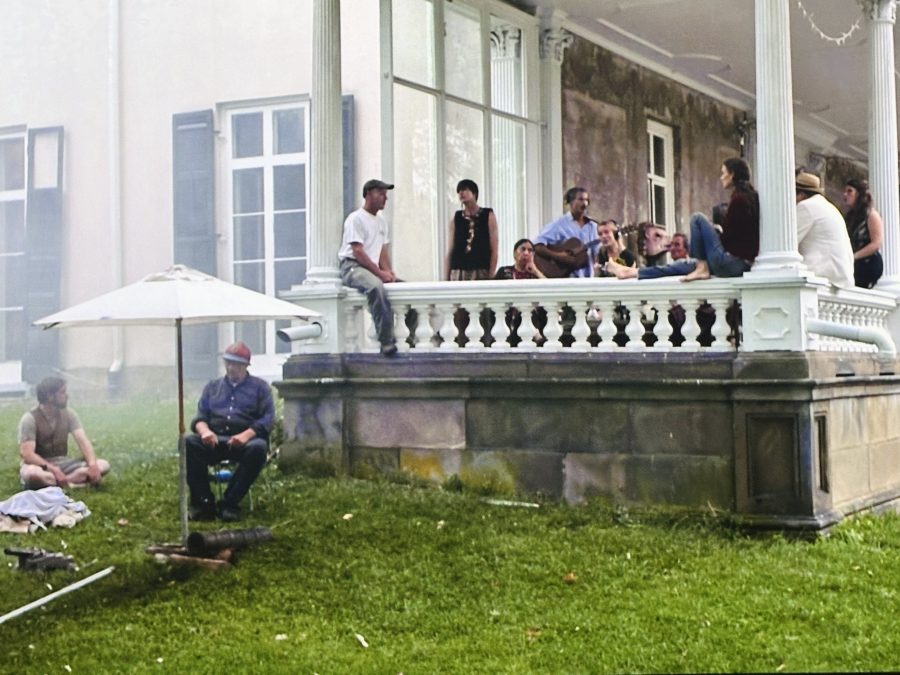
For my SFMOMA Art Reflection Video, I decided to focus on “The Visitors“, which is an hour-long immersive exhibit by Ragnar Kjartansson that showcases synchronized nine videos of people playing music in separate rooms of a mansion, with each video having its own audio output. There was a man sitting in a bathtub getting his guitar wet, a tall lanky man with a guitar, a woman playing an accordion in a dark room, a man with a cigar playing the piano, a boy playing the guitar next to a girl, and there was also a scene which had many people quietly socializing. The video is un-edited, creating an authentic feeling.

I felt a personal connection to the way the people in the art piece were portrayed with a mix of distance and closeness; I was reminded of my experience in the pandemic. At first, the people were playing by themselves in their own rooms, only connected by headphones. Although they showed deep emotion, it felt as if they were disconnected, and this parallels the pandemic when I couldn’t interact with friends. At the time, even with online video connection, there was a barrier between us, and I missed the physical human interaction. However, once the people gathered and sang together, the mood of loneliness completely vanished. Instead, everyone was playful, going outside and singing off into the distance.
I stayed for the entire hour to watch this exhibition, and throughout that time, I had a sense of awe. With the world currently becoming AI-driven, this exhibition reminded me what it’s like to be human. The mistakes made in the exhibition weren’t edited out; there was no cuts or anything of the sort; the entire experience is all pure in a sense.
In English class, we wrote about the SFMOMA experience. This writing process was one of my first tastes of how English projects would work in Freestyle. My prior experience of writing in general has been overall negative, so I wasn’t enthusiastic about this assignment at first. However, unlike regular English classes, Freestyle Academy focuses more on the creative side and less on how well an essay fell under the arbitrary rules and guidelines set out by the course lead. We also were given time and feedback to our short paragraph for the Art Reflection assignment, which put me at ease.
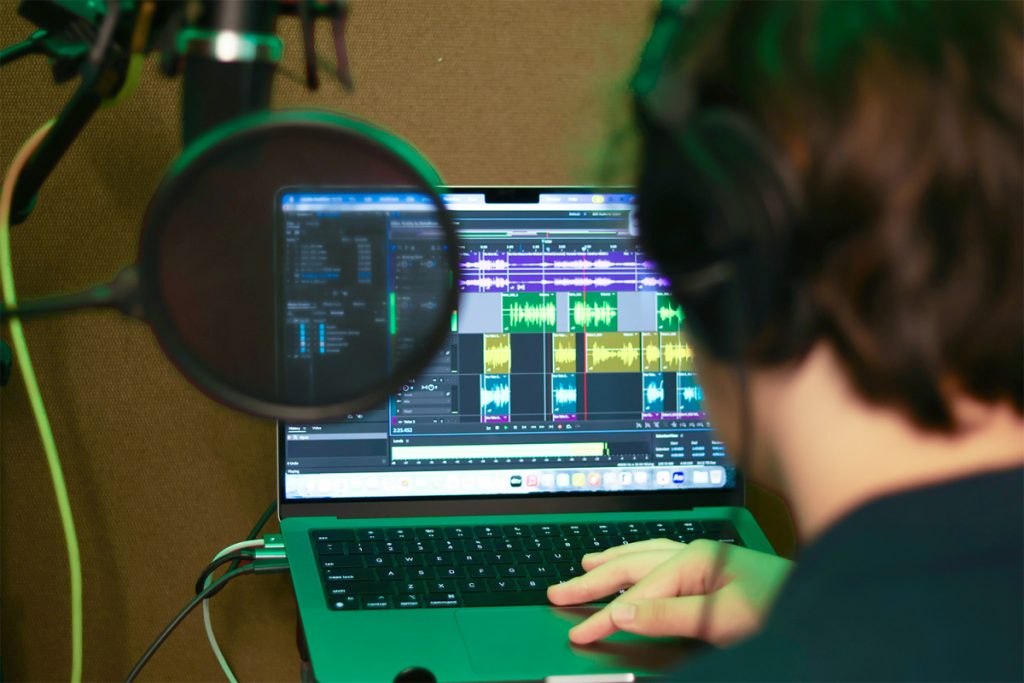
In Digital Media, we created a whole video using the pictures taken inside the museum. We first learned Adobe Premiere Pro and Audition Audition, which are a video and audio editing software, respectively. To be honest, I miscalculated the size of this project. I was too focused on making everything as perfect as possible, to the point where I would spend days just on some random transition. The worst part, however, is that I lost the entire file when I was doing catch-up work during Winter break, meaning I had to start over from scratch. My guess is that the project was on one of the school’s computers and wasn’t properly saved on the school’s network. (I later recovered the file in Junior year second semester, but by that time it was too late.) From then on, I learned an important lesson to always have back-ups and not save the project locally. Even with this incredibly frustrating mishap, the project overall wasn’t a bad experience to make. I personally don’t love working with Adobe Premiere Pro, at least in comparison to Adobe After Effects, but I can’t argue that Premiere Pro is a bad tool.

Looking back at my production, I am honestly kind of embarrassed about how elementary it is. At the time, I was still learning all the basics, and I didn’t have a “creative style”. It gives me a bit of comfort, however, to know how much I have grown as a creative since then. Both the English and Digital Media side of this production have been quite the journey, especially Digital Media. If I were to do this project again, I would try to manage my time better and focus on the message I’m trying to tell rather than how pretty it looks.
Parody Production
▶ The Ringer
⏸ The Ringer

I recently watched the movie Wicked, which is a fantasy film that shows the world of Oz through the witch’s perspective. I fell in love with all the songs, to the point where, to my parents’ dismay, I would sing those songs at home repeatedly.

So, when I heard about this project, I knew exactly what song I wanted to pick. In Wicked, there is a song called “No One Mourns the Wicked”, where all the villagers and Glinda (the Good Witch of the North) sing about how the Wicked Witch of the West is dead. Glinda, played by Ariana Grande, sings in a incredibly high pitched tone, and I thought it would be kind of funny if I do the same for my parody.
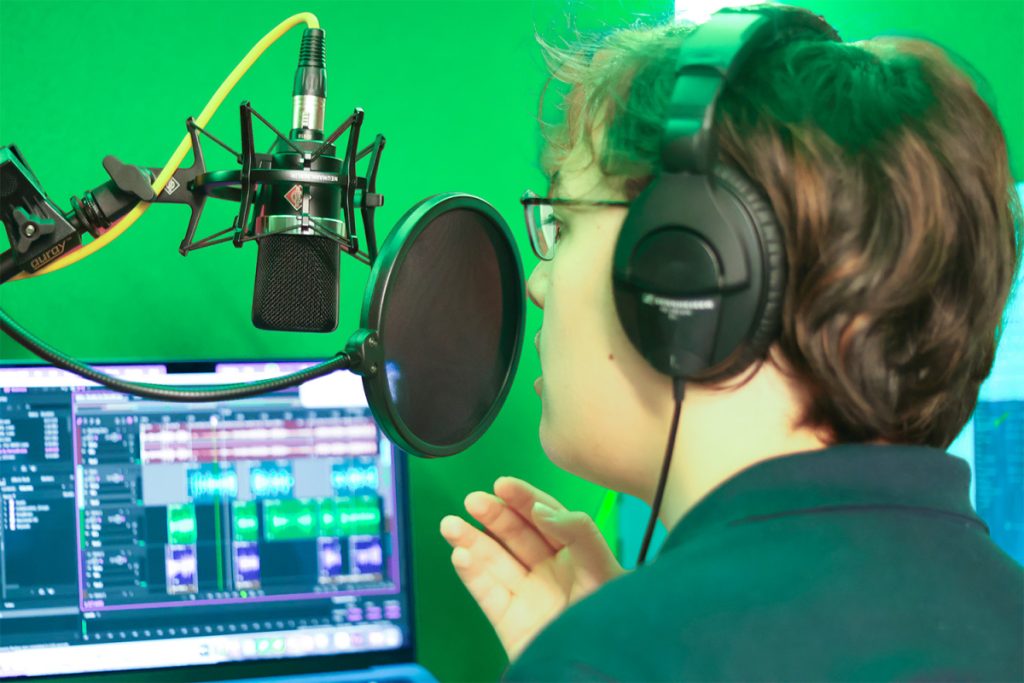
My voice had recently changed, so nothing I could sing that high up would sound good. Therefore, I decided to make the lyrics about literally singing badly. I also made up a character for this song called “The Ringer”, which parallels the original soundtrack where there is someone mentioned as “The Wicked”. The Ringer is just someone who is hurting everyone’s ears with high singing. I made the ringer’s voice echoey to make it stand out from the side vocals, and I also applied autotunes to hide my voice cracks a little. Even though the point of the parody song is for it to sound bad, I still needed the lyrics to be heard. Unfortunately, even with the autotune, the nature of this song made the lyrics a bit hard to understand.
The making of this song’s lyrics was pretty easy. I was able to write them in less than thirty minutes since the concept of the song was simple enough. Recording the song, however, was incredibly difficult. As stated before, this song goes way higher than my vocal range (about two octaves higher), requiring me to solely use falsetto. The layering of the voices also proved to be a difficult task, especially at the end where the voices all were doing different parts.
If I were to do this assignment again, I think I would choose a different song. While yes, it is a little funny that the song is so high-pitched to the point where the singing is really terrible, the high notes makes the lyrics difficult to understand. Overall, the lyrics writing and recording process was definitely a unique journey, as until then, I’ve never done any actual singing recordings of myself to be put in a song. Music making is something that I have always had an interest in as a hobby, so this project was a fun experience.
Parody Lyrics
Good news! They’re dead
The listener’s ears are dead
With the Ringer’s singing of their song
The listener’s eardrums are all gone instead
Good news! Good news!Look, it’s the Ringer
Let us be glad
Let us be grateful
Let us sing resonate and high that will consume
The listening ears of hearing too
Isn’t it nice to know
That we can vanquish people
Who listen to our singing by and by
Their ears all died
For you and INone can hear the music
Only hear the high ringing
None can stop the bleeding out their ears[Humming]
Now none can hear the music
The high pitched sounds are all they hear
We can go let us pierce their earsYes let’s all sing a high-pitched song for all
Let’s all sing a ringing song throughout
If you hear the Ringer, your ears will go
ImplodeYes let’s all sing, increase the ringing in their ears
Let’s all sing, destroy them inside out
Now their ears are reduced to ash with song all gone
None can hear the music
Only hear the high pitch noise
None can stop the bleeding out their earsYes let us sing (let us sing)
A piercing song for all (oh)
Yes let’s sing a ringing song throughout (ring out)
If you hear the Ringer (ringer), it is certain you
Will explode (explode)
All they’ll hear is ringing (Ringing!)
Only hear the ringing (Ringing!)All they’ll hear is ringing!
Ringing!
Ringing!


Photoshop Blend Modes Editing
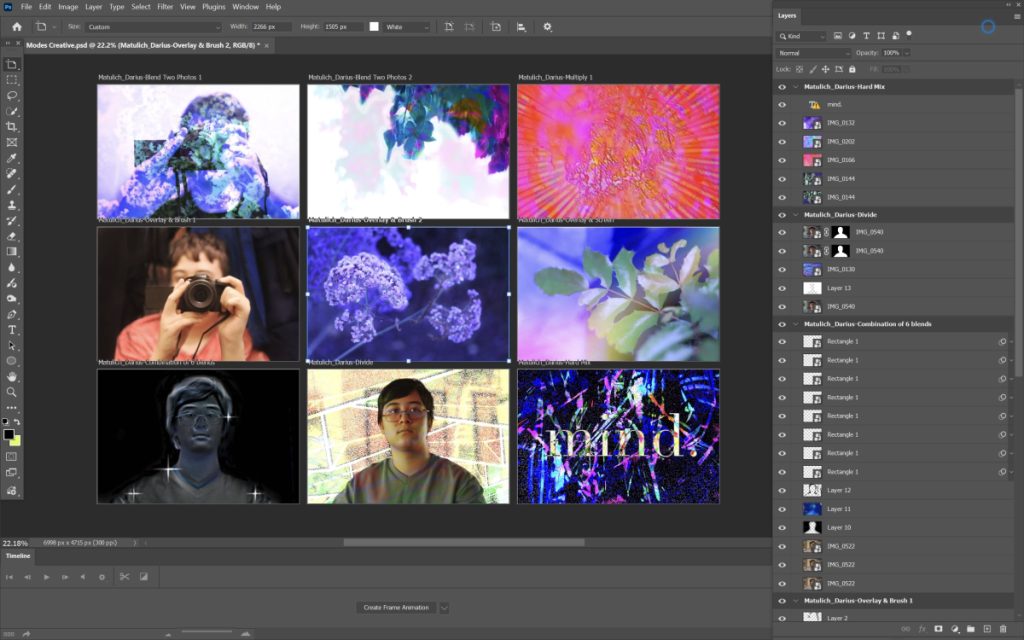
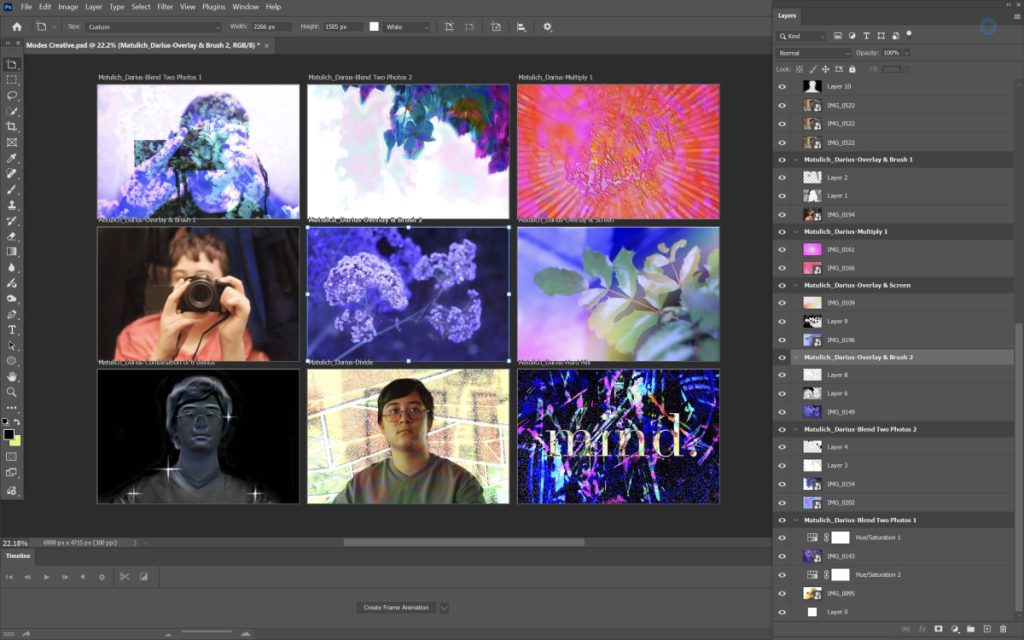
In this assignment, we learned how Photoshop’s blend modes feature worked. Essentially, a “blend mode” is how two overlapping layers interact with each other visually. Some basic blend modes we learned were:
- Normal — This is the default blend mode.
- Screen — Lightens an image by making transparency in each pixel of the top layer proportional to how dark that pixel is.
- Multiply — Darkens an image by making transparency in each pixel of the top layer proportional to how light that pixel is.
- Overlay — Lightens and darkens an image by making the transparency in each pixel of the top layer proportional to how gray that pixel is.
When doing this assignment, I actually used a few different types of blend modes that weren’t taught:
- Hard Mix — Adds the RGB values of both layers for each individual pixel; if an individual value of RGB doesn’t reach 255, it sets that individual value to 0. This creates a extreme-contrast image.
- Divide — Divides each of the pixels in the top layer by each of the pixels in the bottom layer, removing neutral tones.
Through this project, I am now able to edit an image’s appearance in unique ways. I can lighten up images, darken images, make images more contrasty, combine multiple images together, and add a unique visual flair to images. With these new skills, I see myself using blend modes in my effect projects or to create surreal photographs, similar to some images I have presented below. (Click to expand each photo.)
Original Photographs
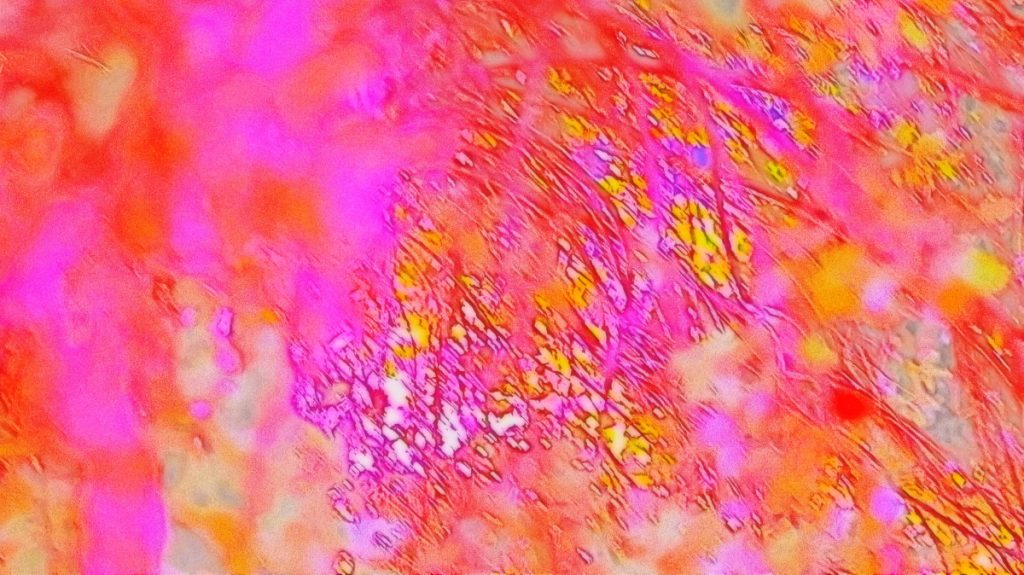

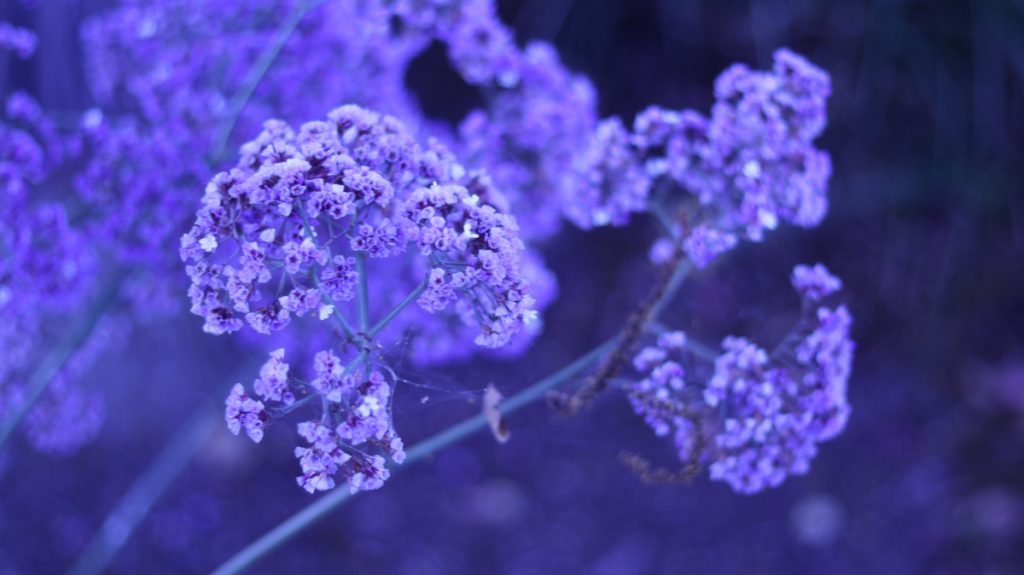


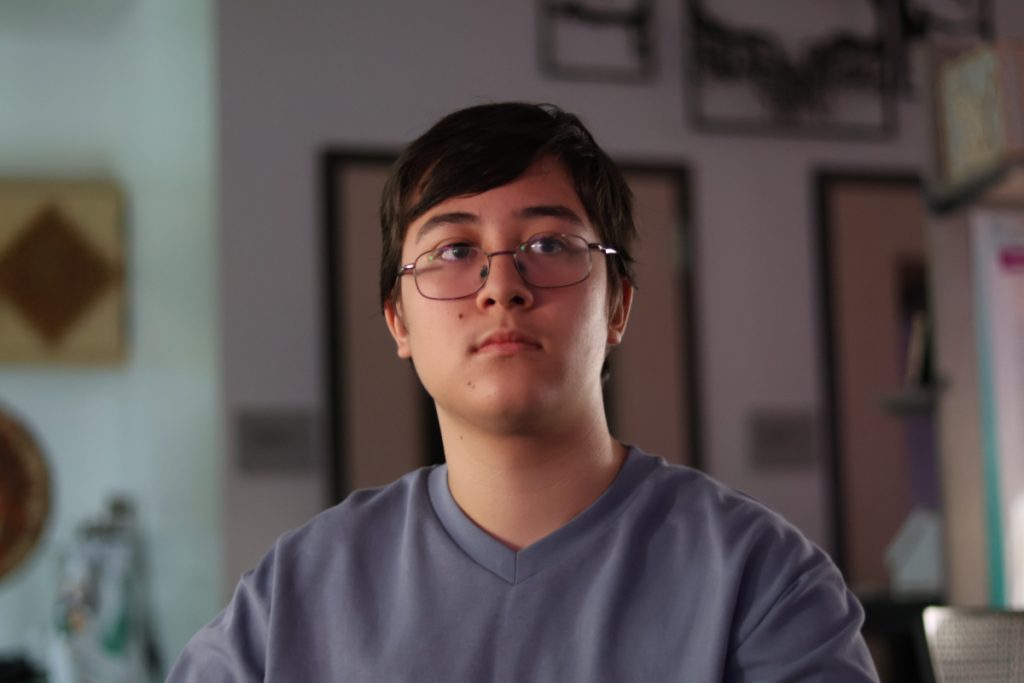
Edited Photographs


DSLR Practice Photos
At the start of the year, we had some DSLR Practice Sessions. In these sessions, we went over a few main types of “modes” on our DSLR camera. These include:
- Av (Aperture value) Mode — This mode lets the user control the f-stop, which is the depth of field. When this mode is activated, the camera will automatically control the shutter speed.
- Tv (Time Value) Mode — This mode lets the user control the shutter speed, which is how long the camera’s shutter is open. This can be used to brighten or darken images, and is useful when doing light painting. When this mode is activated, the camera automatically controls the f-stop.
- P (Program) Mode — This mode gives the f-stop and shutter speed control to the camera.
- M (Manual) Mode — This mode gives the f-stop and shutter speed control to the user.
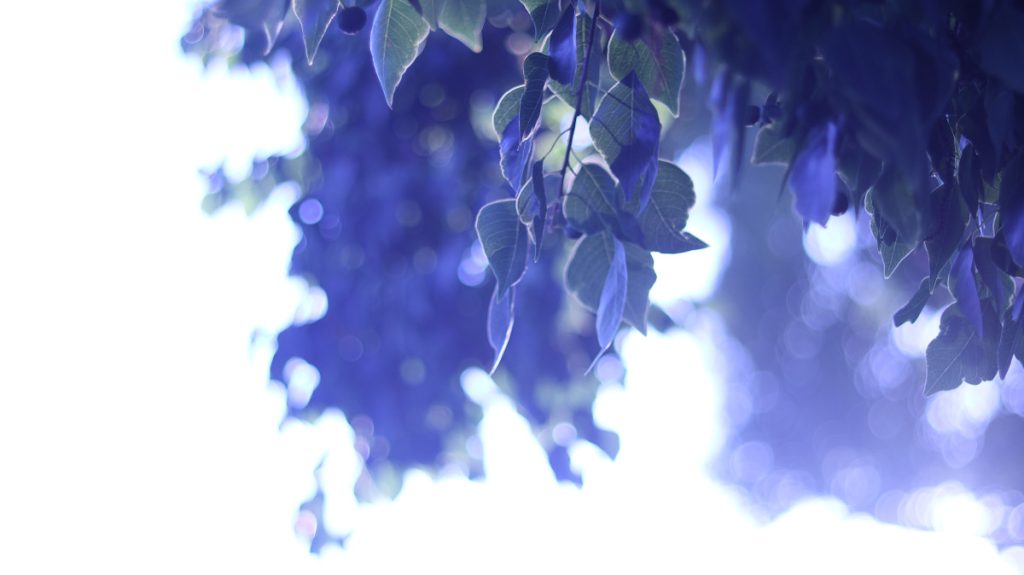
During these practice lessons, we learned how to do light painting, ISO (exposure), and white balance. I’m grateful that we had this initial lessons before jumping into the photo blogs, since taking a good-looking picture is harder than I initially thought.
Throughout are time practicing taking photos, I went around school campus to take some pictures of some plants to practice all those newly aquired skills.


Reflections
The English and Digital Media’s Conceptual unit has been an interesting ride. This unit helped me grasped key concepts that are necessary for every other Freestyle Academy unit later on, and was probably be my weakest in terms of getting work done, but at least that will show how much I have improved over the months.
I can’t say that this was my favorite unit, but it certainly was an important one.

Introduction

In Animation class, we started by learning the basics of animation, In the conceptual unit, we focused on animations that require one to make a physical object. For example, we made a few flip books and even made a stop motion animation.
Freestyle Animation classes let me build a foundation for more complex assignments and projects. Since we used paper and other physical objects, we couldn’t rely on any digital software, which made it easier to learn the fundamentals of animation.
Getting to Know Me Assignment
Since I was young, I loved to do coding and make video games from scratch, and it has grown into a passion that I want to do when I’m older in life. However, while knowledge of game design elements of game logic, playability, etc. are necessary to know, there was one area in development that I severely lacked knowledge in. I wasn’t the best at designing characters, doing animation with them, and I didn’t know how to properly do cutscenes. This is why I took the Animation class, to further my understanding of these topics. Also, I’ve heard from other people that this class was the most fun.
I have a few favorite videogames, pretty much all of them being indie games. These include Omori, In Stars and Time, Celeste, and Undertale, but I also like other types of non-indie videogames like Minecraft. Right now the video game I play the most is Geometry Dash, though in my opinion my favorite videogame of all time is definitely between the first four videogames I mentioned.
I like to make music, not really from an instrument but instead from a DAW. The main one I use is Ableton, and it’s the one I’m most comfortable with. The music I make is… alright I guess. I’m still learning and have a lot of room for improvement. Usually the music I make are for tracks for projects I make, since all videogames need music in my opinion. I particularly like ambience tracks or “weird” songs. Before using Ableton, I used Garage Band, but now that I am looking back I have no clue how I used that kind of platform to make music. The amount of things you can do in it are very limited.
I never really have had a favorite TV show or movie, since I don’t really watch television. The stuff I watch on TV usually consists of Chinese anime and some shows that I watch with my parents. Usually if I watch anything else it would be on an airplane that offers media entertainment. My favorite movie of the stuff I watched recently was Wicked, which honestly is just a superb show I would recommend anyone to watch . The music is absolutely phenomenal. I can’t wait for the sequel, which I think is premiering in November of this year so that’s nice. I might try to see it in movies this time instead of on an airplane. I rarely go to movies, the last one I have been to was for some Miku movie, where the Miku can’t sing – honestly I don’t really remember what it was called. It was a good movie though the songs were great.
If I had to choose my favorite food, it would probably go to sushi. It has always been my favorite food and I doubt that will ever change. Honestly I love pretty much all Japanese food too. Besides Japanese food, I like mac and cheese, probably stemming from the fact that I make it for myself every week on Wednesdays. It’s sort of a tradition at this point I guess. I never really been to many restaurants (besides if I’m on vacation) so usually all the food I eat is home-cooked, and I usually like it better this way anyway.
I’ve been trying to learn how to draw more. I don’t have much knowledge on drawing, I’m not really good at drawing characters and I’m more of someone who makes landscapes (Also that’s kind of another reason why I’m in Animation class) and when I make characters they look… “unique”. Usually when I make a videogame, my character would be something really simple just because of the fact that I just don’t know how to make anything good with any detail. For example, I would make a squishy blob as a character or just a square. It would be nice to have the ability to make something else.
The programming language that I usually use to code in is Java. I just felt that it is the most fun to use. I also use C# if I’m using Unity, since for one that’s the language that Unity uses and also because Unity really helps with a lot of the graphical things that could be tedious to set up. The user interface is great too. Also, C# is similar to Java so that’s a plus. I can use Python too, in fact that was my first “text-coding language”. Though I don’t really use Python; it can be annoying sometimes. There is also C and C++, which I was forced to learn and then I tried to erase it from my memory because it was insanely painful to use and has an incredibly steep learning curve. Yeah, I do know that it is very useful and very fast, I want to relearn it again but for now I think I’ll stick to Java. I also know Lua — this is from me wanting to make games on Roblox many years back. Lua is a pretty ok language, I don’t really see that many use cases but I think Wikipedia uses Lua for something I forgot.
Anyways, those are some of my interests and why I wanted to do Animation for Freestyle, I think it could just really benefit my passions in life. Thank you!
Reflecting back to what I wrote for this assignment, I feel as if most of my points still stand. Freestyle Animation class is so useful for my dream career, more than I realized initially. Not only does it teach me animation, but it gave me a pathway to express my creative side through their projects. Overall, I’m grateful for that my Animation class has shaped me to become a more rounded person.
History of Animation
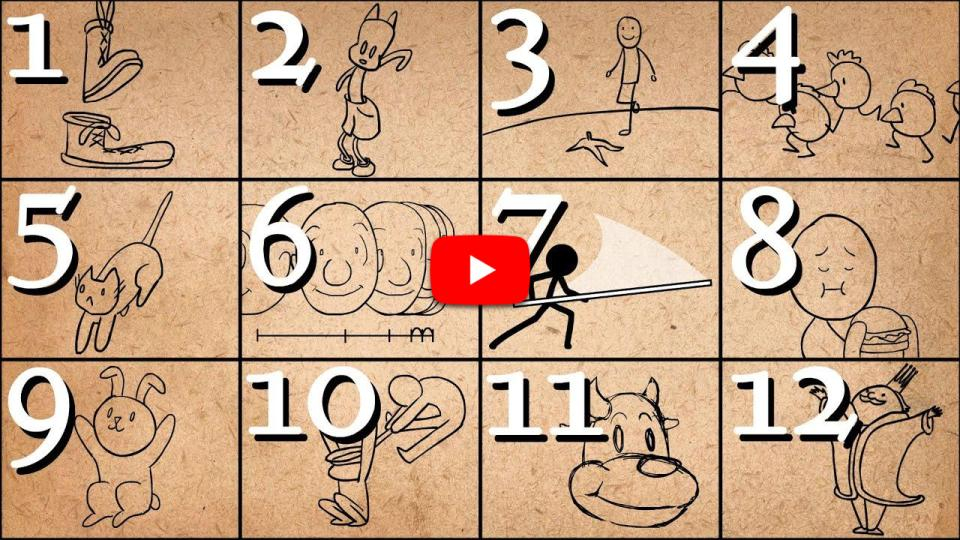
When starting the Conceptual unit, we were tasked to write a little bit about the history of Animation. The PDF document of my assignment is shown below.
Praxinoscope Zoetrope
The Praxinoscope and the Zoetrope are both old animation devices that turned a strip of paper into a moving image. While they both used different methods to show the animation, the general idea is to have a spinning disk that you can peer into from the side, showing the animated image.
In this project, we created the little slip of paper that goes into these devices. Using the 12 principles of animation, I decided I would like to utilize the skill of anticipation for a scene of a person jumping into some water. Even though the animation looked pretty simple overall, it was incredibly difficult to make. At the time, I was very new to animation, so I had to look up additional tutorials to teach me how to animate this sort of movement. After a lot of trial and error, I landed on this result:
If I were to do this project again, I would attempt to fix the diving animation’s trajectory. In this animation, the person jumps up, which looks fine, but then the horizontal momentum slows down harshly in the air and the person tumbles down.
This experience was my first taste on how “physical” animations work. Even though I probably won’t do something like this again, the experience gave me new knowledge that I could transfer to my digital animations.
Phenakistoscope Wheel
After the Zoetrope assignment, we were tasked to create a Phenakistoscope. A Phenakistoscope is an animation device from around the 1830s, where spinning a piece of paper with slits in front of a mirror created the illusion of movement. We didn’t actually need to include the slits in our animation though, since we created our animated image with a series of pictures.
For my Phenakistoscope, I took inspiration from another Phenakistoscope created last year named “Grab It” by Athena Driesen, and tried to make my version invoke the same kind of uneasiness emotion. I solely used color pencil, going back and forth between two draft versions with a lightboard to keep the animation consistent, and then tracing the draft onto a final cardboard version.

Looking back, if I could change one thing about this Phenakistoscope, I would make the animated-illusion more convincing. Unfortunately, the static looking image in the center breaks the illusion a bit, and a lot of the other animations such as the eye blinking and the green veins shifting aren’t apparent enough. I do love the burning heart though.
Flipbook Animation Projects
I’ve recently been inspired by abstract “motion designer” type animations, so for my two flipbooks, I decided to create something similar. The idea of motion design is to bring objects to life through movement, and in my case, I did this by morphing objects into others.
For my first flipbook, I wanted to create a morbid scene that slowly turned into something beautiful. Unfortunately, I didn’t manage to finish the flipbook in time, but my animation teacher said that what I had was good enough.

For my second flipbook, I decided to go all in into the motion designer movement. This especially worked since the whole idea of this second flipbook project was to morph one shape to another. Similar to an “exquisite corpse” art piece, this was created by determining the first and last frame match up, and without knowing anything else, try to create a situation where the first frame becomes the last frame.
While this project was pretty fun, it was a bit frustrating sometimes to collaborate with others to ensure that the start and end frame matches up with others, especially since at the time, one of my partners was on vacation. Nevertheless, we managed to complete it all. The starting shape that we decided on was a sign, and the ending shape was a moon. I did have to add extra things to the sign to make it identical to my partner’s, but I think it was a blessing disguised as a curse because of how cool it looked for the overhead view of the road to turn into a broken wall.
Stop Motion Paper Cutout Animation
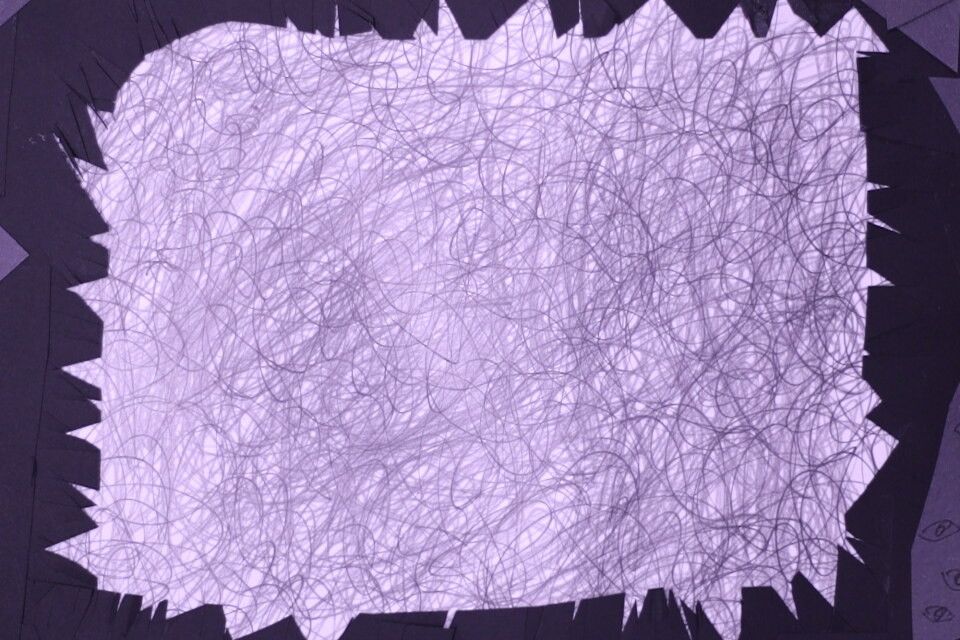
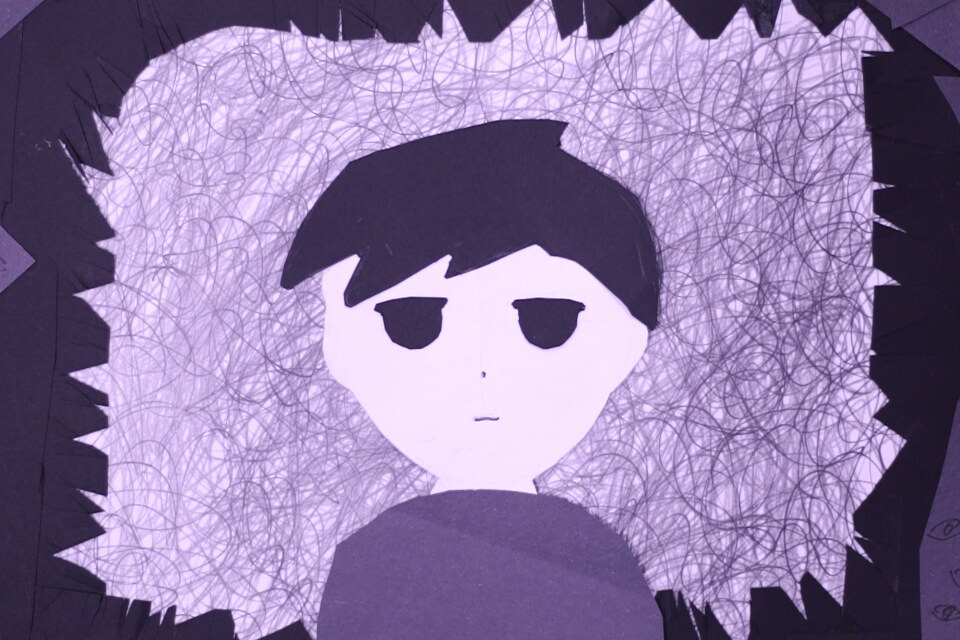
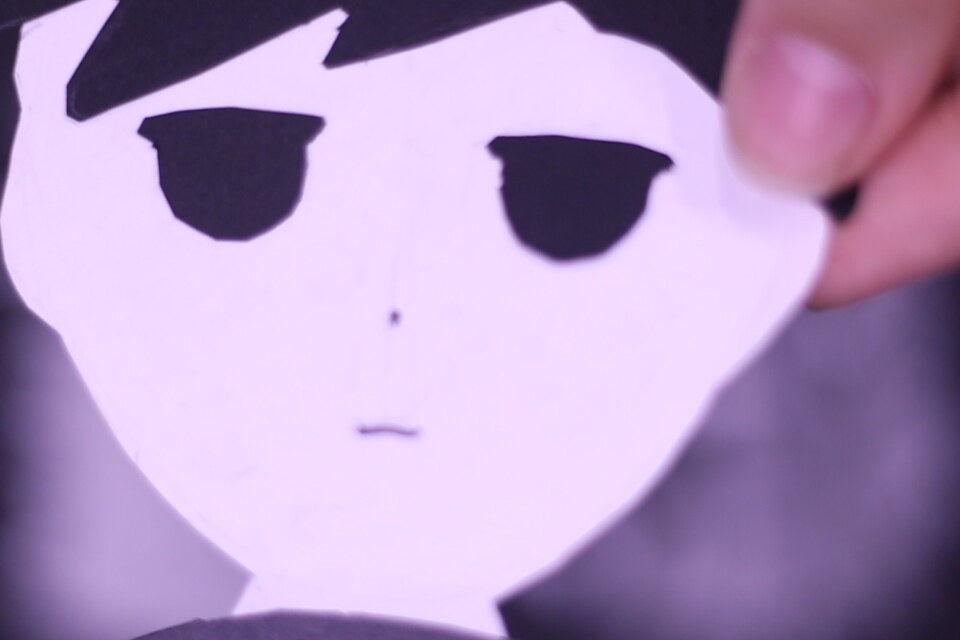
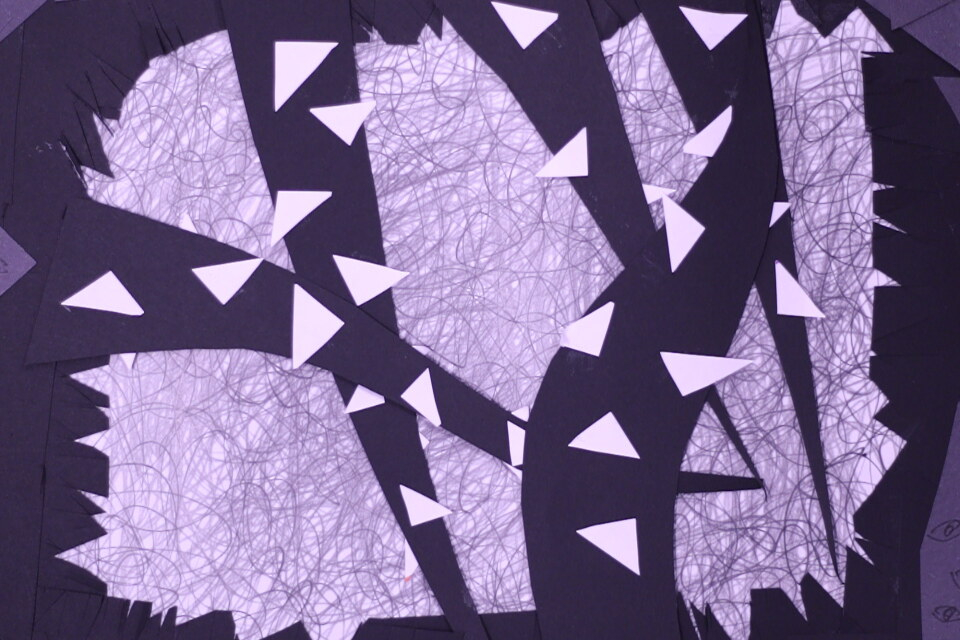
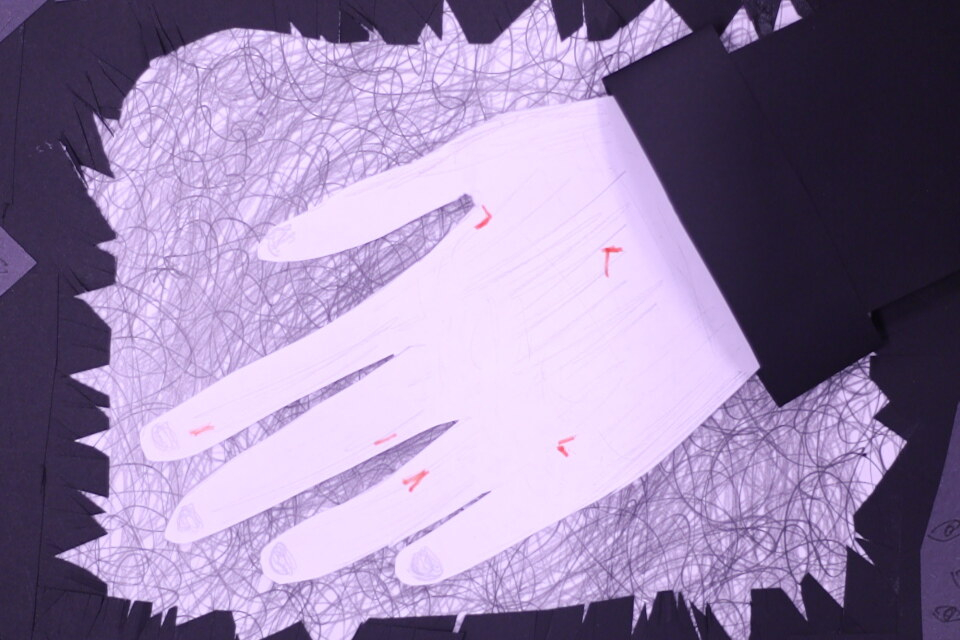
For my Paper Stop Motion project, I decided to take inspiration from a game called Omori. The animation starts out with a boy in a strange blue and purple environment, which I made by using Dragonframe’s color-curves feature. I created some spiky black tentacles that wrap around him and give him some small cuts, and the entire scene just becomes incredibly chaotic. Since I was trying to go for a horror vibe, the scenes rapidly go from one to another with some flashes. Some messages appear during this section, and while I think they are a bit “cringy”, it works to set up the tone. Eventually, everything fades to white with the message saying “you’ll be okay”, which is another reference to Omori.
Overall, the process making this animation was really fun, and I enjoyed creating the little short effects using the DSLR camera. If I were to do this project again, I would try to let the animation has room to breathe, since it’s a bit hard to see what is happening on screen.
Stop Motion Object Animation
Similar to my Paper Stop Motion project, I wanted to create a horror-like story. To be frank, I didn’t have much of a direction in mind when creating this, except for the few characters I had at hand or were easy to make: a lump of clay, a roll of tape, and a pair of scissors. I sort of just kept taking pictures until something worked.
One annoyance, however, is the fact that the clay dries and can get messed up pretty easily. I had to work around this by remaking the little clay blob at certain occasions.
To make those grainy black and white effects, I actually used the camera’s built in filter feature. I’ve actually used it in the Stop Motion Paper Cutout animation as well.
Overall, this process was pretty enjoyable. It felt almost zen-like to slowly move the characters into different positions, even in the intense sections of the video.
Reflections
This first unit of animation has been a really great start! I can’t wait to see what we will do next.