Introduction
Through the conceptual unit, I got the chance to explore my creativity and use it to blend poetry, music, and design together in various projects. I developed my understanding of technical tools such as Adobe Photoshop, Adobe Premiere Pro, Adobe Audition, and a DSLR camera, and I employed them in my projects.
As a Freestyle student, I get to learn many new skills and mediums for digital art. This is especially true for Digital Media where I learned about photo editing, photography, and making music. In English, I was allowed the chance to choose the topics and themes I wanted to write about. I strongly value the freedom that Freestyle gives me to be as creative as I want to be in my projects and assignments.
Haiku
In the Haiku Project, I wrote an original haiku based on this prompt: “I am exploring the feeling of resignation through transcendence.”
As snow melts away,
she bathes Eearth in a memoir.
She guides us beyond.
I then came up with a metaphor that represented my haiku, a white rose in full bloom juxtaposed with a wilted rose, and captured it through photography. I also recorded myself reciting the haiku using a Tascam recorder.
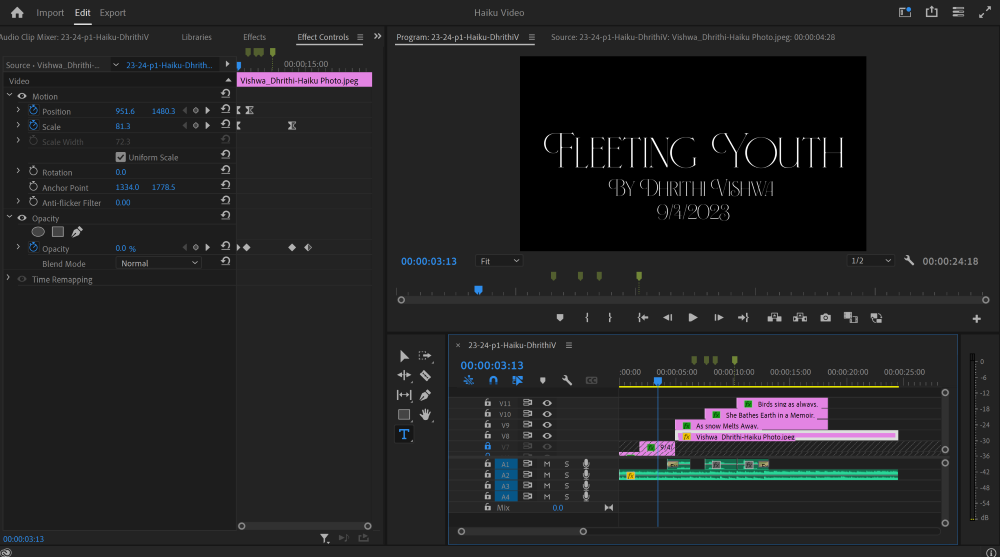
To wrap up the project, I used Premiere Pro to create a short video that combined the written haiku, photo, and recording together. I enjoyed picking music to fit the theme of my haiku and utilizing keyframes to make the video interesting. You can watch my haiku video above.
What I enjoyed most about the Haiku Project was the introduction I was given to skills from various subject areas. I learned how to write a haiku, use a Tascam recorder, and use Premiere Pro. I am sure these skills will prove to be useful in the future.
Essay: Why Art?
In the “Why Art?” essay, I had to answer the prompt “Why does art matter?”. To formulate my opinion, I began by developing my understanding of the meaning of art. While visiting the MOMA in San Francisco, I took note of which pieces moved me and why they did so. I learned that my interpretation of a piece and the artist’s artistic choices both come together to give meaning to an artwork. I then read and analyzed articles by theoretical physicist Brian Greene, Columbian artist Doris Salcedo, and art curator and professor Gavin Grindon. Each of the articles touched on the importance of art in a manner that stands relevant to the abilities, backgrounds, and experiences of the authors. After looking at different perspectives on why art matters, I decided to write about the relevance of art in politics and corporations and how it impacts our society.
You can listen to the audio version of my “Why Art?” essay below:
In my “Why Art?” presentation, I aimed to convey the essence of Hans Haacke’s work and the impacts it had on the art world and society. I spoke about his art movement, his artistic choices, and the figures he went up against. Ultimately, my goal was to give an introduction to the power of Institutional Critique art. You can watch my presentation below.
What I liked the most about the “Why Art?” essay was the freedom I was given. I got to research a topic that I am interested in and learn about an artist who shares a perspective on art with me. At the same time, I learned how to analyze artistic choices and their implications. I don’t think I would’ve had the opportunity to write about this specific topic in any other English class, so I am grateful that I got to write about it at Freestyle. I believe this project has helped me grow as a digital artist because I now have a deeper understanding of the meaning of art and the impacts it has on society, and I keep these impacts in mind as I work on my art projects.
Photoshop Blend Modes
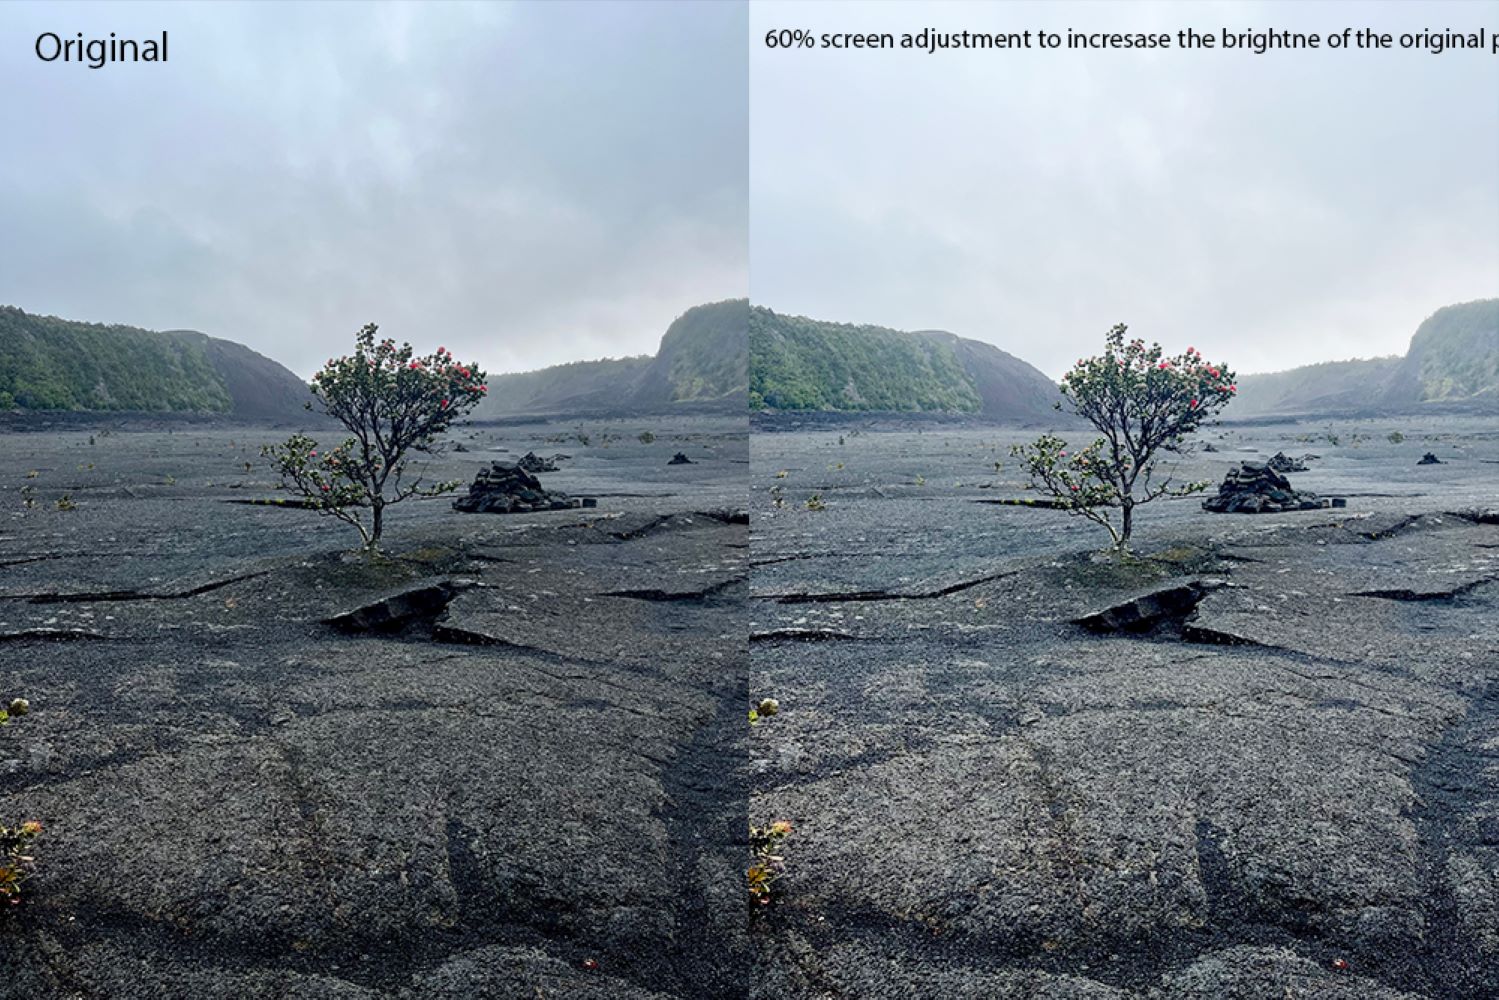
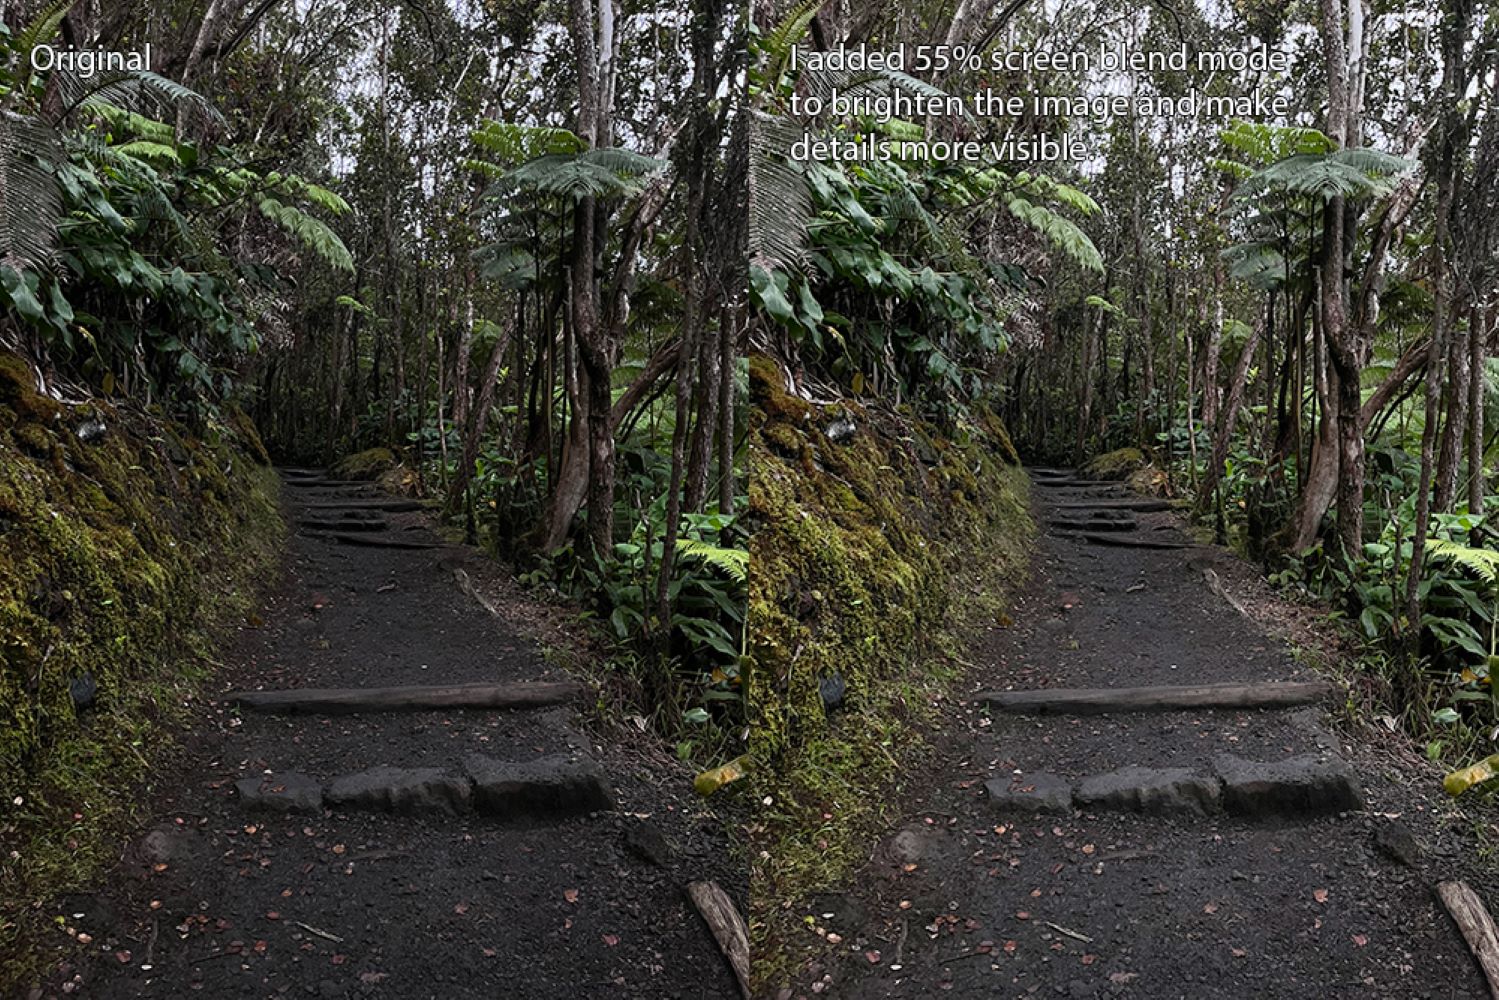
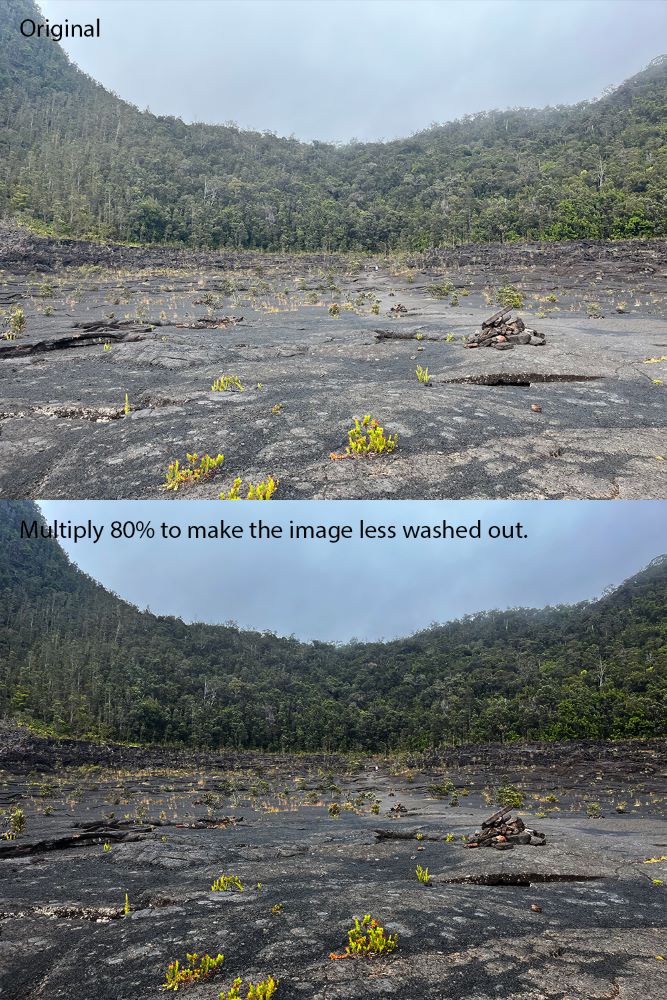
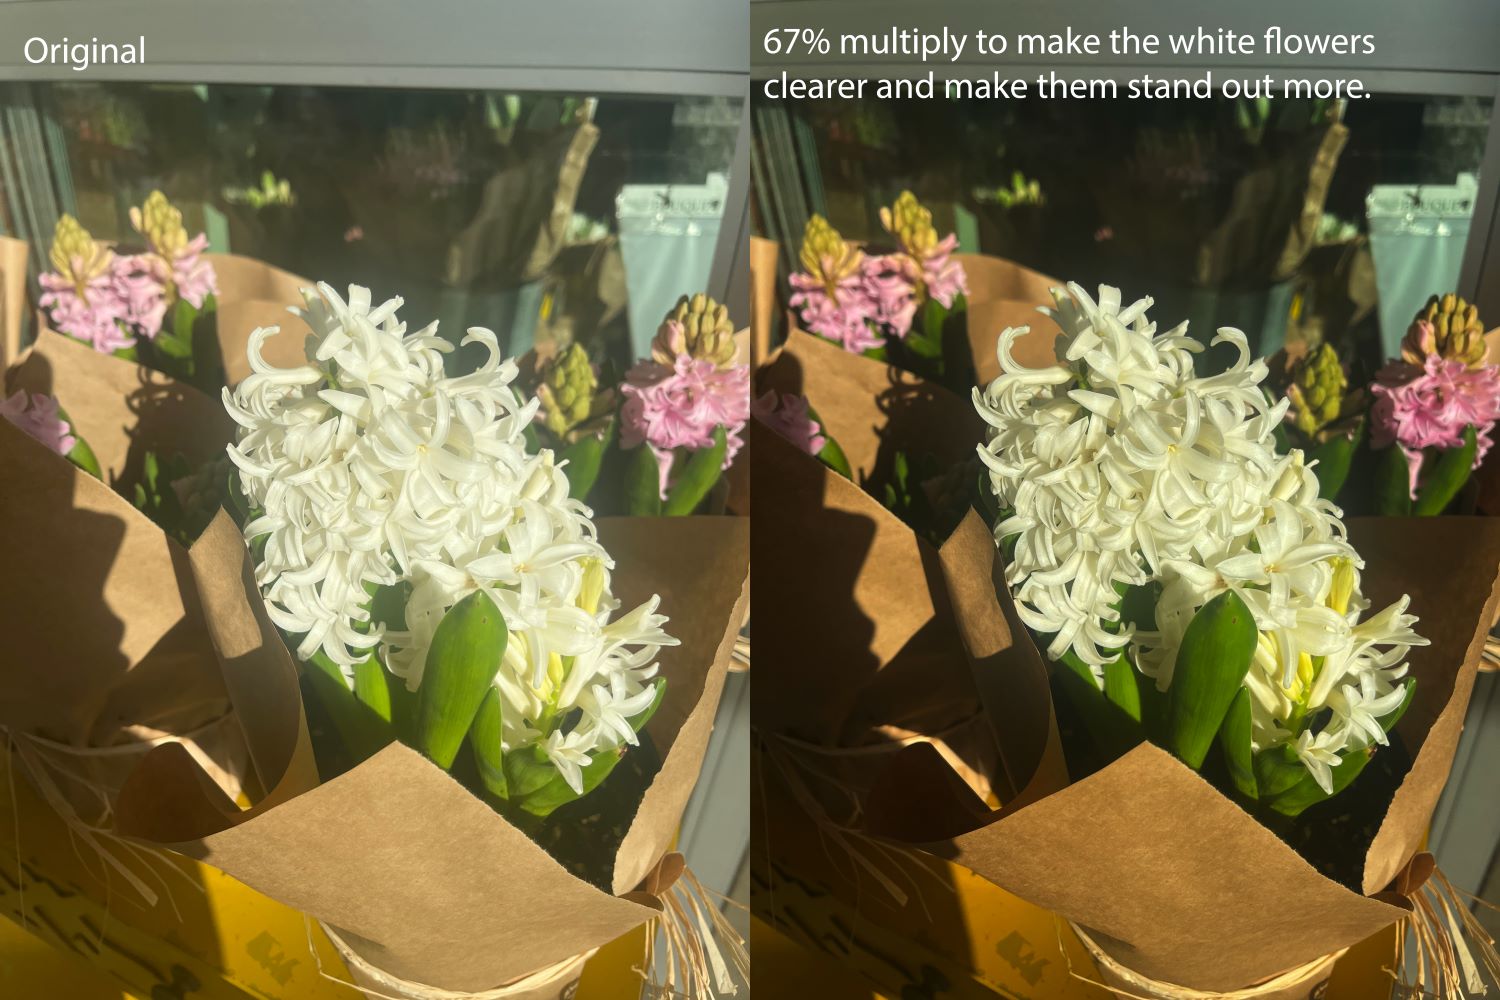
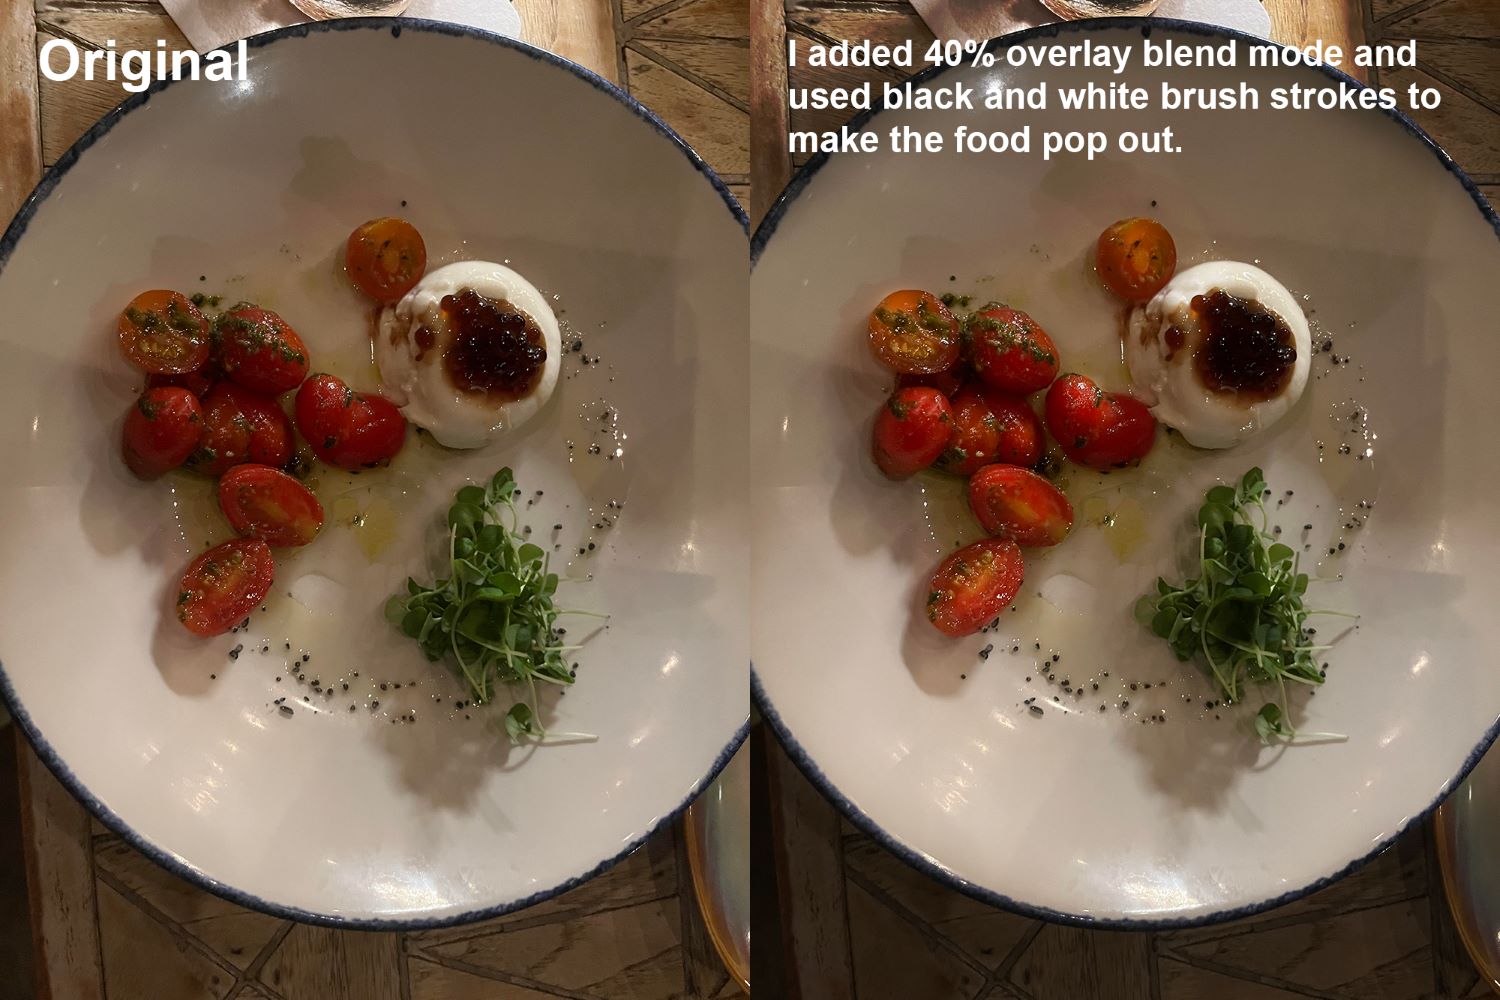
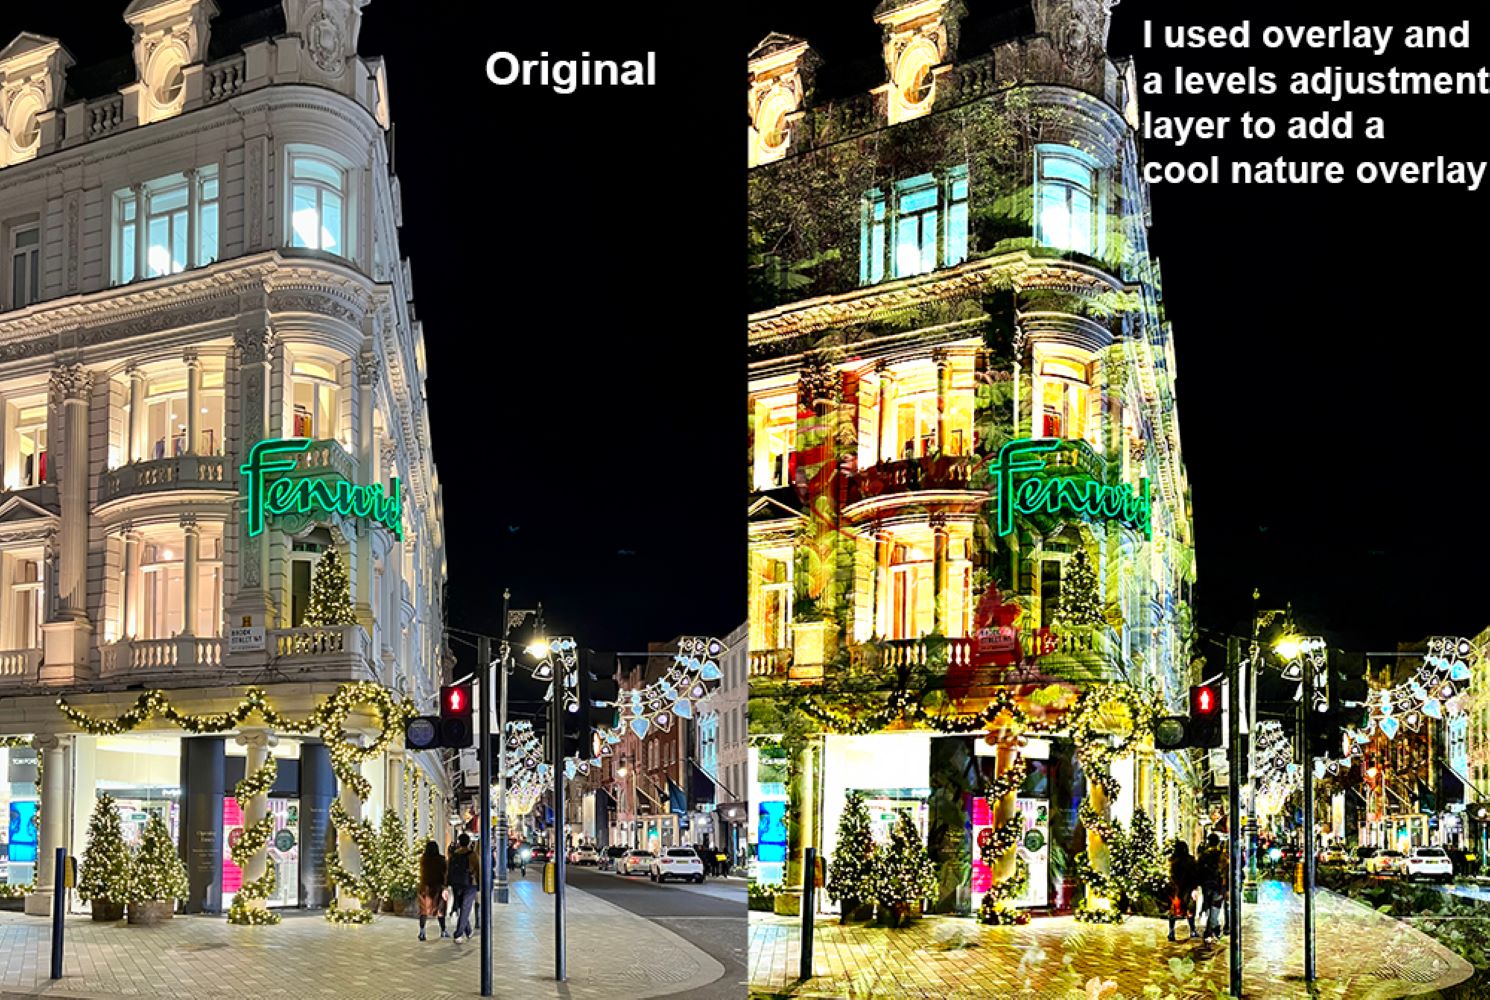
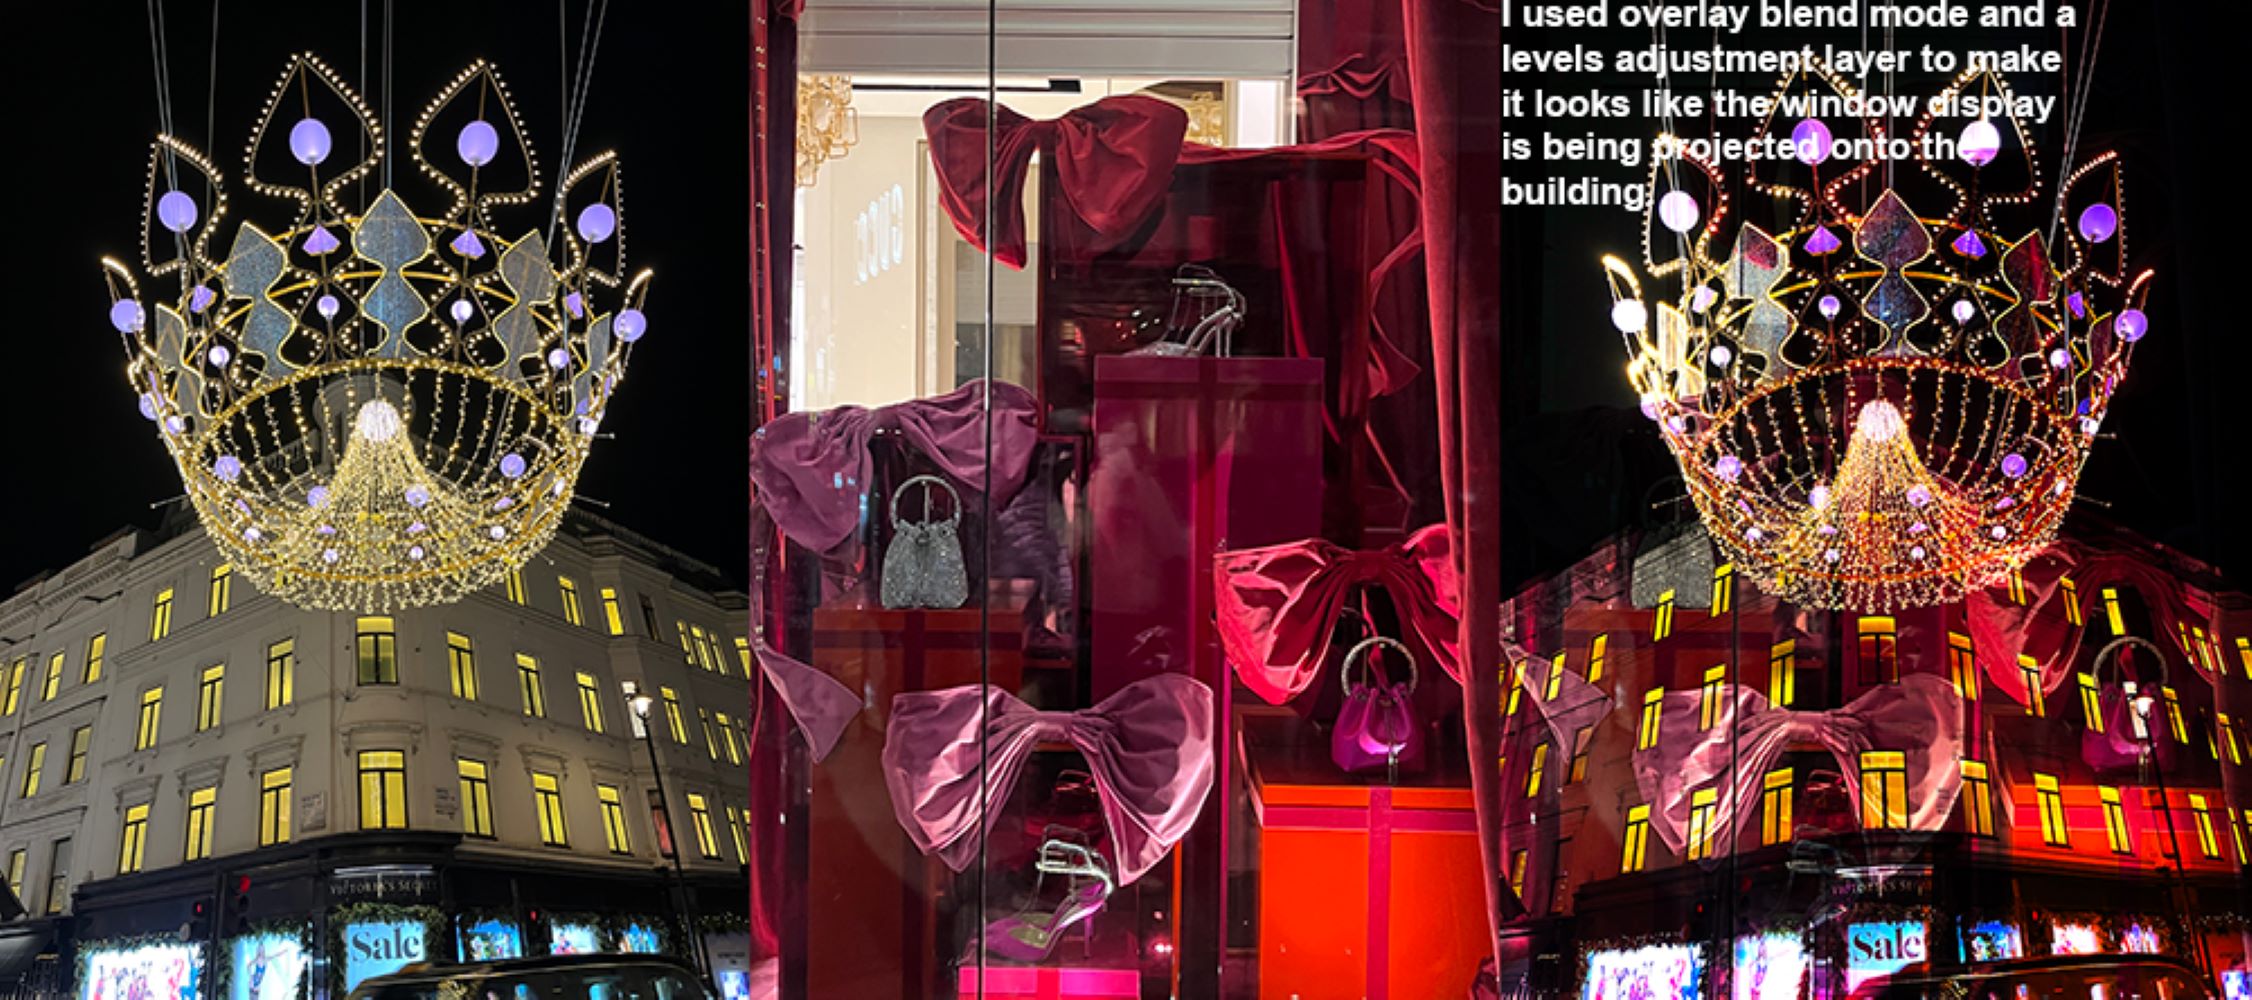
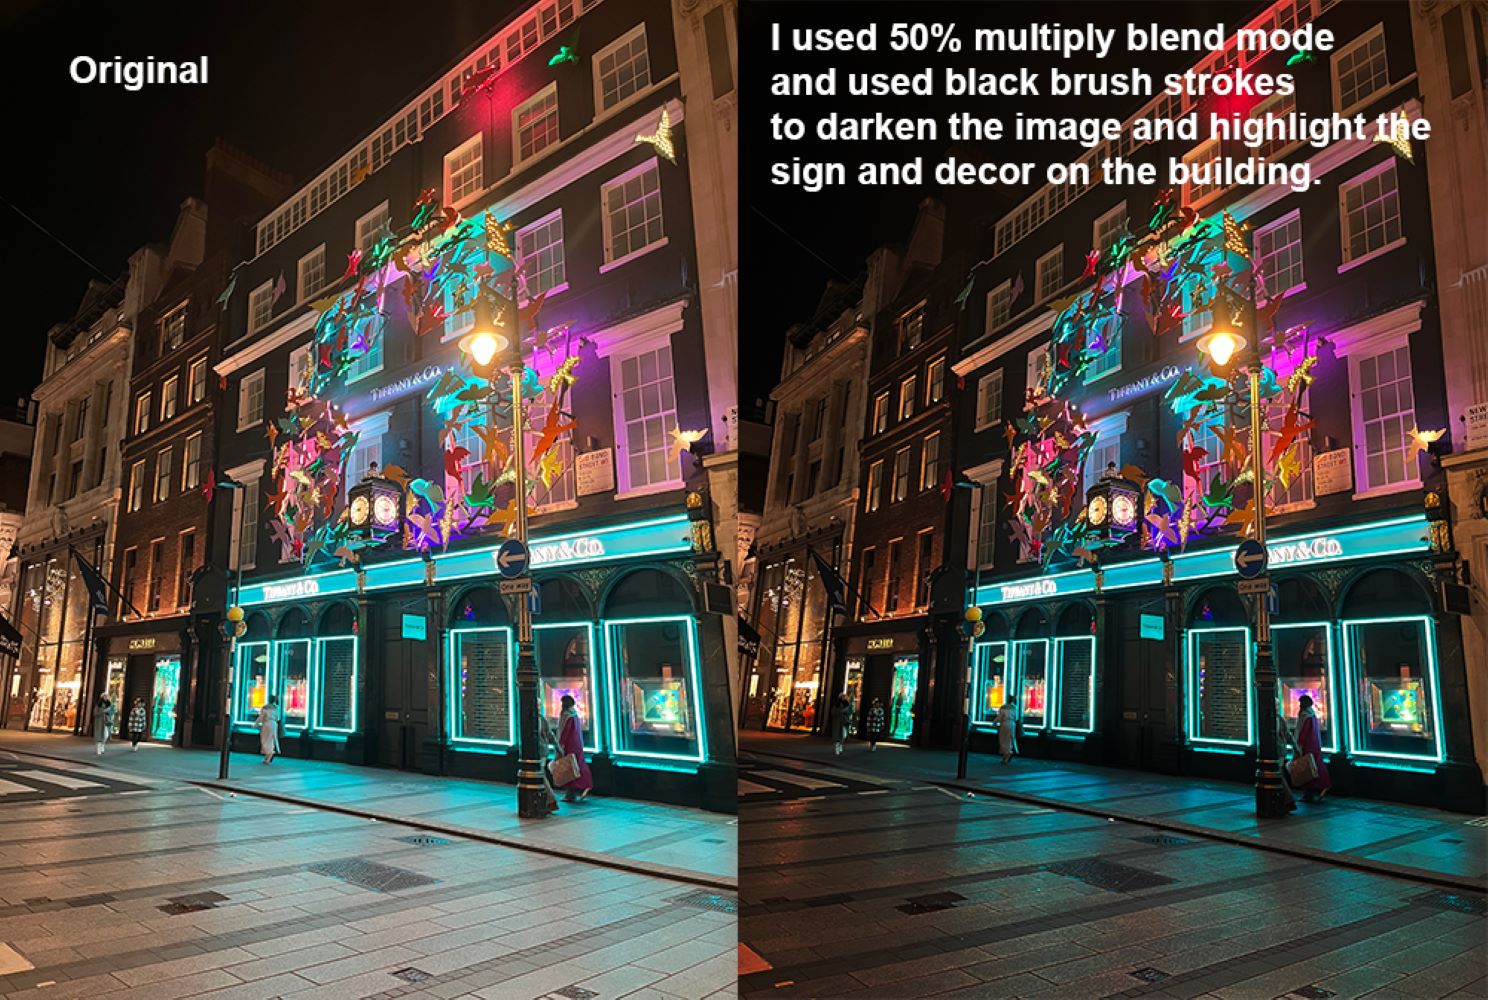
In Digital Media, I learned how to utilize blend modes in Photoshop to adjust the brightness and contrast in images. I gained an in-depth understanding of how various blend modes function and the different ways to use them. The blend modes I learned about are Screen, Multiply, and Overlay. I particularly enjoyed learning how to use the “levels” adjustment to blend images to create cool patterns and textures. I can see myself using these Photoshop skills to edit photos I take with my camera and also some of my graphic design projects.


Design
In Design, I learned about the Elements of Art and Principles of Design:
Elements of Art
Line, Shape, Color, Form, Texture, Value, Space
Principles of Design
Pattern, Contrast, Emphasis, Balance, Scale, Harmony, Movement, Unity, Variety
I learned to incorporate these elements and principles in multiple Design projects. I also gained experience in using a DSLR camera to take visually artistic photos and learned to use Photoshop to enhance them. Gaining these technical skills has allowed me to spread my wings as a designer and I have been able to use them in many of my projects, both in and out of Freestyle.
Name Photography
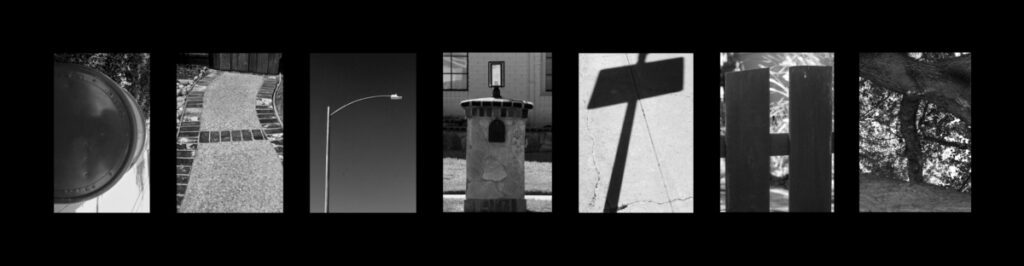
In the Name Photography project, I used a DSLR camera to photograph seemingly mundane things outside that resembled letters of my name. This project required me to look at the world through the eyes of an artist to identify things that may look like letters if they were just flipped or rotated 90 degrees. I also edited these photos in Photoshop while keeping value in mind to give my photos just the right amount of contrast.
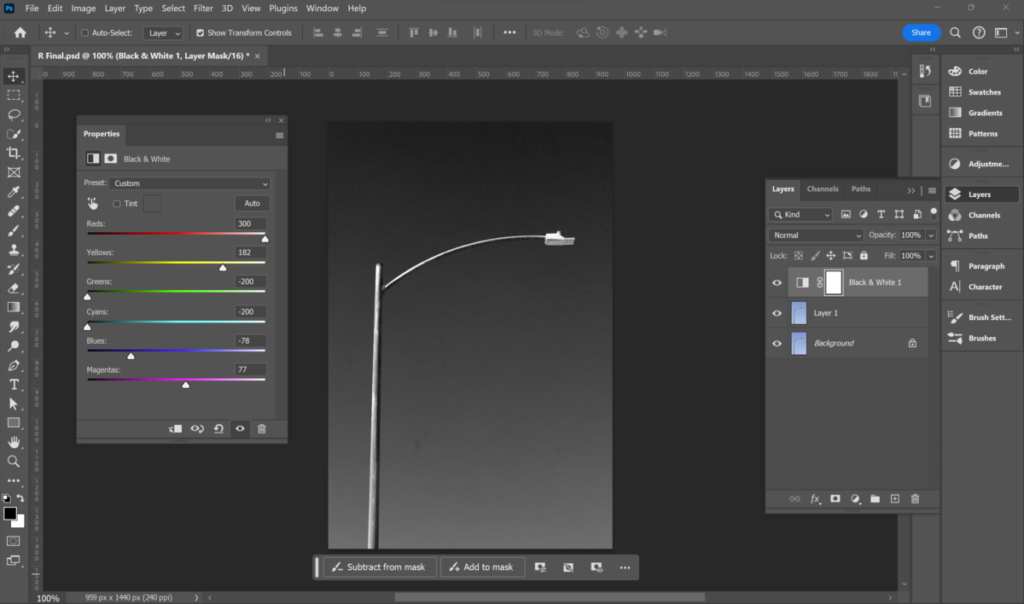
Pictured above is the Photoshop interface for the letter ‘r.’ Under the “Properties” tab are channels for various colors. To adjust the B&W values of the photo, I had to change the channels. In this specific photo, I found that changing yellows worked best for brightening the white, reds for the gray, and blues for darkening the black. To apply these adjustments to the photograph, I put them on an Adjustment Layer which you can see under the “Layers” tab titled “Black & White 1.”
Conceptual Photo
In the Conceptual Photo project, I used a DSLR camera to create a conceptual art piece through photography. Conceptual art is defined as art wherein “the idea or concept presented by the artist is considered more important than its appearance or execution” (Oxford Languages). For this project, my conceptual art piece had to exemplify the prompt I was given in the Haiku Project: “I am exploring the feeling of resignation through transcendence.”
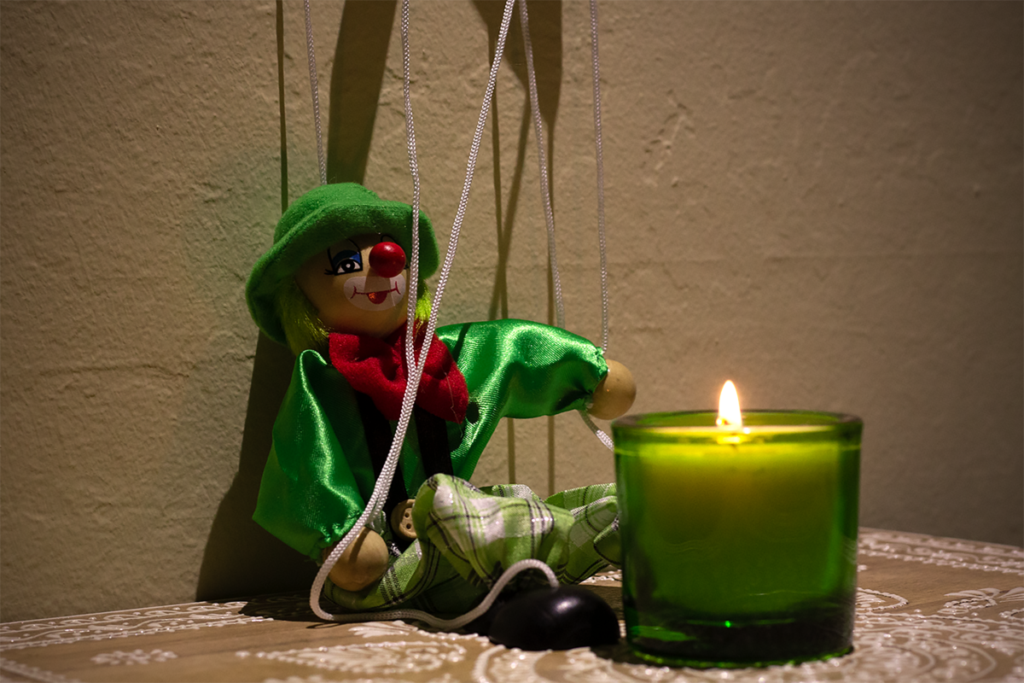
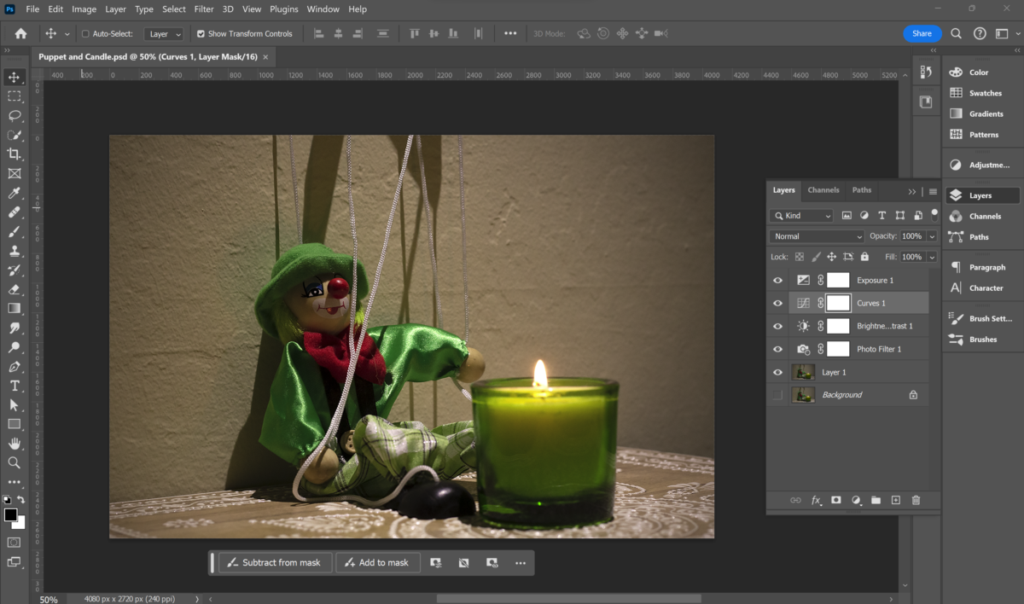
Pictured above is the Photoshop interface for my conceptual art piece, “Puppet and “Candle.” Under the “Layers” tab, you can see four different layers above the photo. These are adjustment layers that I used to enhance my photo to my liking. I used the “Exposure” adjustment to expose my image (adjusting light distribution). I used “Curves” to adjust brightness and contrast in relation to color. I also used “Brightness and Contrast” to adjust the brightness and contrast on a more specific level. Finally, I used a photo filter to add orange warmth to my photo.
Through these projects, I grew as a designer, began to think like an artist, and learned technical skills that I will continue to use in future projects. As a Design student, I strongly value the new skills I am constantly being taught. Be it theory or software, I am always learning something new in Design that makes me a better digital artist.