Introduction
“How can I use unconventional forms to express myself?”
During the conceptual project, we were challenged to express ourselves in new ways including photography, poetry, and video editing. We were often given a simple concept or idea and it was up to us to put our own take on whatever we were given.
I value being an English student at Freestyle because we get to express a lot more creativity than you would in a traditional high school English class. In a normal class, you would read lots of texts and analyze them, and write essays. However, in our class, we look at work from influential authors and use it to inspire our own work. We wrote our own haikus, poems, and short stories, drawing inspiration from our lives and works we had read in our class.
I value being a Digital Media student at Freestyle because it teaches us a variety of useful skills we can apply when we are creating digital projects such as taking and editing photos, putting together videos, and modifying audio. I especially appreciate the fact that we are taught a variety of tools within these programs as some other classes I have taken in the past only show us the basics and we can’t do anything on our own. Here in Freestyle we learn how to effectively use what we are given.
Photo Haiku
Poetry
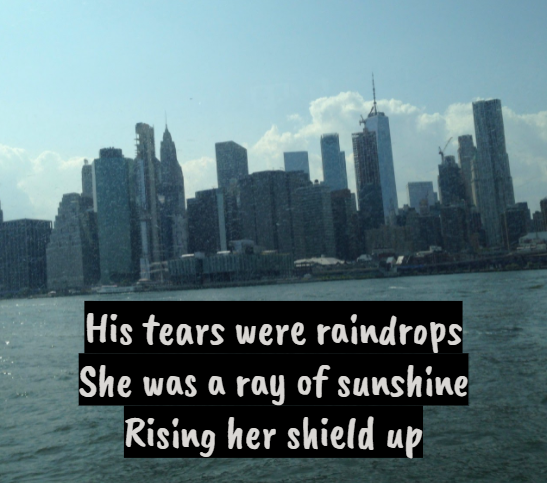
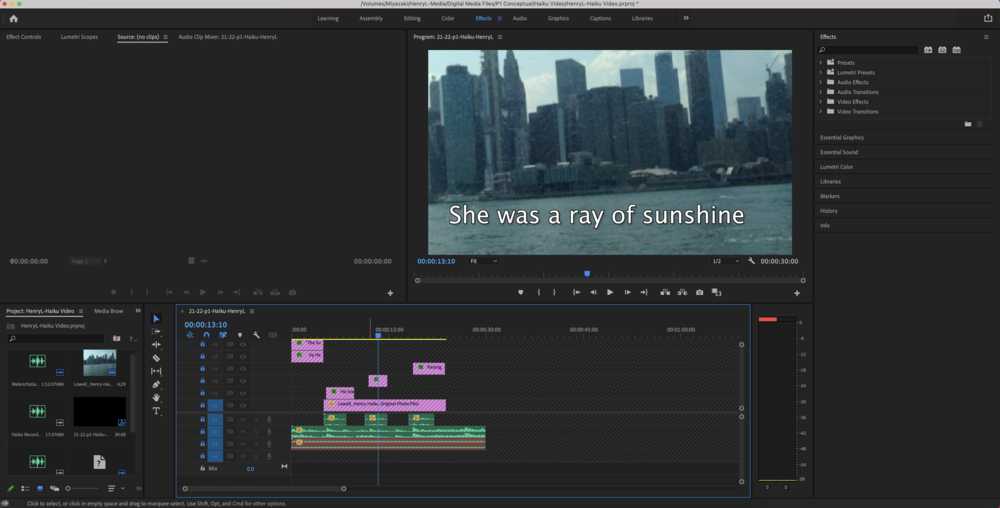
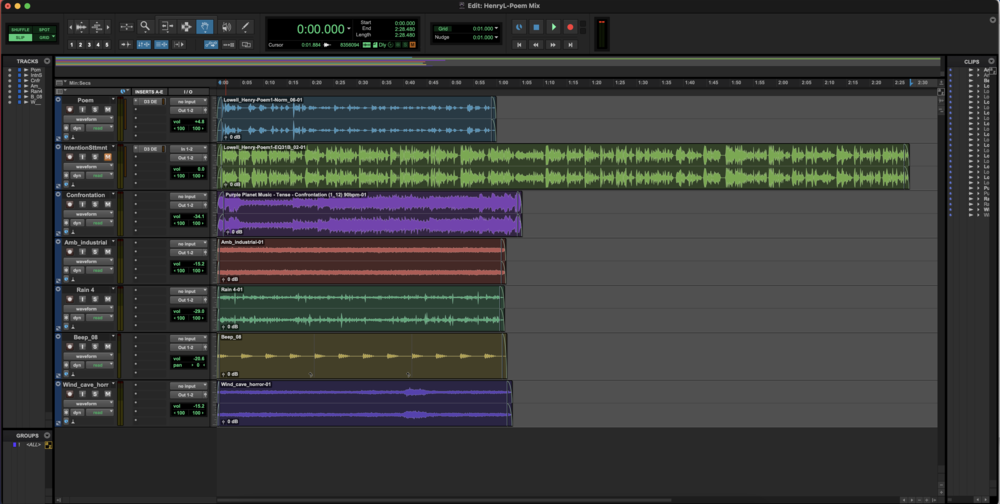
During our poetry unit in English, instead of focusing on types of poetry that would restrict the author, we created free verse poems that allowed us to be creative. There still were some requirements, such as creating different lines and stanzas, and using figurative language. I decided to write my poem about a person whose mind is in constant conflict with itself. In Digital Media, I edited my poem onto a picture I had taken along with adding a recorded voice clip of myself reading the poem.

Photoshop Blend Modes
In Digital Media, we learned how to use photoshop to enhance our pictures. One tool we learned how to use was blend modes, which allowed us to lighten, darken, brush over, and combine photos. Using this technique, we were able to make photos that would have otherwise looked unattractive look good.
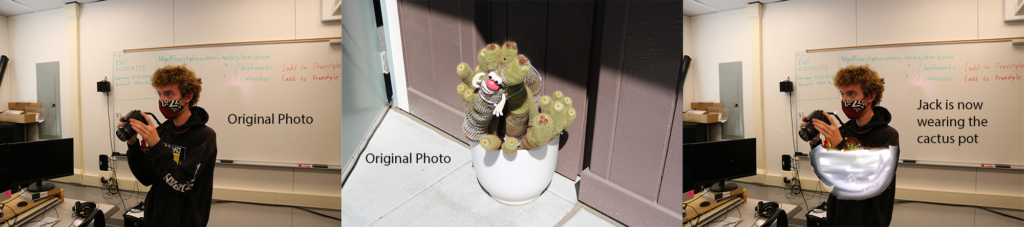
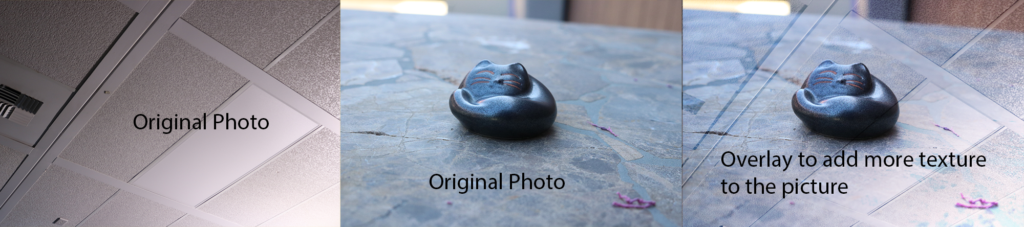
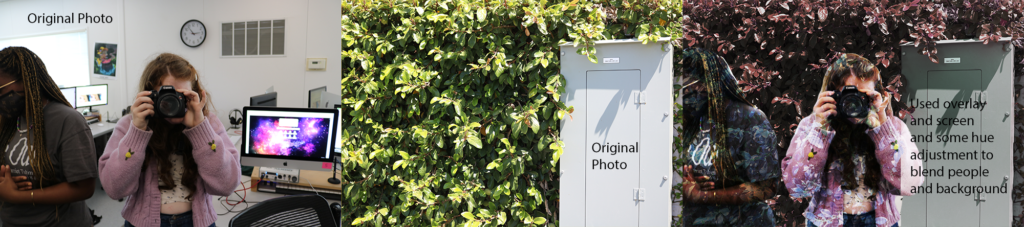
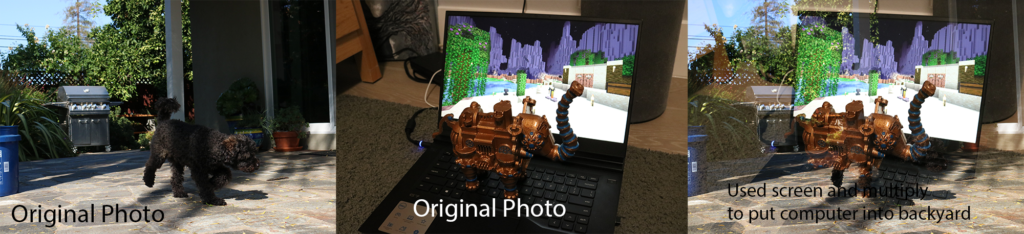
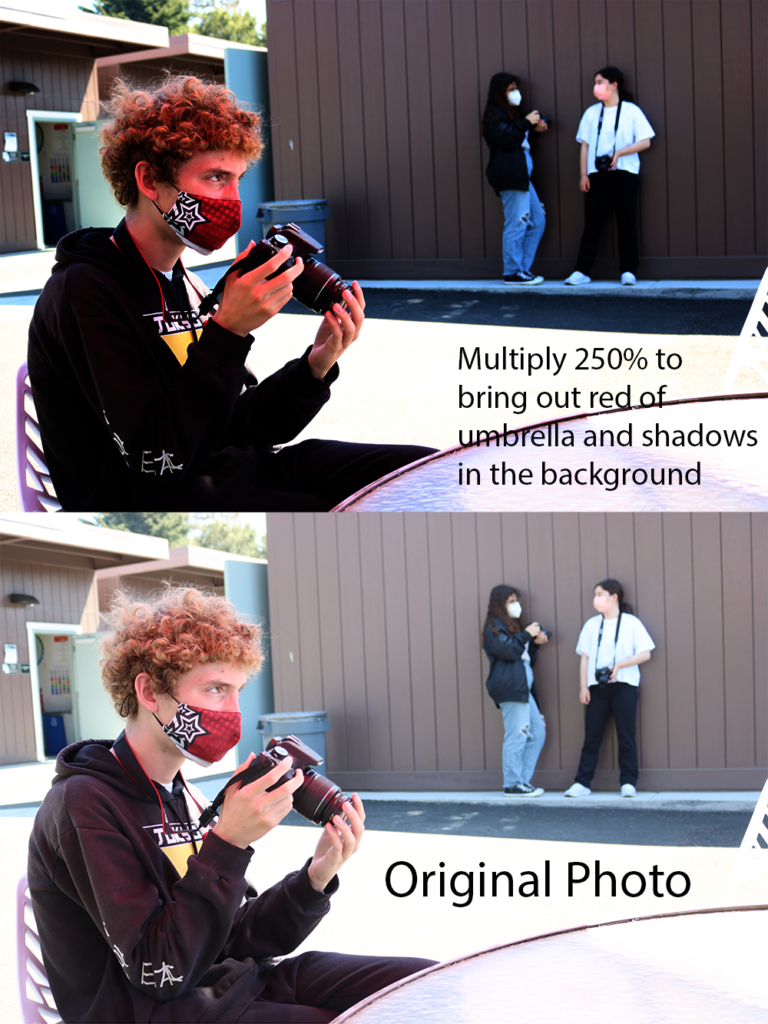
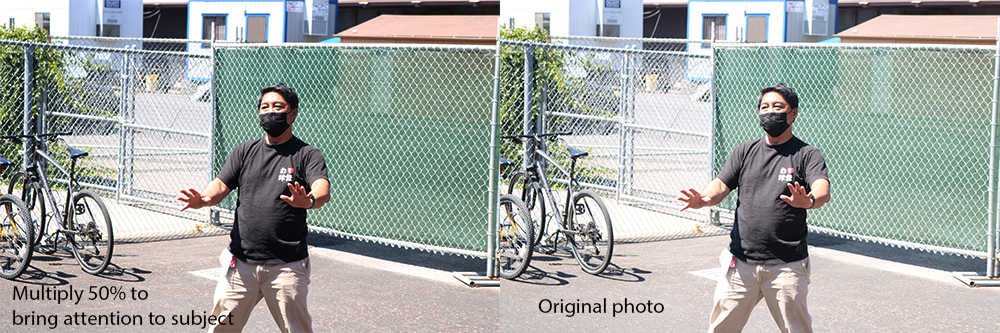
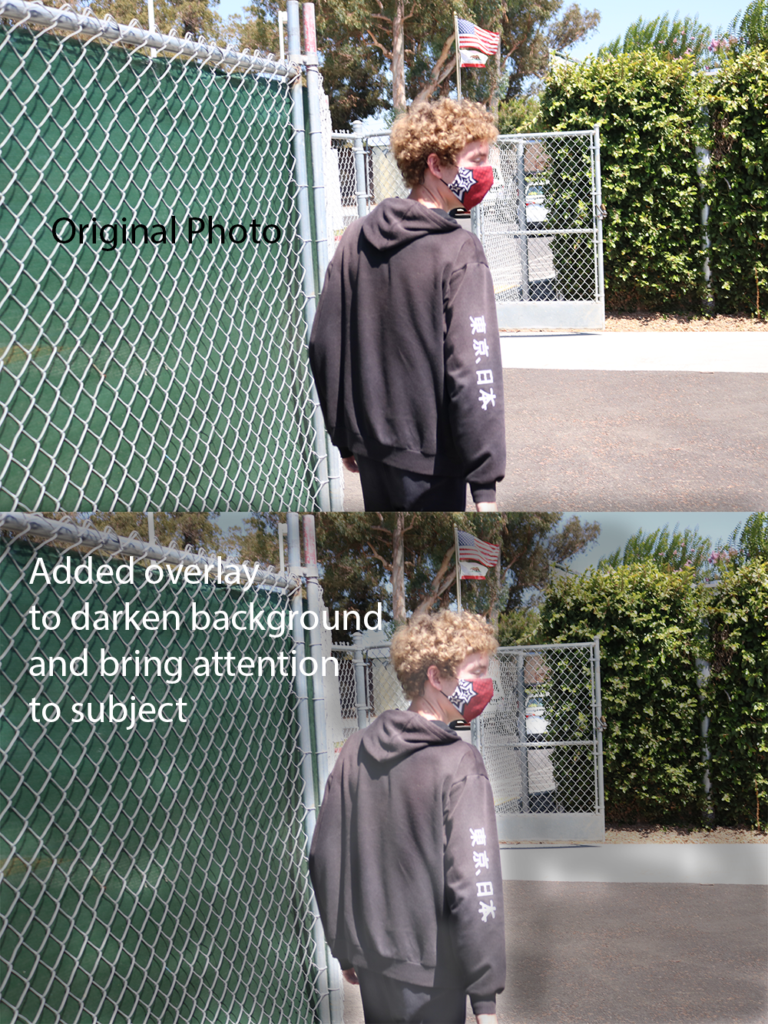
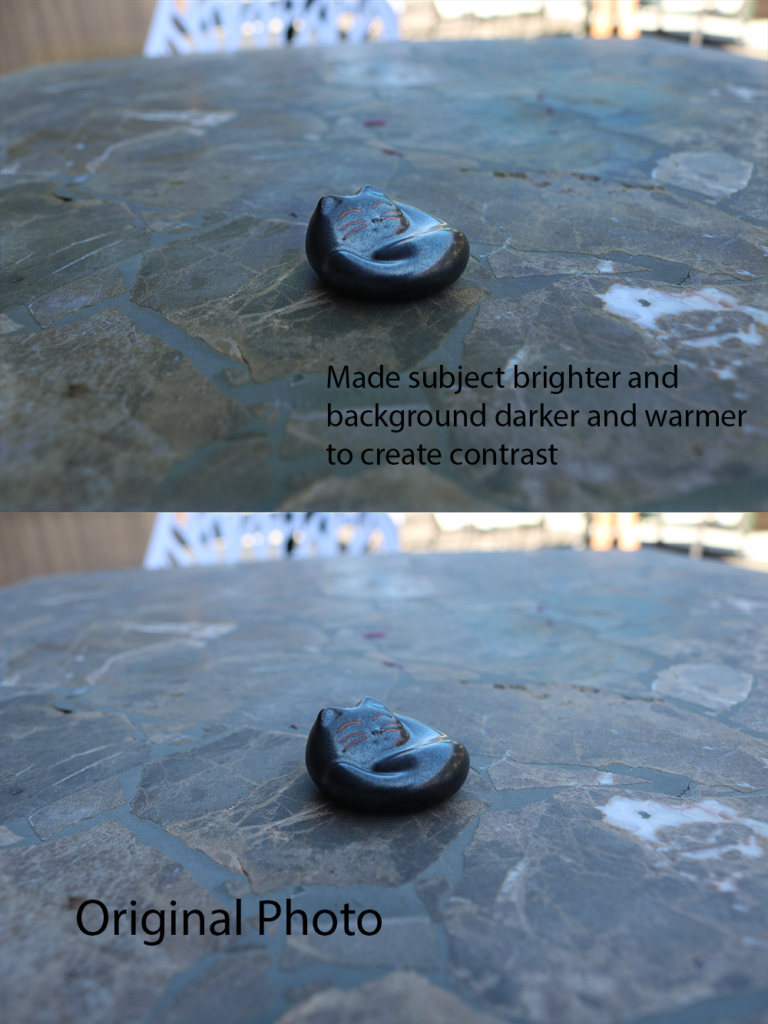
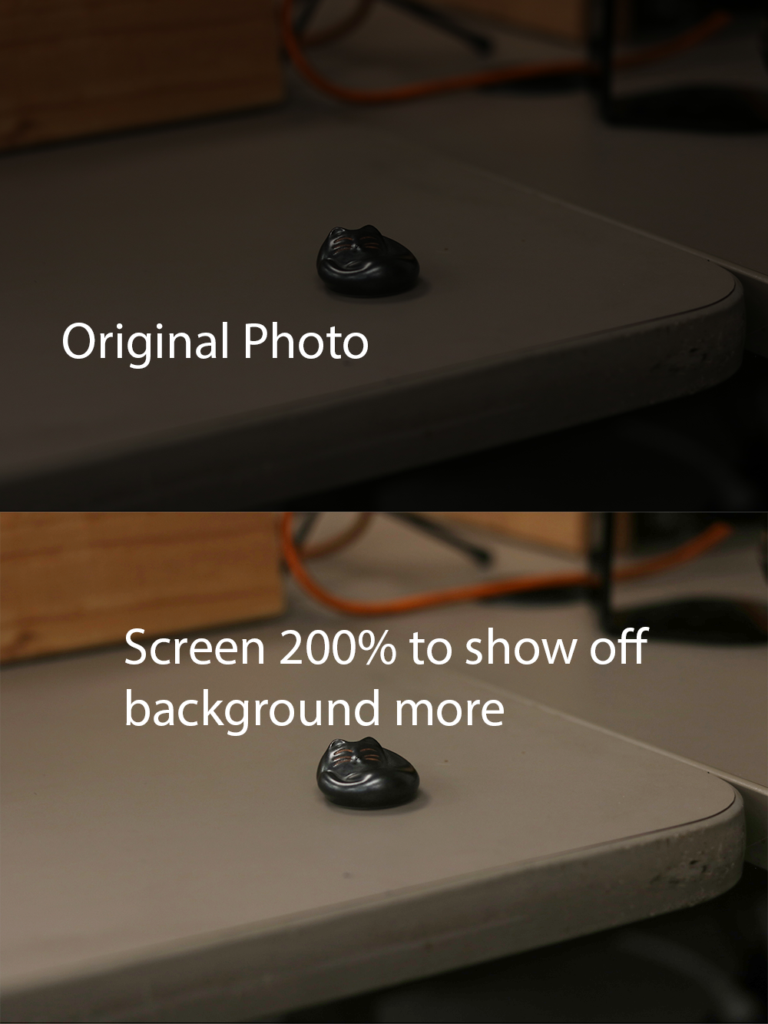
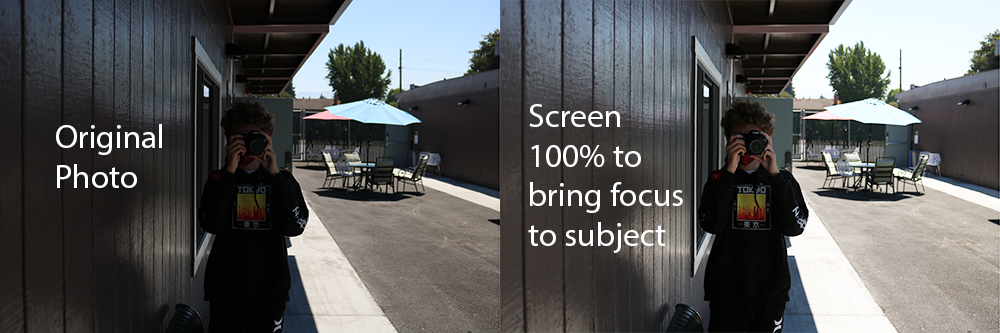
I enjoyed learning the blend modes on Photoshop. I had taken a Digital Art class in 9th grade and they didn’t explain them too well, but now I understand how to use them and where to apply them. I’ve even started using them for some personal projects because of what I learned. The idea behind it is very simple, but the applications are limitless. I valued that we are able to enhance our photos beyond what they originally were. Sometimes we have a picture that has the potential to be great, and just needs adjustments in lighting or some aspect needs more focus. Now we have the skills to combine and transform photos into something incredible.
Animation
As an animation student, one of the most valuable lessons I learned was how to use your mistakes as inspiration. The first instance of this was in my flipbook project. I had redrawn the cat about 40 times and I started to realize that it looked almost skeletal. As a result, I decided to make it transform into a skull. In my second flipbook project, I made another mistake where my stick figure started to look like it was falling down as I redrew it. To make it look intentional, I made them drop their hat. Besides that, it taught me how to be more precise with my drawings, as you have to make them look accurate to one another so that the illusion of movement is kept.
During the Zoetrope project, we created a strip where a character object would be doing something in a loop. For mine, I decided to do a smiley face with spring legs bouncing around. You could view the animation through the Zoetrope, which works by spinning your paper around the outer part and looking at the mirror inside to see the animation. (12 frames)
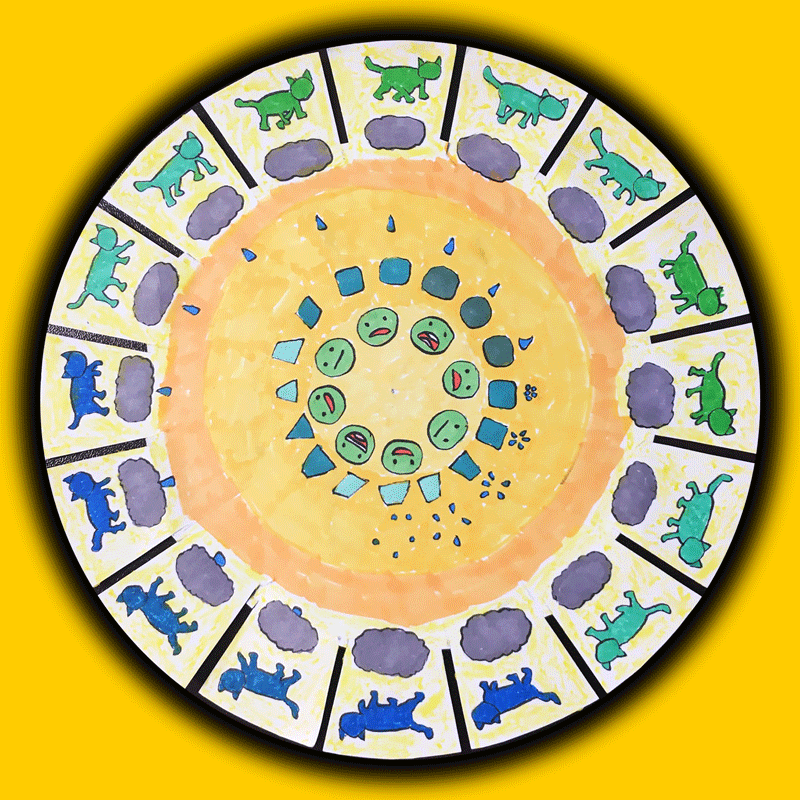
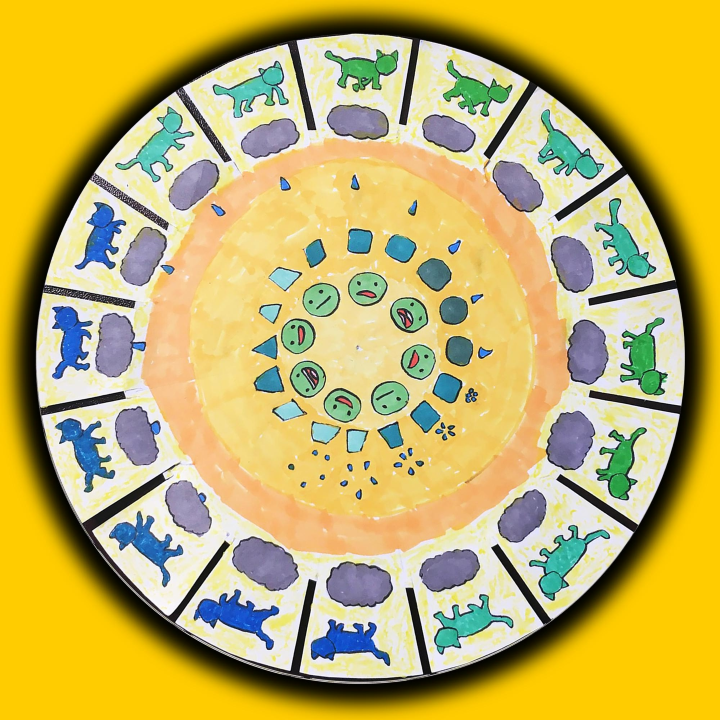
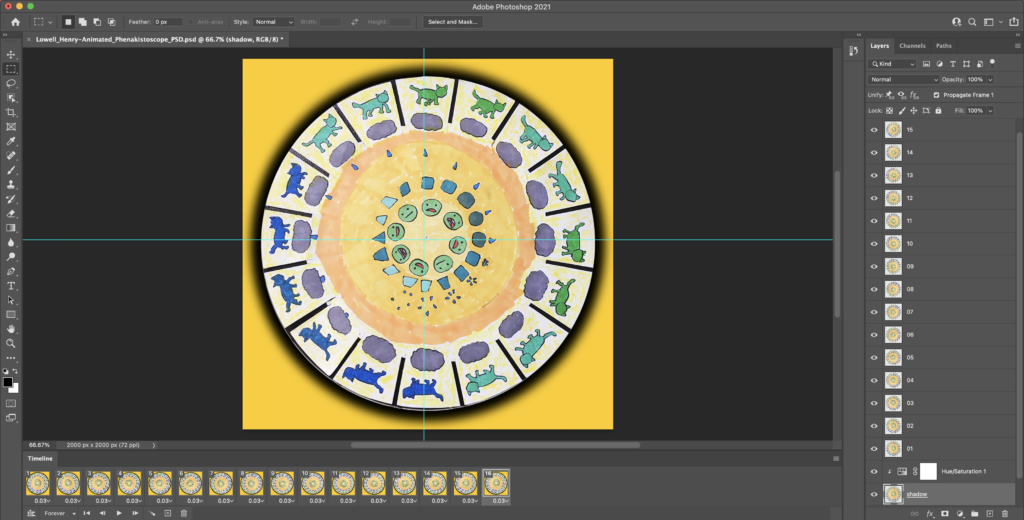
For the Phenakistoscope project,we were given a sheet of paper and we were to cut out the circle and create several moving objects around this wheel. I used a cat walking as my reference for the outer parts. I thought the rain cloud would be a good idea because it didn’t have to look very consistent, in fact it would look better if it changed.This was also the first project we made into a digital format, we turned it into a gif using Photoshop. (16 frames)
When we created stop motion animations, we used a program called DragonFrame. This allowed us to connect our computers to the cameras, which were beside our desk, and take pictures of our objects and slightly move them with each frame. We took our first flipbook and made it digital. (90 frames)
For our second flipbook, we made it so that the first frame of our animation would be the last frame of another person’s, and our last frame was someone else’s first, and so on. It was all to be interconnected. For the shared frames, it was usually a simple shape such as a circle or triangle to make it easy for everyone. (60 frames)
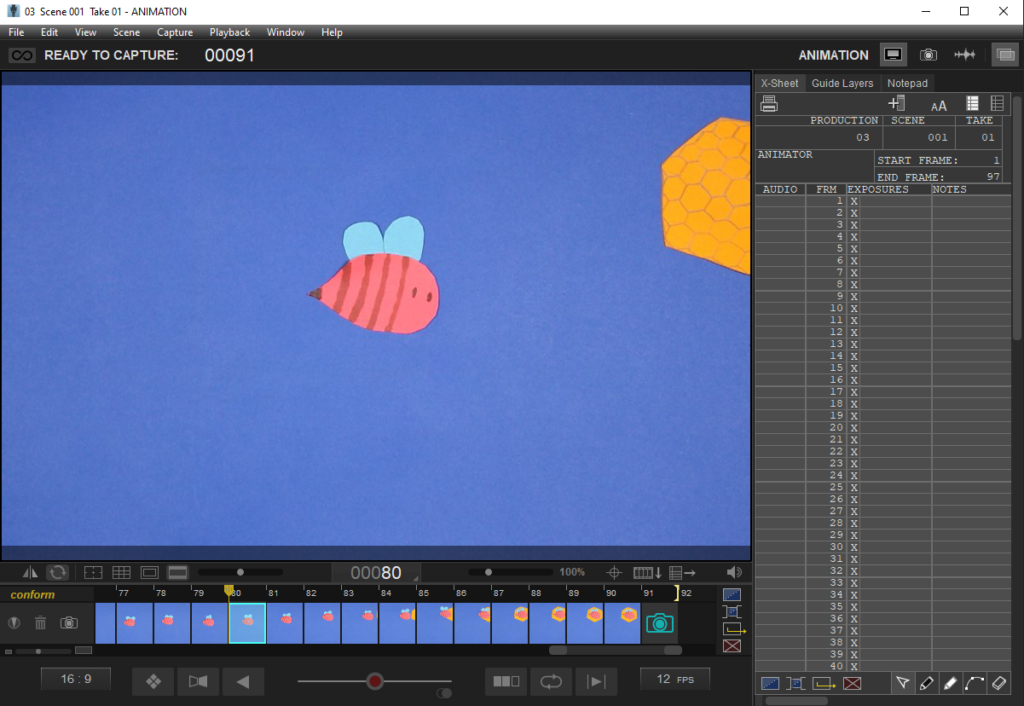
For our first object animation, we used paper to create them. We had many options of colored paper and could cut them in any shape we wished to. I decided to make mine about a bee because I like bees.
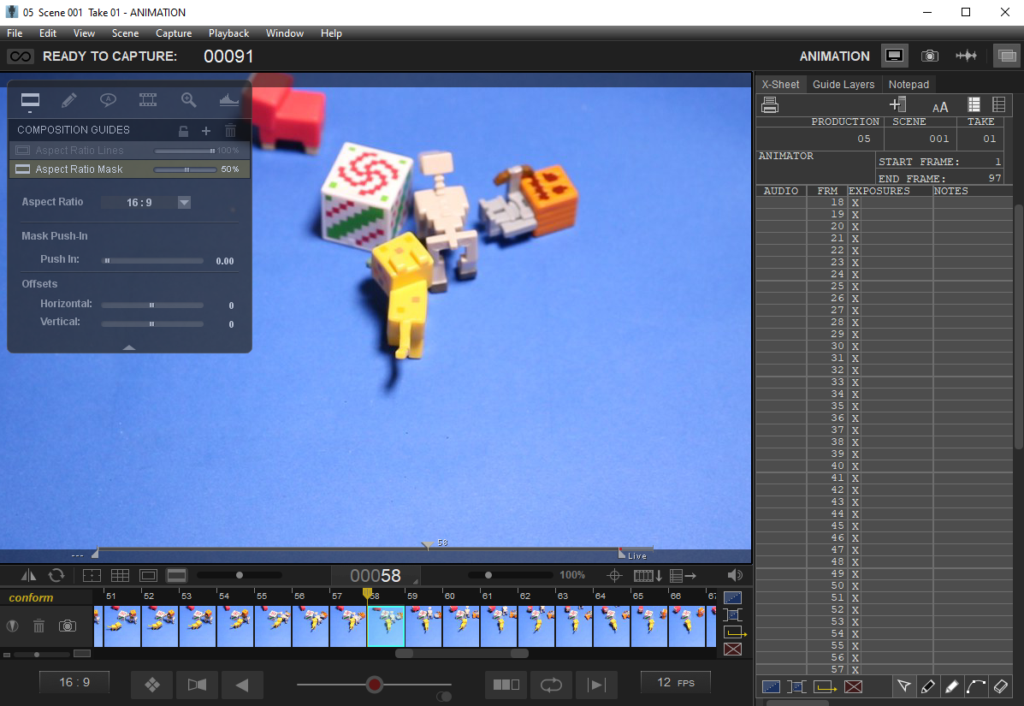
For our second stop motion animation, we were to use objects to animate. This project was different from the others because there was a 3rd dimension in play. I decided to use some of my Minecraft mini figures because they were a great size for the small setup and they’re colorful and cute.