Conceptual
Introduction
“How can I use unconventional forms to express myself?”
The Conceptual Project at Freestyle acts as catalyst to the creativity we’ll be relying on for the rest of the year. It places emphasis on risk-taking when making creative decisions, forcing us to take a leap in our innovative journey. This project involved poetry, music, web production, and experimental filmmaking, throwing us into the deep-end while also providing us with the basics of technical and communication skills. We were exposed to a variety of technology, including DSLR Cameras, Tascam Audio Recorders, Adobe Photoshop, Adobe Animate, Adobe Premiere Pro, Adobe After Effects, Adobe Audition, Avid Pro Tools, WordPress, and Google Apps – all of which built the foundation for everything else we’ll do at Freestyle.
What I really value as a Freestyle student is the ability to apply skills I learned in one class to my other classes. The Freestyle curriculums really work in unison together, allowing us to have a very well-rounded understanding of every topic we tackle.
Haiku
In English each student was to write a haiku using a randomly generated concept statement. Mine was: “I am experiencing the feeling of surprise through companionship.” We then took a picture of a visual metaphor demonstrating this statement, working in Digital Media to animate text onto the picture in Premiere Pro.
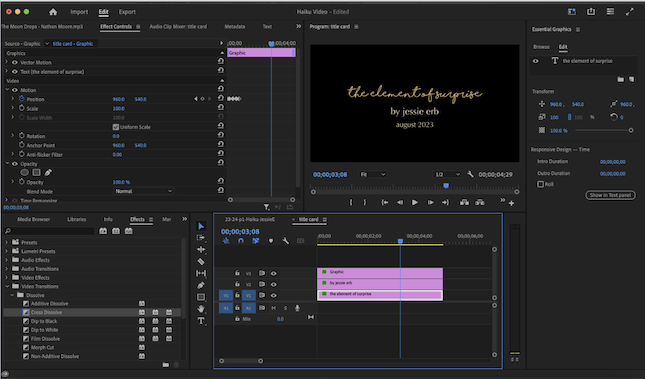
Creating a video in Premiere Pro for our Haiku allowed us to culminate the skills we’ve learned across our English and Digital Media classes, bringing knowledge to a synthesis that produced a piece of work we could be proud of.
“Why Art?” Essay
The “Why Art” unit in English called upon us to discover art’s contribution to the world; what stake it holds in us, as well as our society. We analyzed the works of various artists, even visiting the MoMA in San Francisco for further exposure to impactful works of art. Through this process, we honed the skills necessary for performing an in-depth analysis of an artist. This analysis then allowed us to connect their work to the larger ideas behind it, and how that work interacts with the world.
Click the image to view the PDF version of my “Why Art?” essay!

Orrr you can listen:
After the essays were written, we were tasked with transferring that information into a presentation format. I compiled information about my artist, Justine Kurland, and paired it with my analysis of three of her works. After making this presentation both visually and audibly appealing, I shared it with my class.
Writing and presenting my research as to “why art matters” was a very enriching experience for me, deepening my appreciation for artwork and enhancing my ability to connect elements of art to photography. Doing the research also made me reflect on my own journey as an artist, allowing me to find inspiration and relatability within my studies.
Photoshop Blend Mode Editing
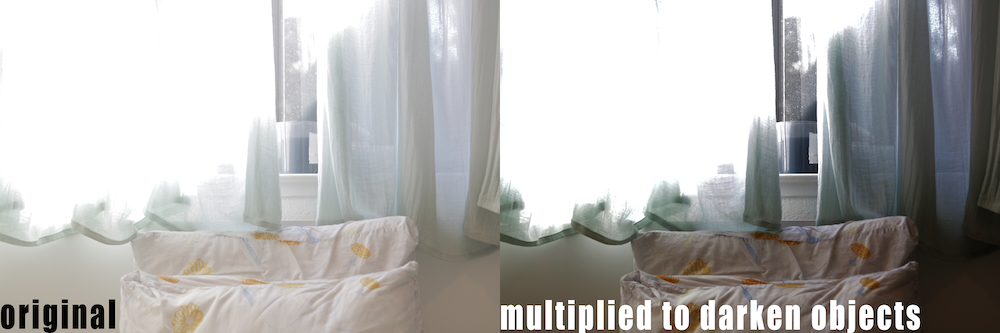
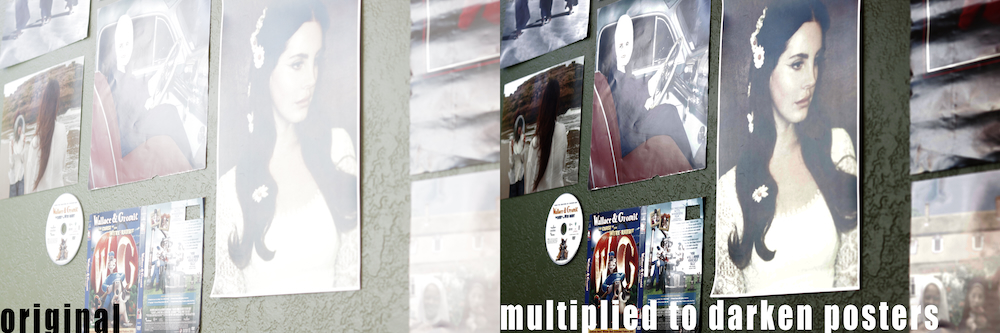
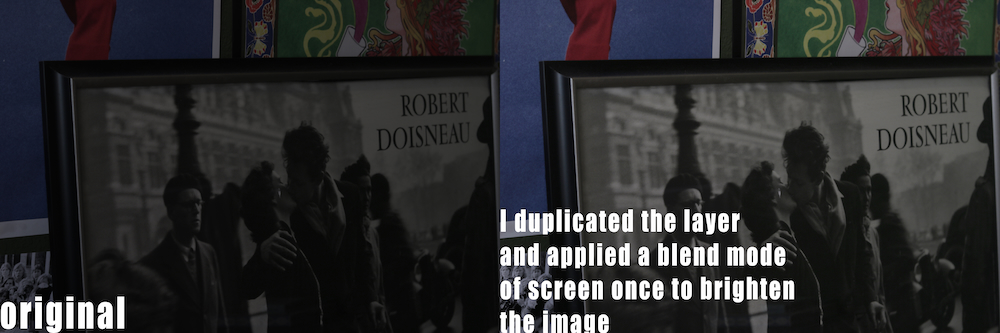
Learning the basics of photoshop in Digital Media involved practicing with blend modes. We learned how to brighten and darken pictures using blend modes, as well as merge photos together. We began by practicing with example images, then applied our new skills to our own photographs.
Q&A:
What do you value about learning about and creatively using Photoshop Blend Modes?
I feel that it gives me the foundational skills of photoshop.
How do you see yourself using your new Photoshop skills with your creative projects?
Making images look more appealing is really important for film, and I hope I’m able to apply these skills to color grading.


Experimental Film… and some filmmaking practice
The Conceptual Unit in Film was spent developing some basic filmmaking skills (ex. editing on Premiere Pro, mastering camera settings, learning shot and angle types, etc…) and using those to ultimately produce an experimental film. We spent the first few weeks doing practice exercises like a shot scavenger hunt, creating a doubling effect, and using a green screen. Once we had an understanding of these foundational skills, we began our experimental process. This involved pitching our ideas to the class, developing a synopsis, delivering a first round a footage, producing a rough cut of our film, and finally, screening our final cuts.
Click the image to view my Experimental Synopsis!

After developing the idea, having my raw footage critiqued, having my rough cut critiqued, I was able to produce my final film: Mummer Plays and Later Dumbshows.
Behind the scenes…

The most intensive part of this editing process was also the most educational. The film involves the cutting up of the characters faces and placing those cutouts on different shots. To do this I had to learn how to create opacity masks, which enabled me to accomplish all of the cutouts. I then had to key frame the cutouts, ensuring that, for example, the eye cutout from once of the characters stayed on the eye of the other character it was meant to overlay. Color grading was also a large part of the editing process, as achieving the “dreamy” feel took a lot of trial and error.
…and now for the practice filmmaking: Shot Scavenger Hunt!
Doublemint!
Green Screen!