Conceptual
Introduction
In our conceptual project we learn how to express ourselves by taking artistic risks. Using more metaphorical ideas and thinking less literally. I learned how to create a website, edit photos, write poems and produce experimental film. We begin to learn professional tools, such as Adobe Photoshop, Adobe Premier Pro, Adobe Aftereffects, and Word Press.
From this project I valued thinking outside of the box. We were challenged always to come up with distinct, metaphorical ideas and express ourselves in unique ways, while learning new software. This unit helped me think in a more abstract way, and create art more unique to me.
Photo Haiku and Photo Haiku Video
In this assignment we were challenged with random concept statements. We selected a random feeling and a random experience. My concept statement was showing the feeling of of denial through the experience of religion.
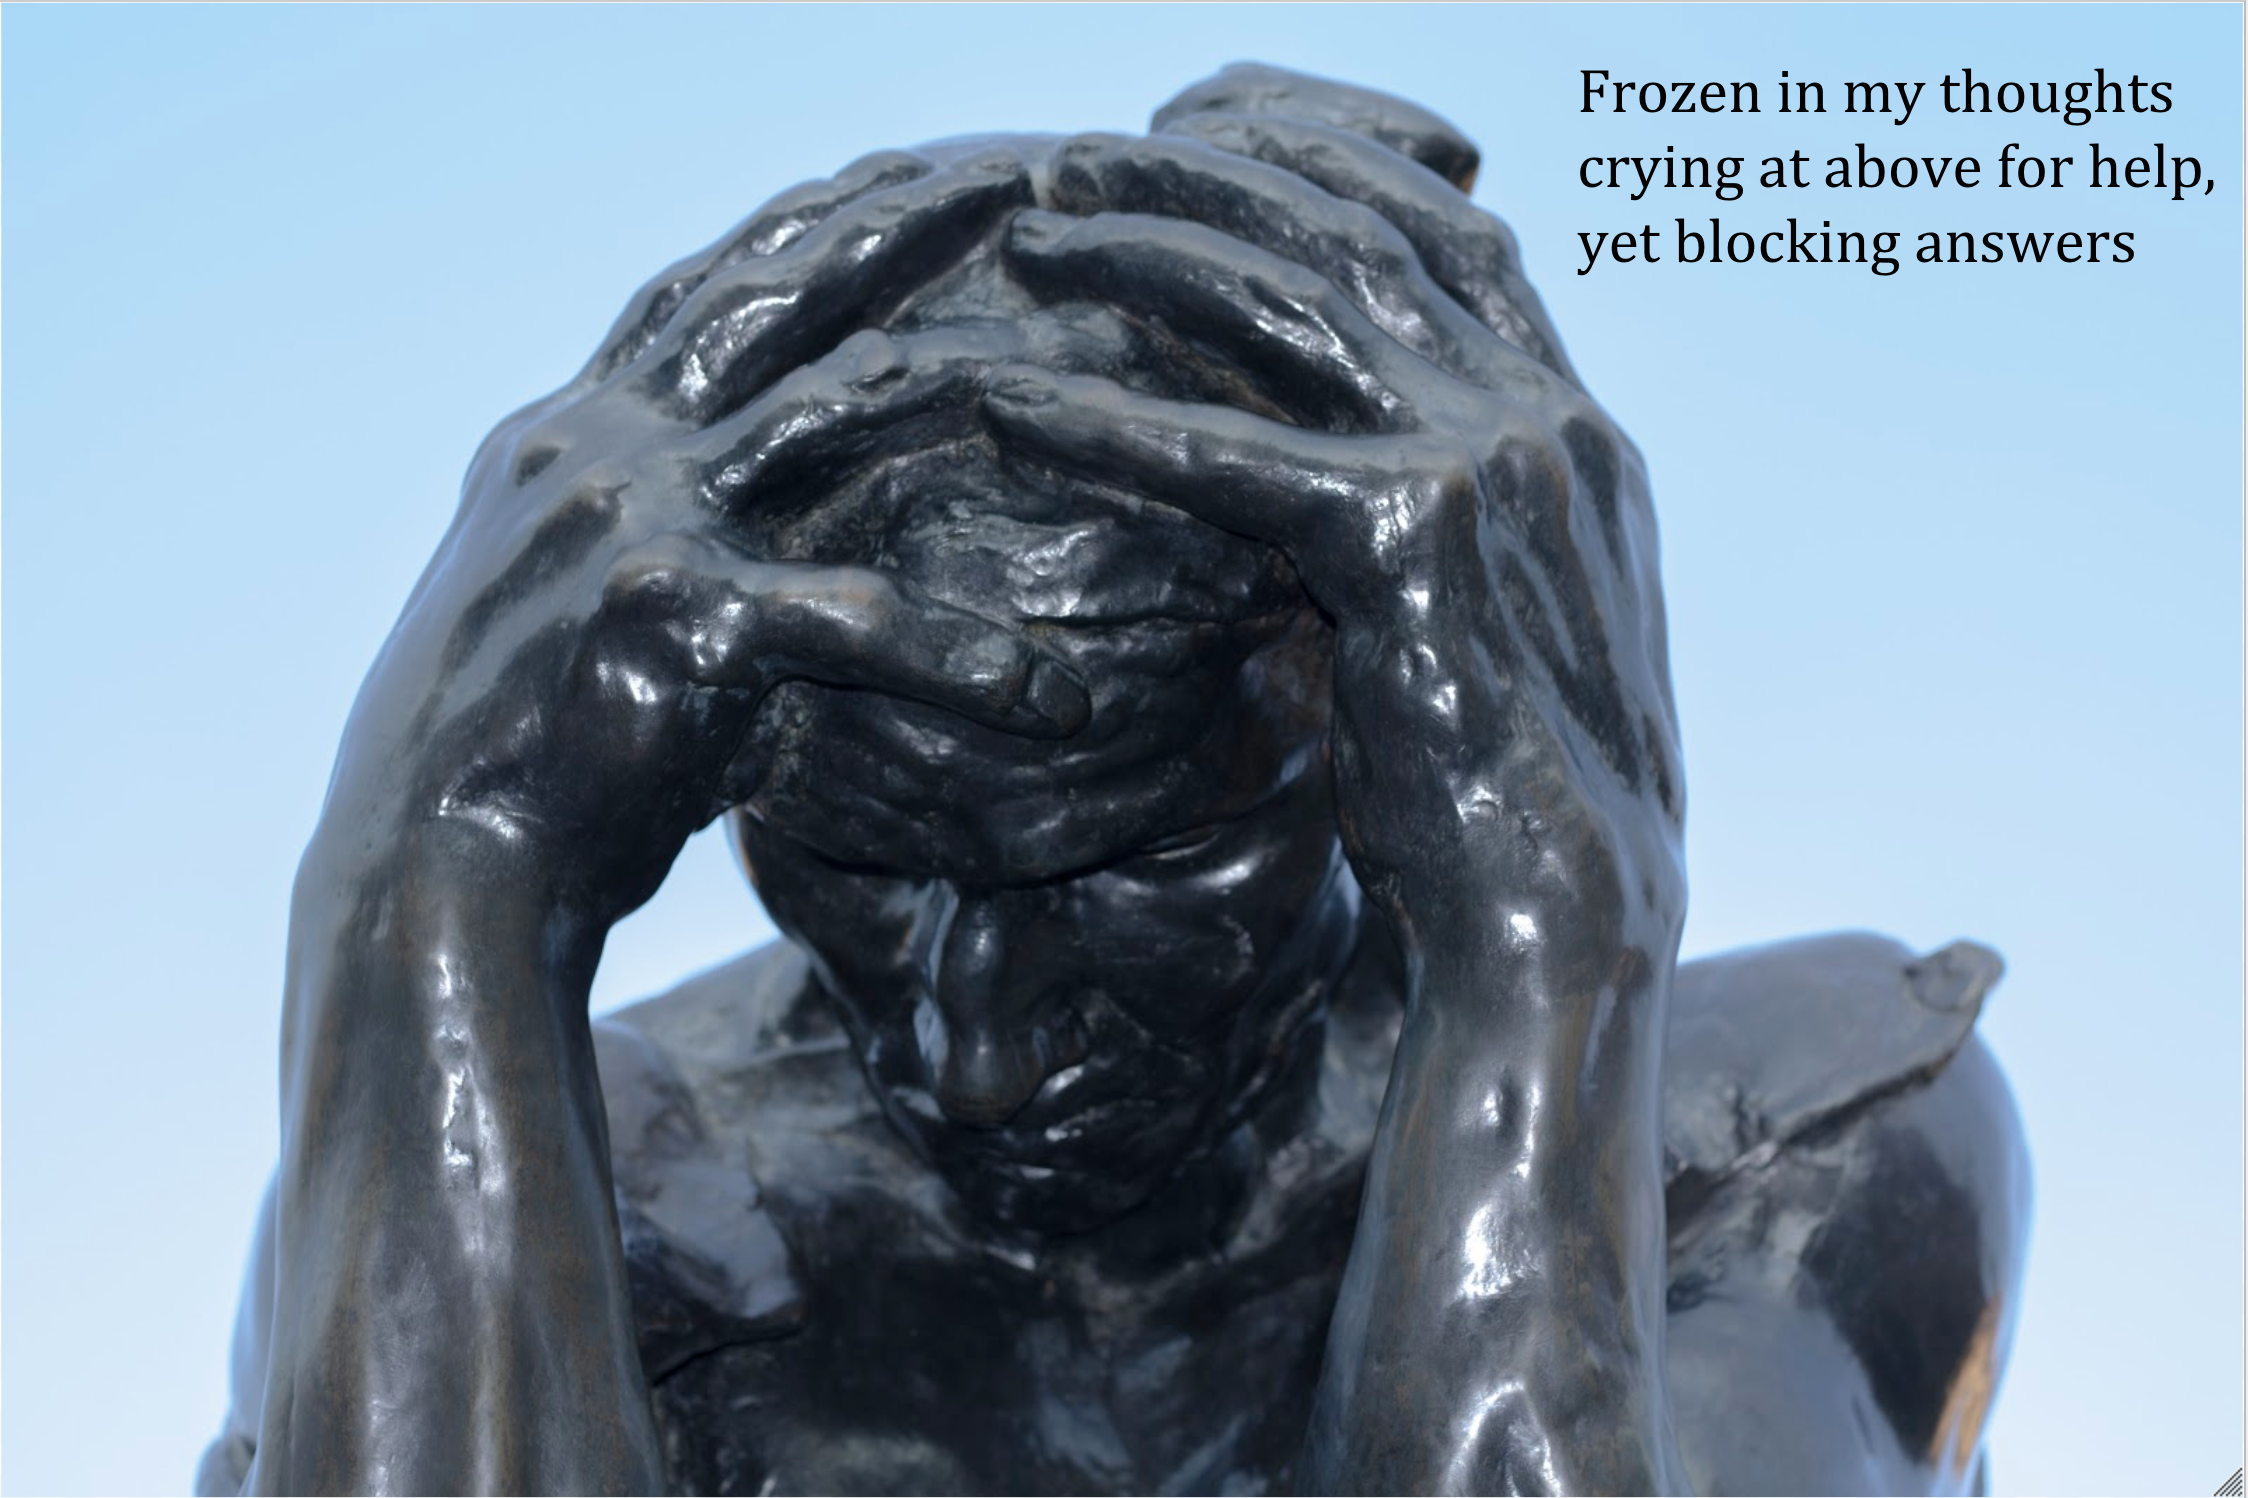
This is a photo of one of the statues of Les Bourgeois de Calais at Stanford. I chose to photograph a statue, because when you are in denial you freeze up. To represent religion I showed a clear sky, representing the heaven or god. This man however is blocking himself from those things.
ARVE Error: Mode: lazyload not available (ARVE Pro not active?), switching to normal modeThis is the video I made based on my photo Haiku. I edited it in Adobe Premier Pro. We learned how to use key frames, record our poem and add text to our videos. I masked my statue from the background and created an illusion of the Statue coming closer to you. I then added a white dust particle effect over my video.
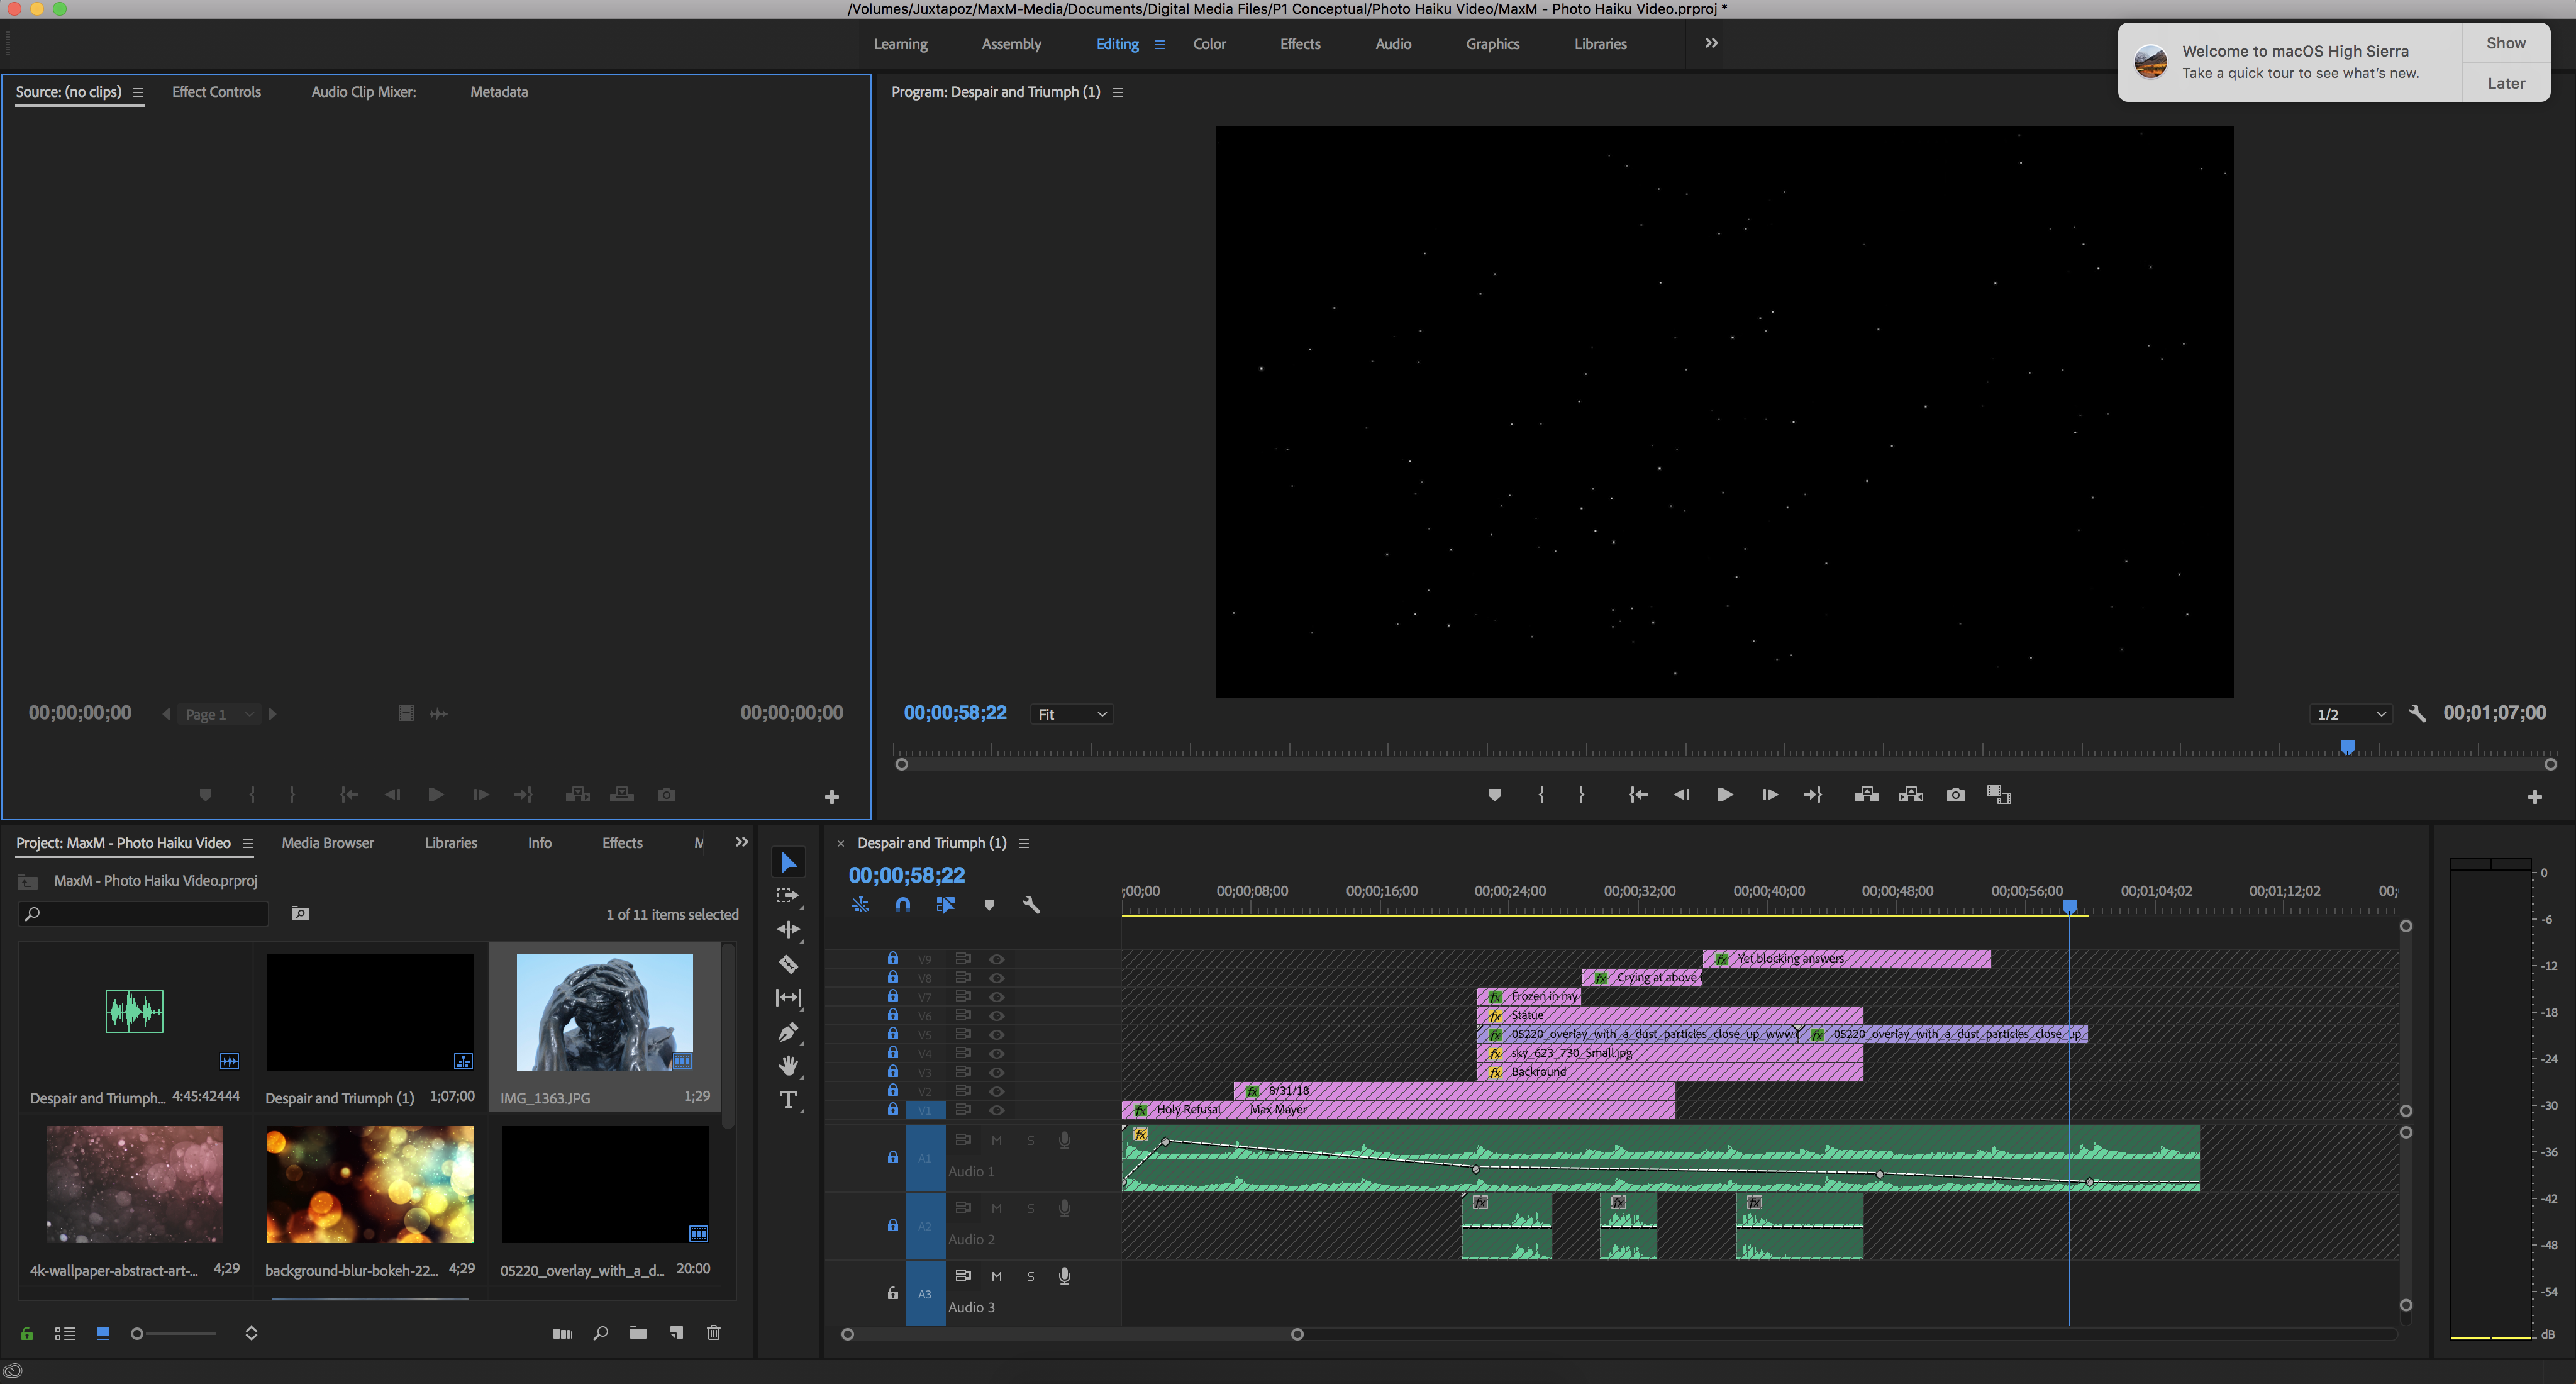
This is my workspace I used to create my photo Haiku Video. You can see my layers panel in the bottom right. The layers are stacked on top of each other. The pink layers in my case are visual elements. Green layers are audio elements.
Reflection
In this project I valued taking creative risks. At first I didn’t have any ideas for the random prompt I was assigned. However I learned a lot from this challenge, and I think it really expanded my creative thinking and metaphorical ideas. I also really enjoyed taking work from English and transforming it into different mediums in Digital Media.
Conceptual Poems
This poem was based on Mark di Suvero sculpture called Che faro senza Eurydice (1959). It consisted out of wood, nails and rope and is on display at the SF Moma.
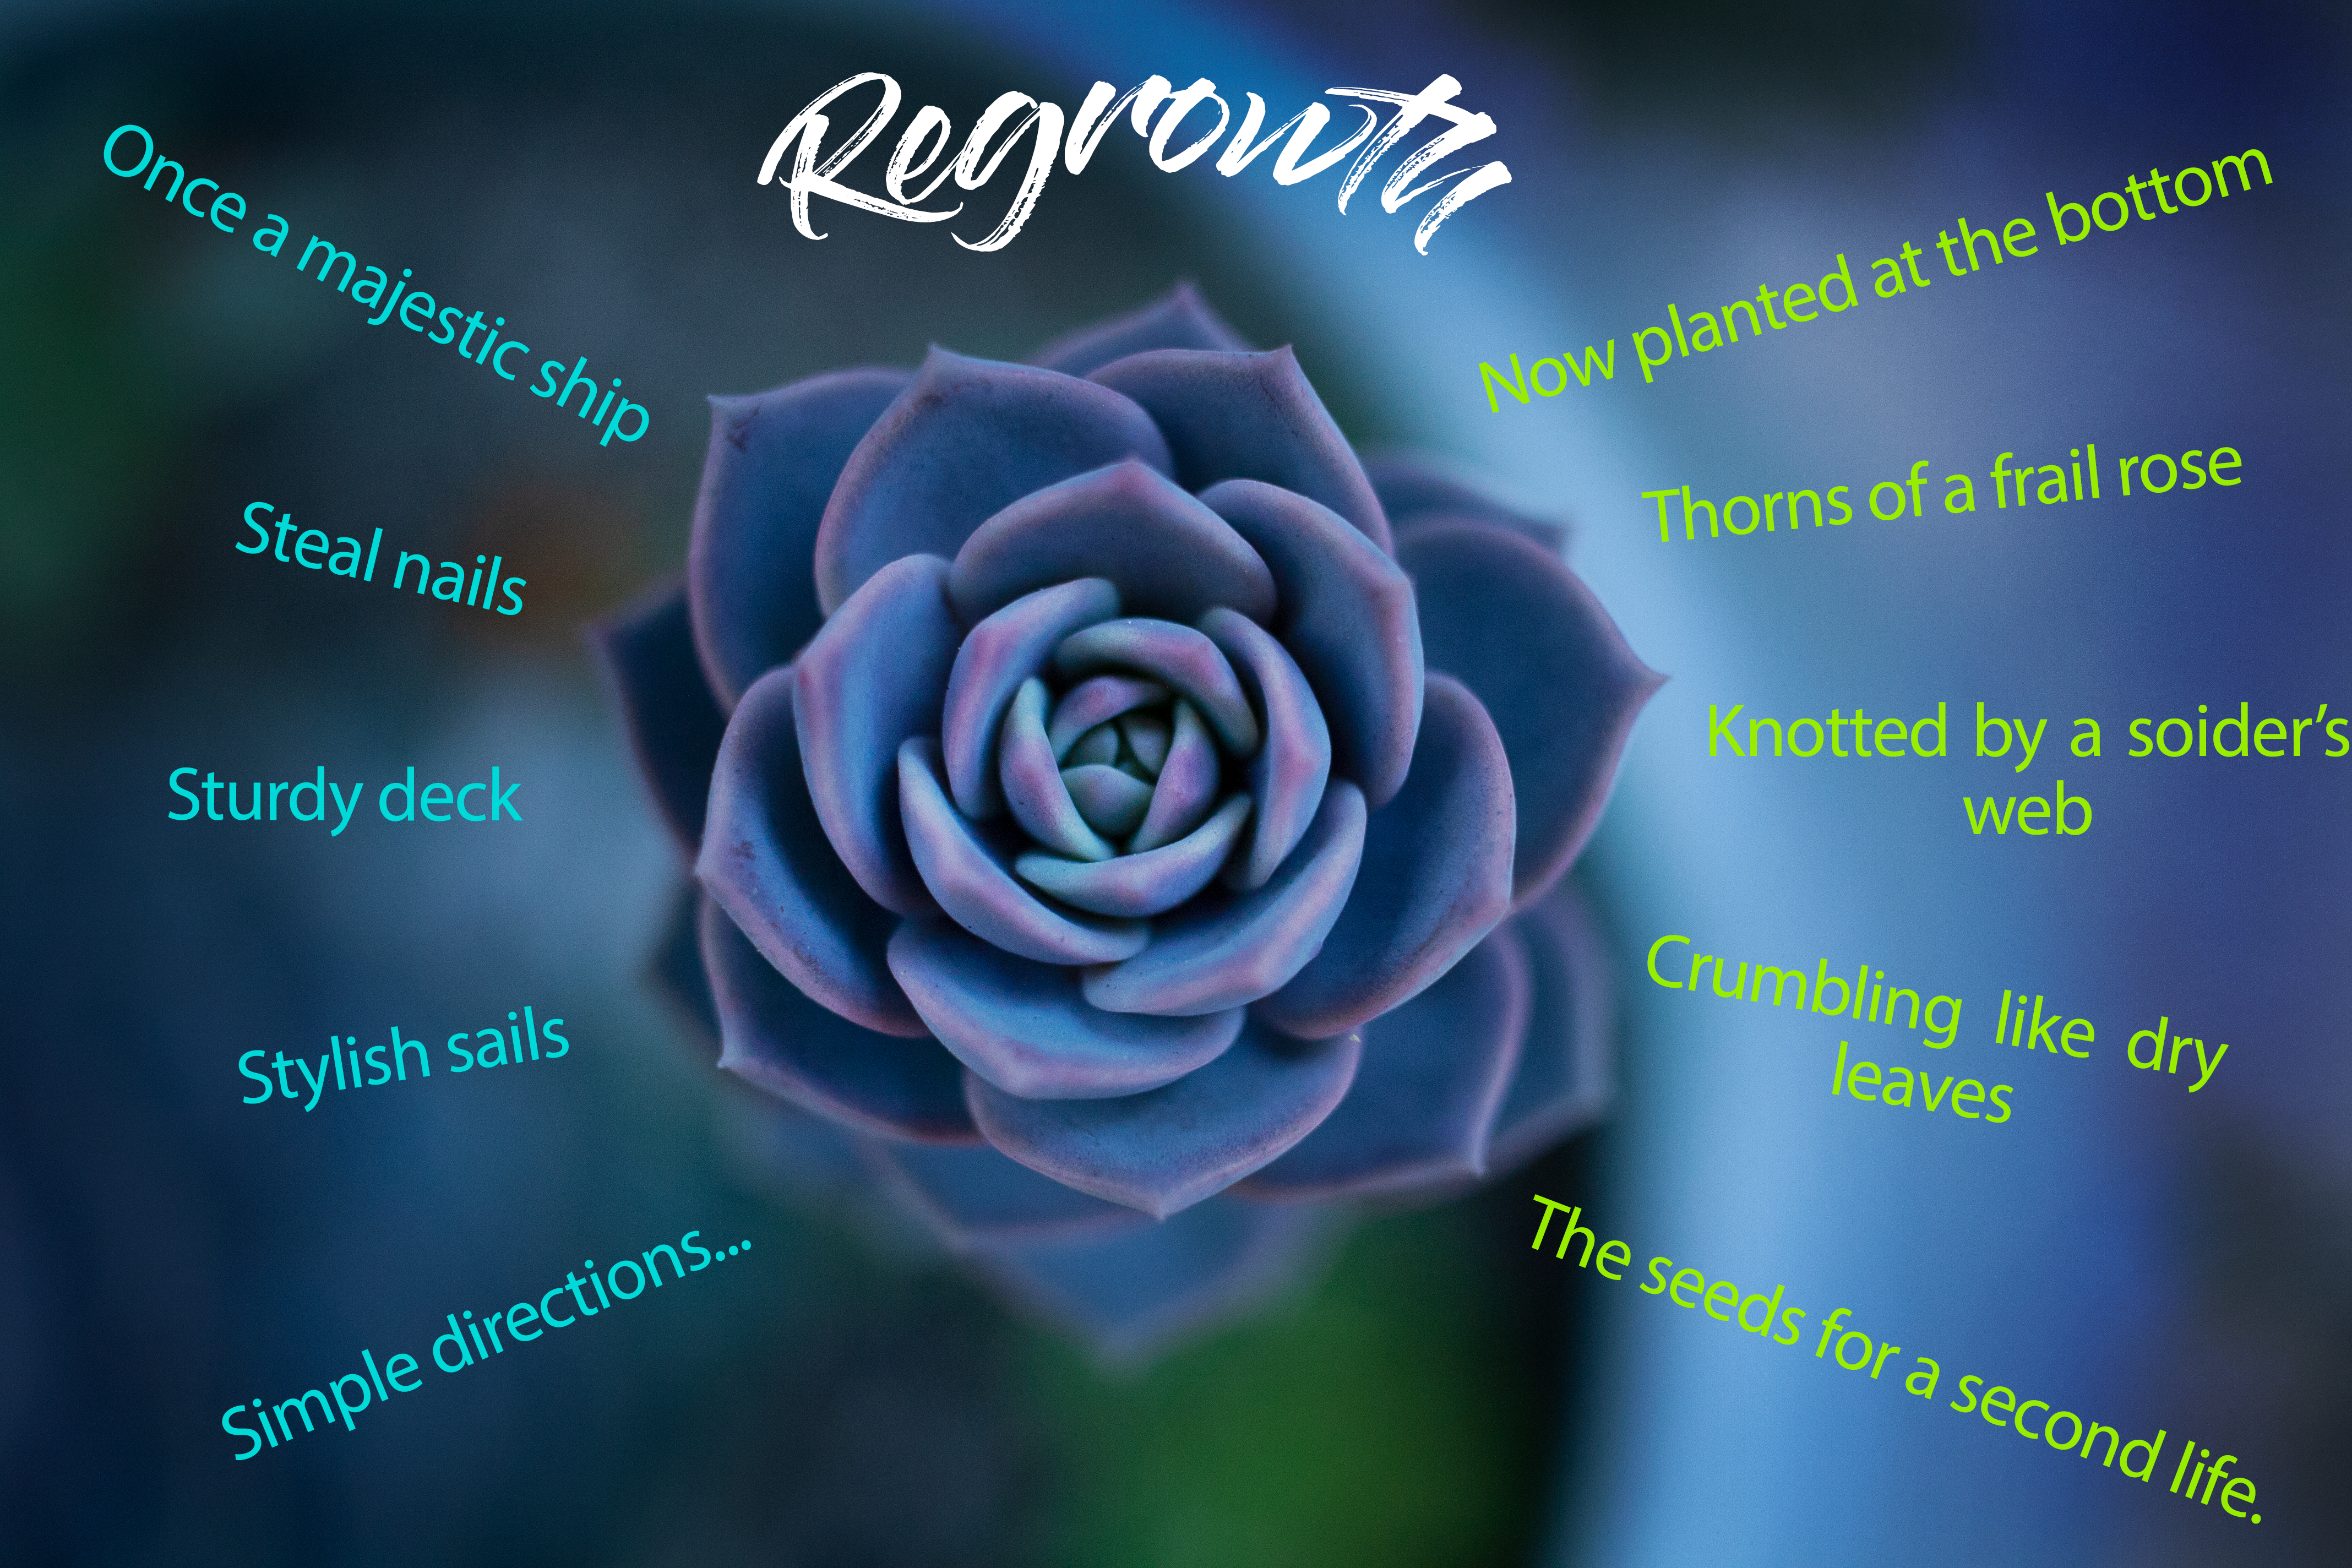
This next poem was a free verse poem. We had no restrictions other than to base our poem on our concept statement.

Exquisite Corpse Poem
ARVE Error: src mismatch
provider: youtube
url: https://www.youtube.com/watch?v=zFC4EHOCQD8&list=PL4UmbWlij-uQNNUmG2yeJuT0YTYslfsHb&t=0s&index=14
src in org: https://www.youtube.com/embed/zFC4EHOCQD8?list=PL4UmbWlij-uQNNUmG2yeJuT0YTYslfsHb
src gen org: https://www.youtube.com/embed/zFC4EHOCQD8?start=0&list=PL4UmbWlij-uQNNUmG2yeJuT0YTYslfsHb
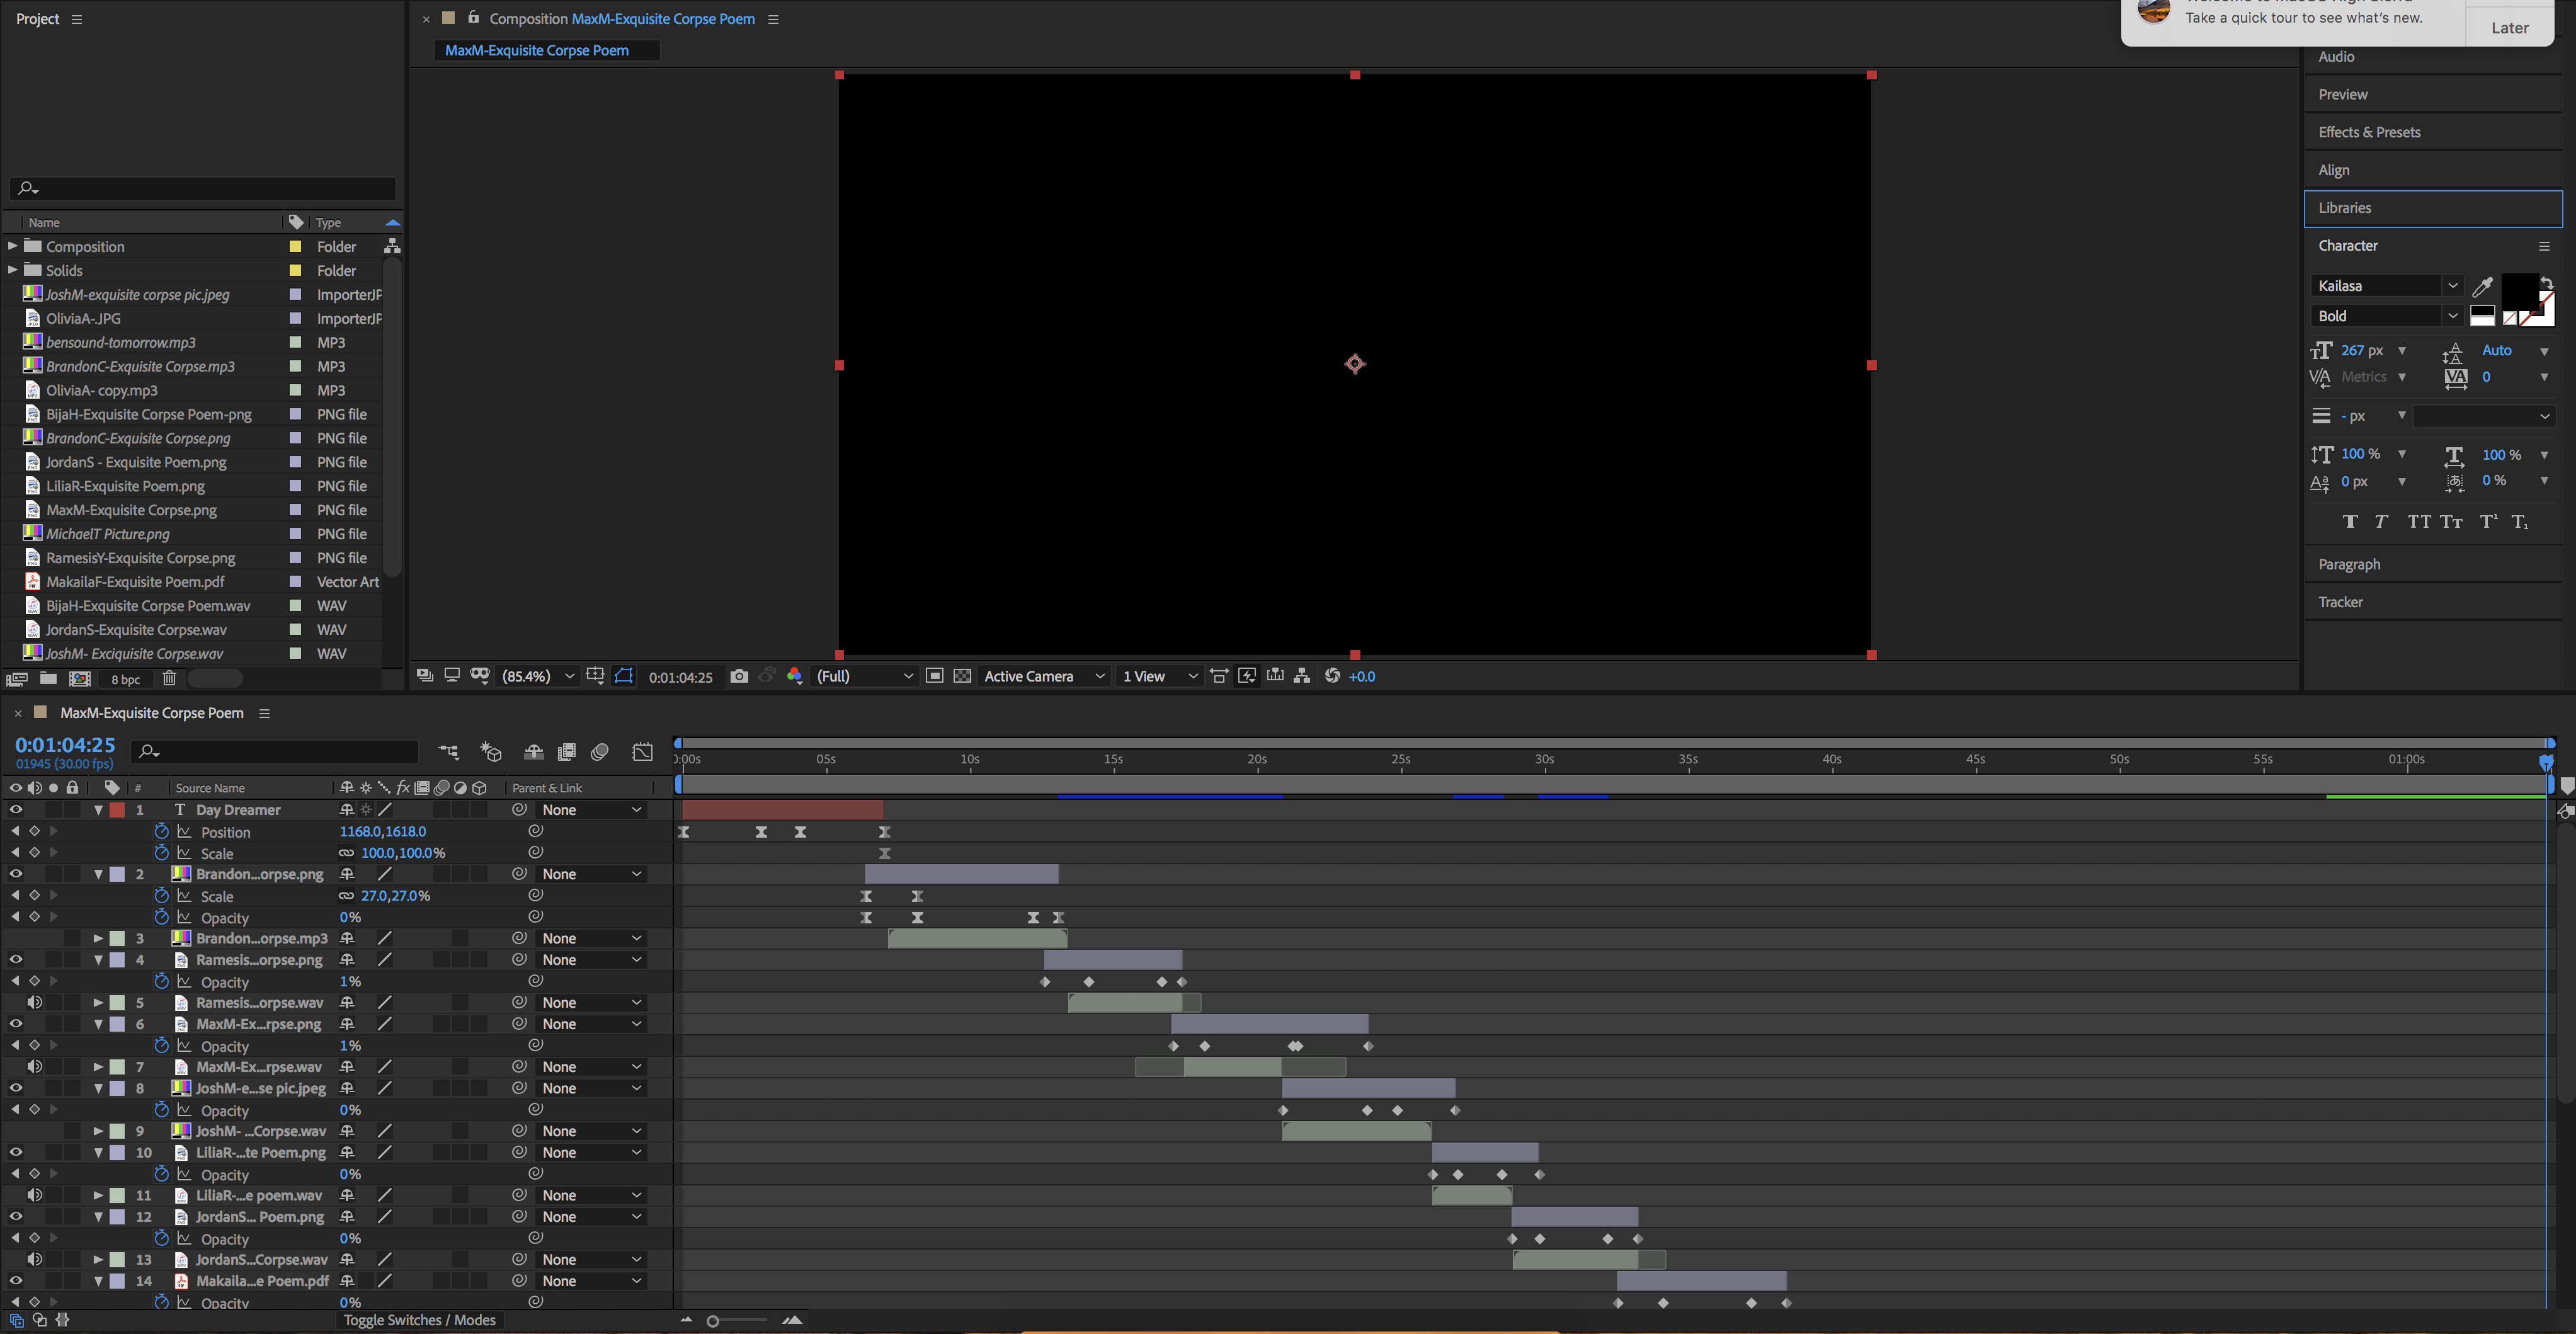
This is my Adobe After Effects workspace for my exquisite poem. In the bottom right corner you can see my layers. The red bars are text, blue bars and audio and green bars are pictures. I then edited these pictures together on my timeline using key frames. The keyframes are the little diamonds under the green picture bars. They alter the size, position and opacity of the image. This allows us to make transitions between our photos.
Reflection
After producing numerous poems I learned how to transform my poem into new creative forms, such as photo and video. I learned how to think of objects that can represent my ideas in photos and how to edit those photos to make them more visually appealing. Additionally we learned the basics of Adobe Premier Pro and After Effects in order to create short videos from a series of photos.
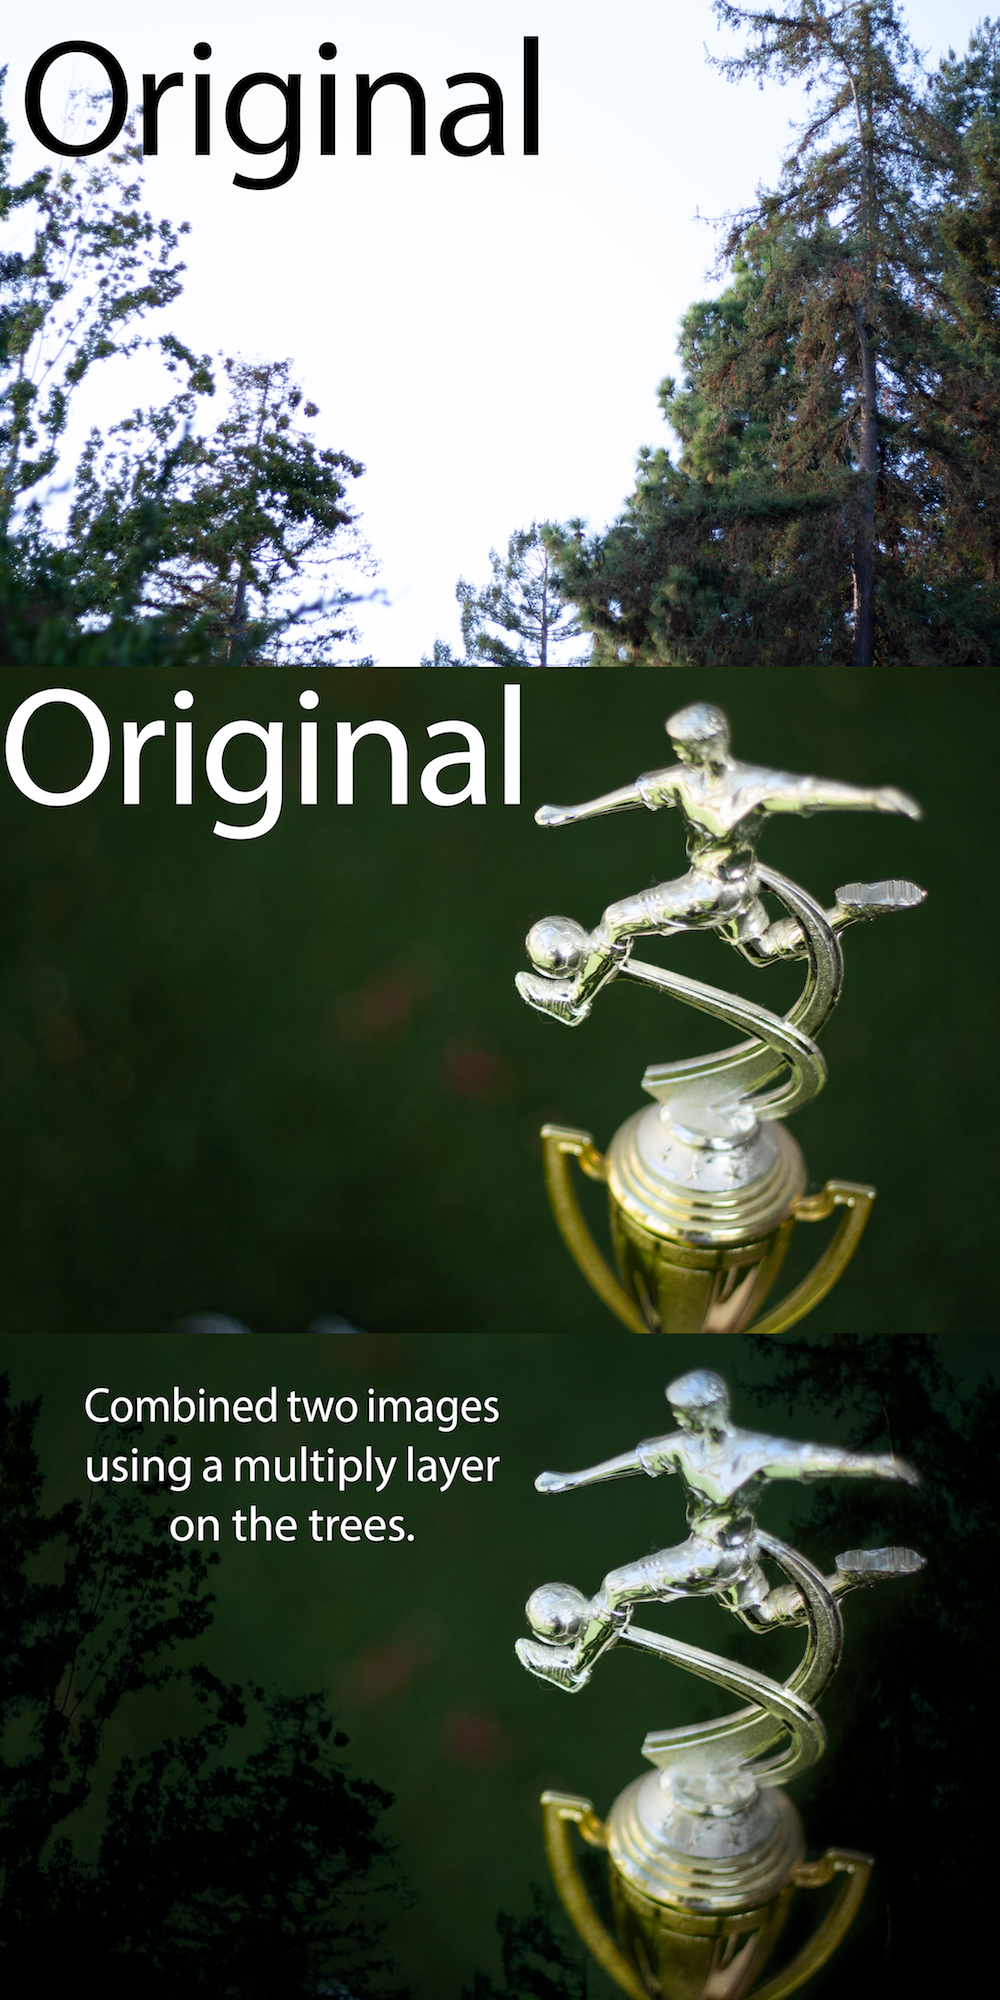
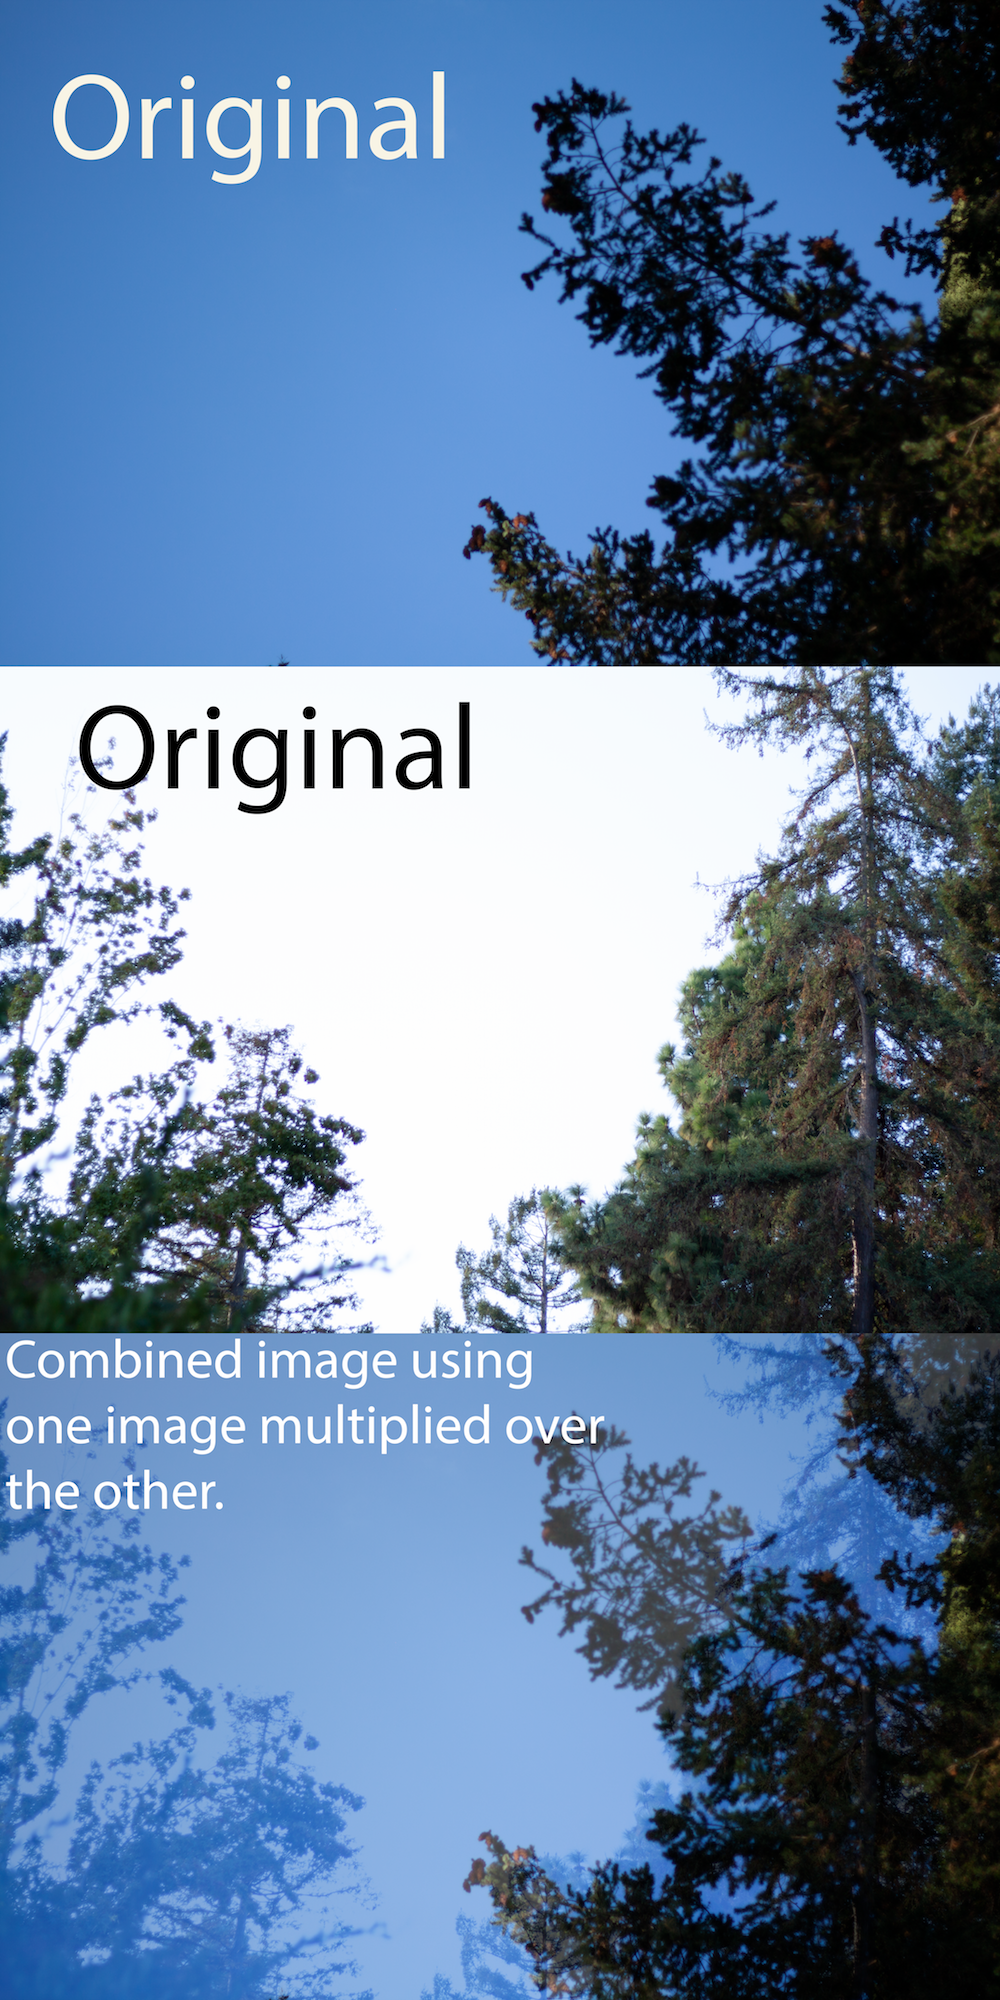
Blend Modes
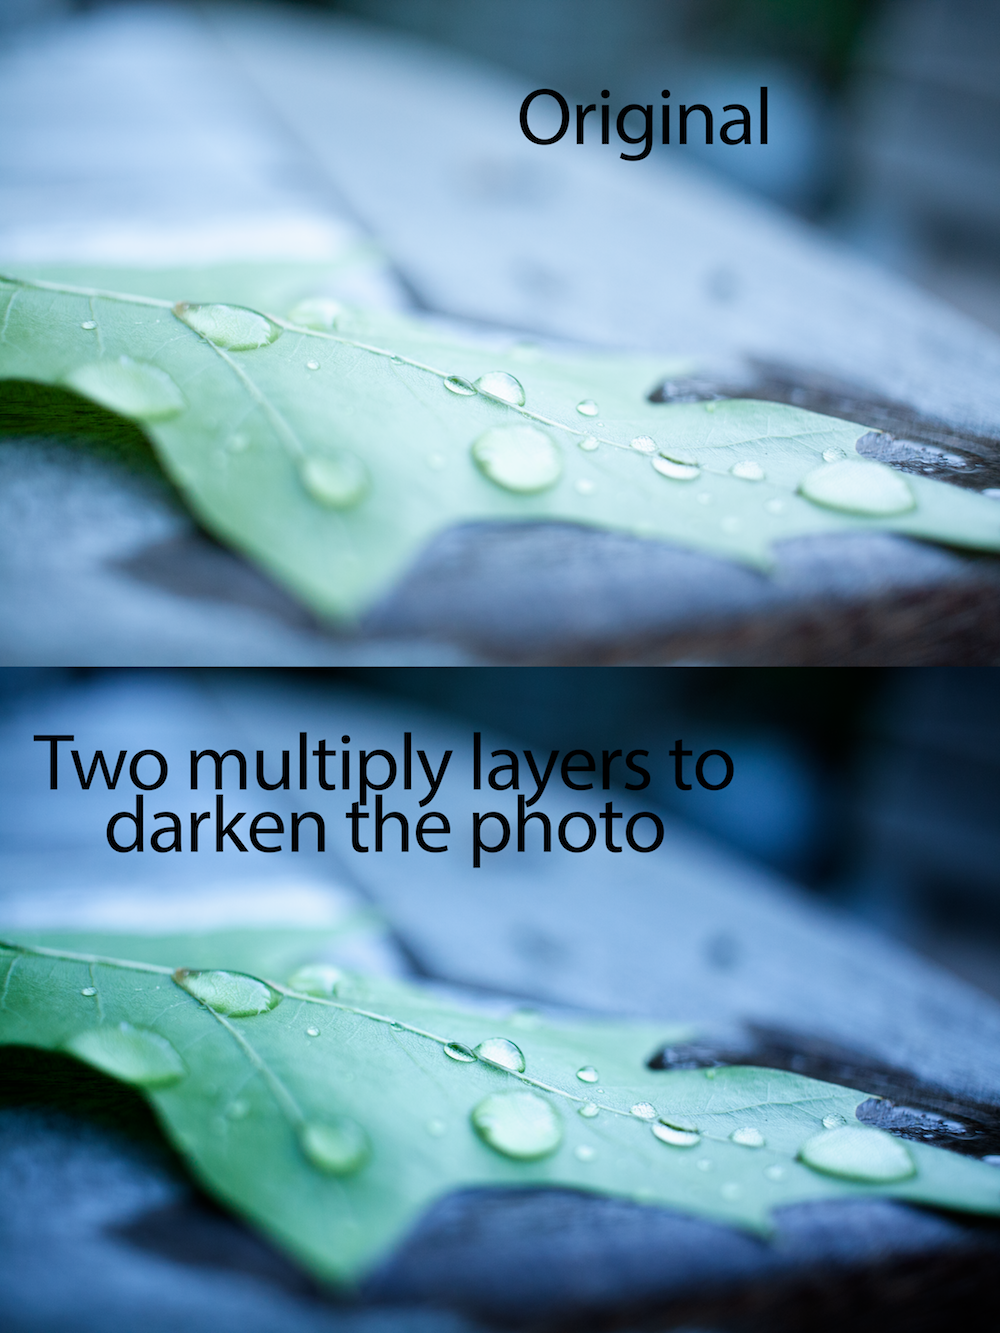
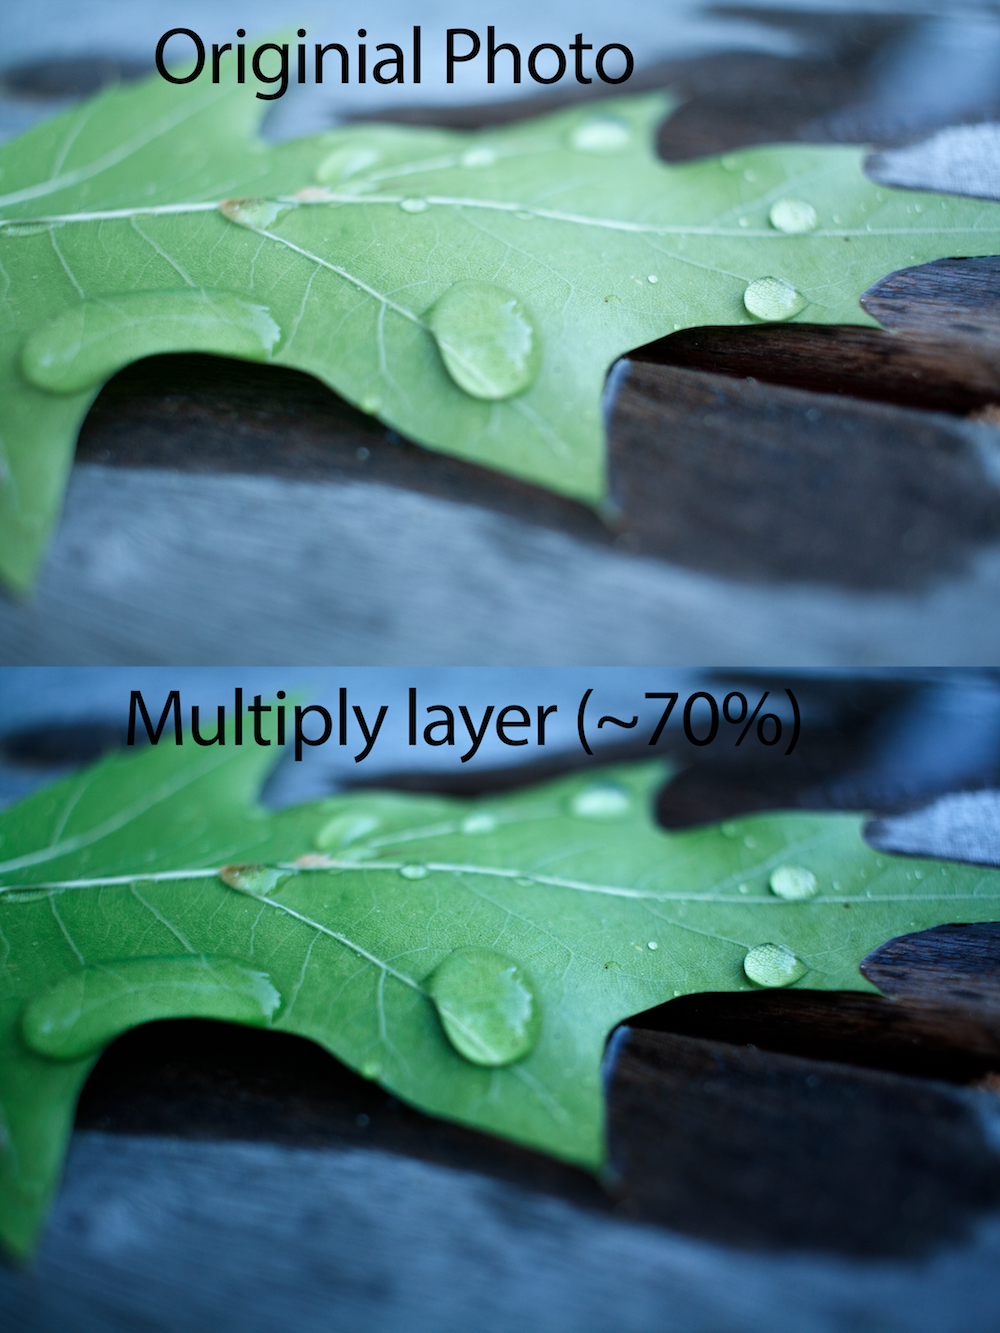
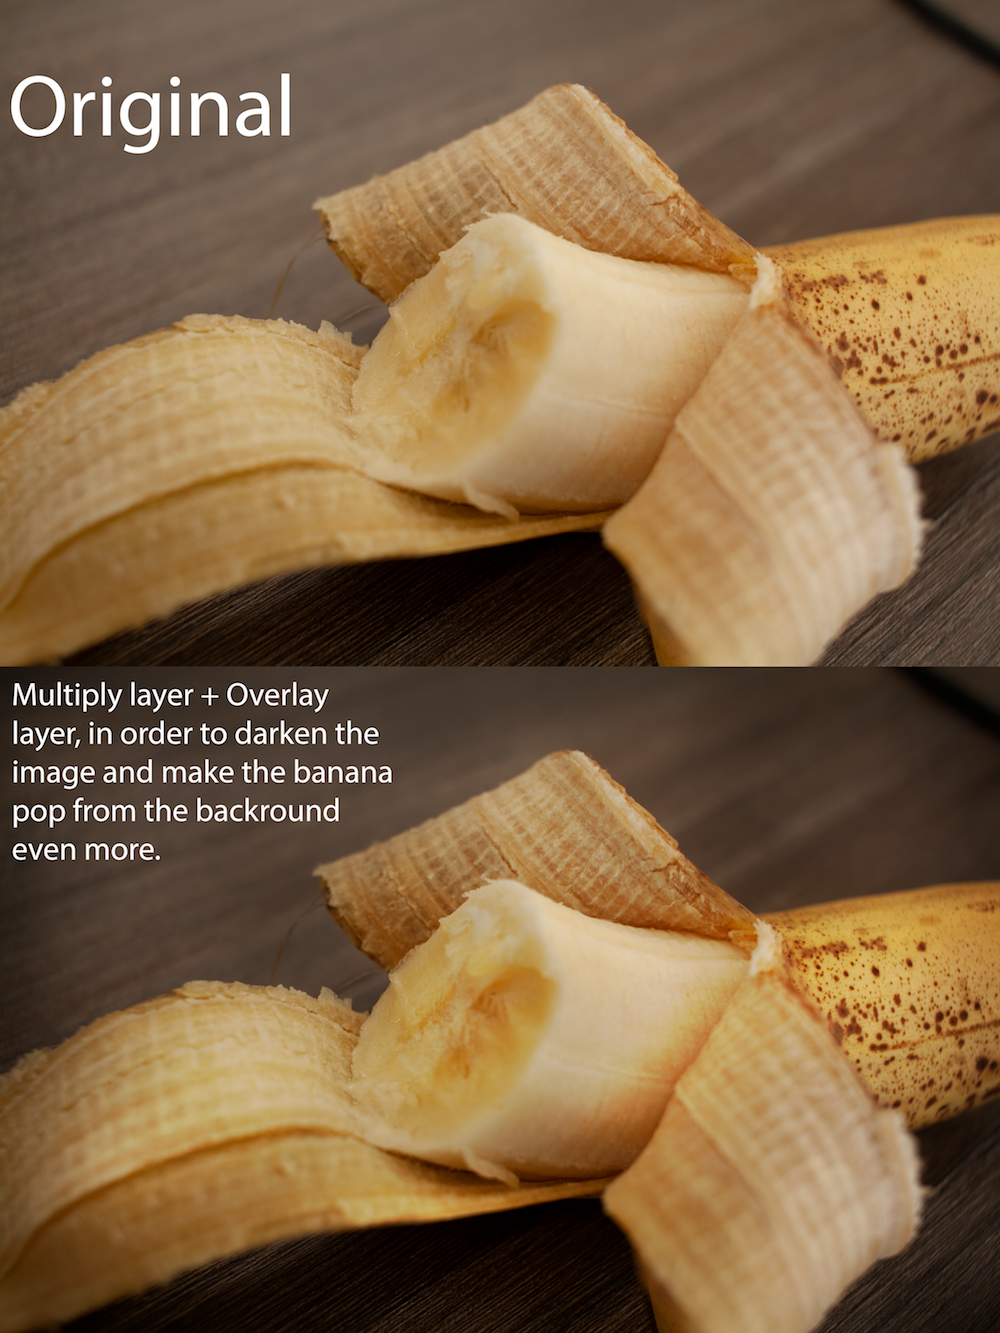
In this assignment we learned different blend modes in Adobe Photoshop. We can use these different blend modes for multiple purposes. In the following examples we used blend modes to lighten, darken or blend photos. Blending photos allows us to combine aspects from each photo with each other.
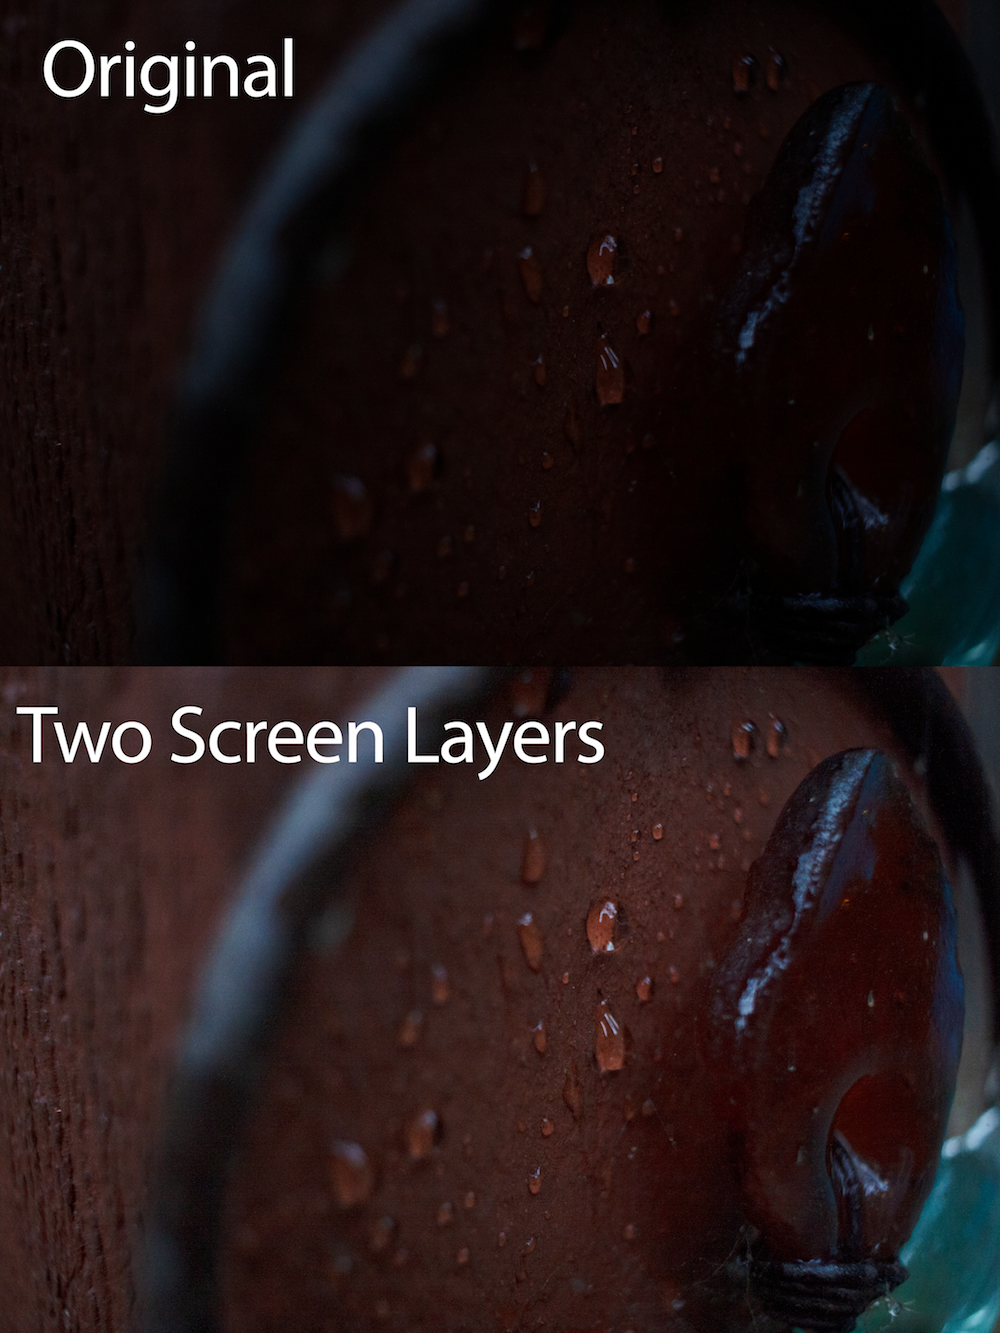
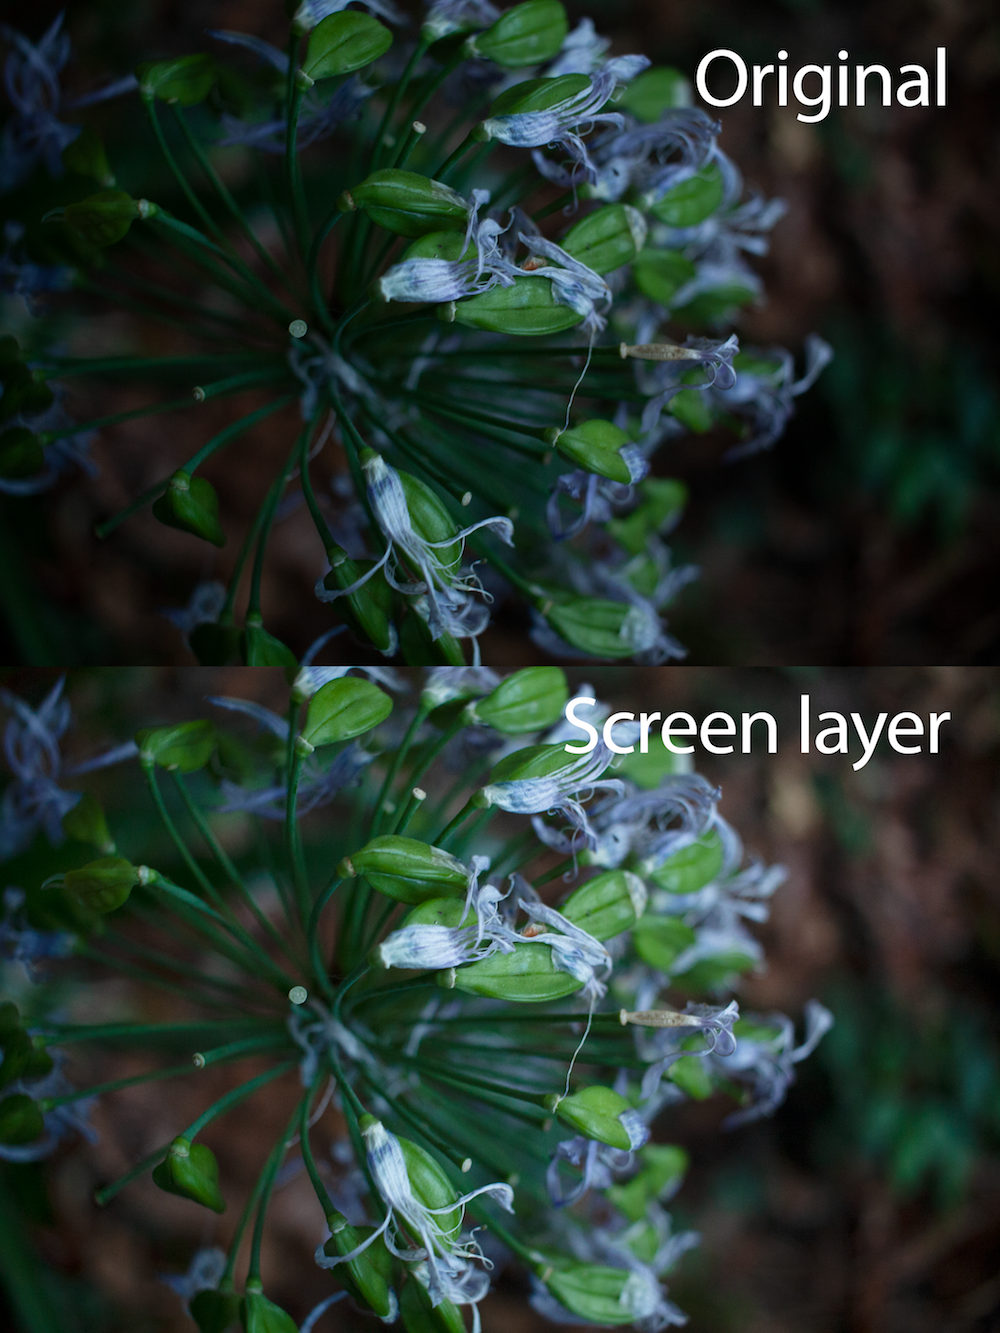
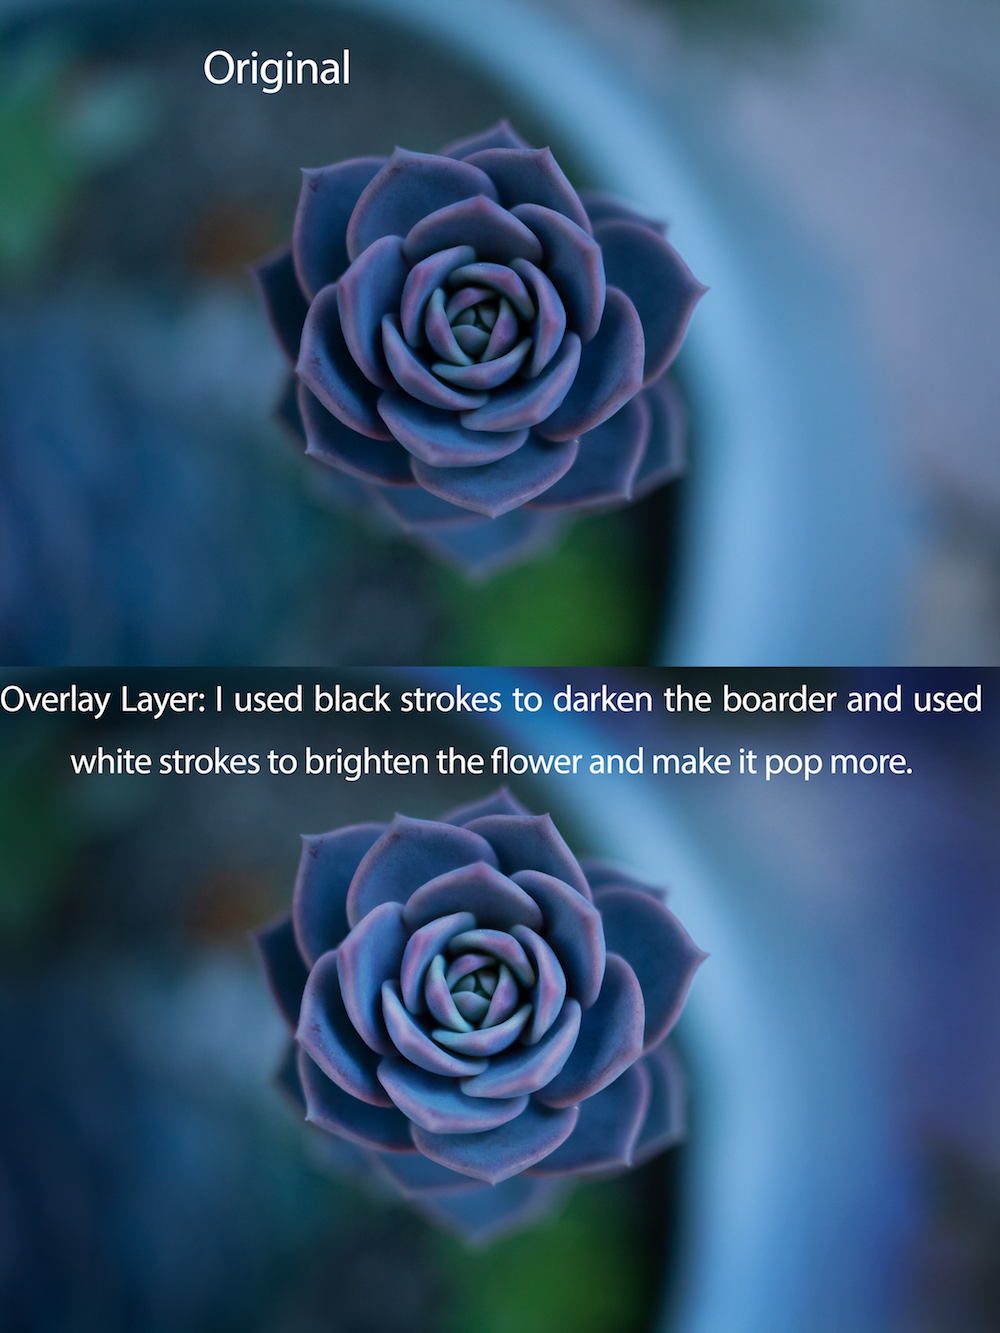
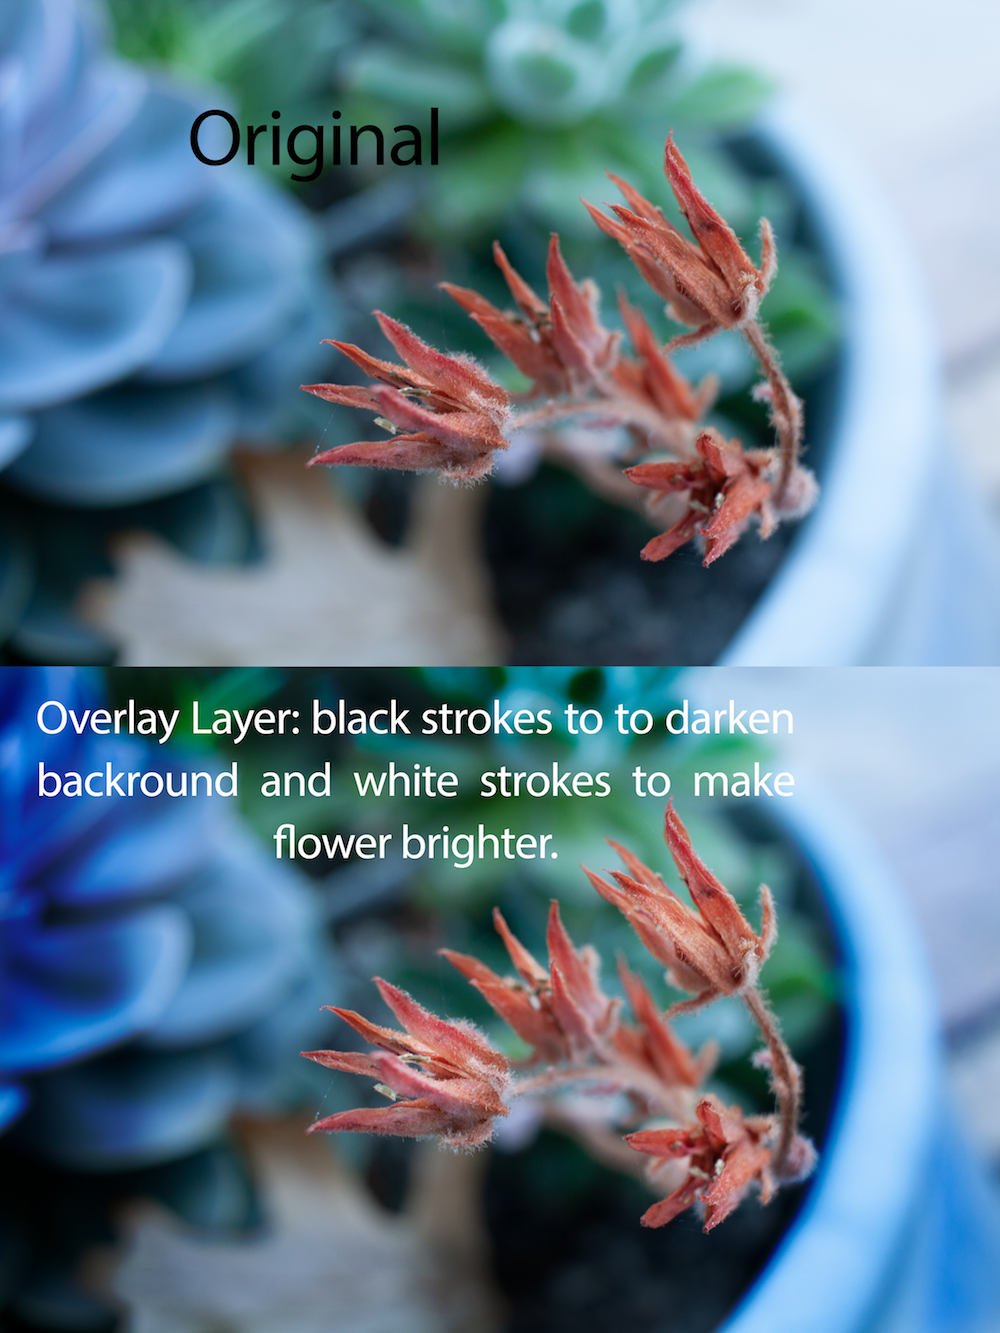
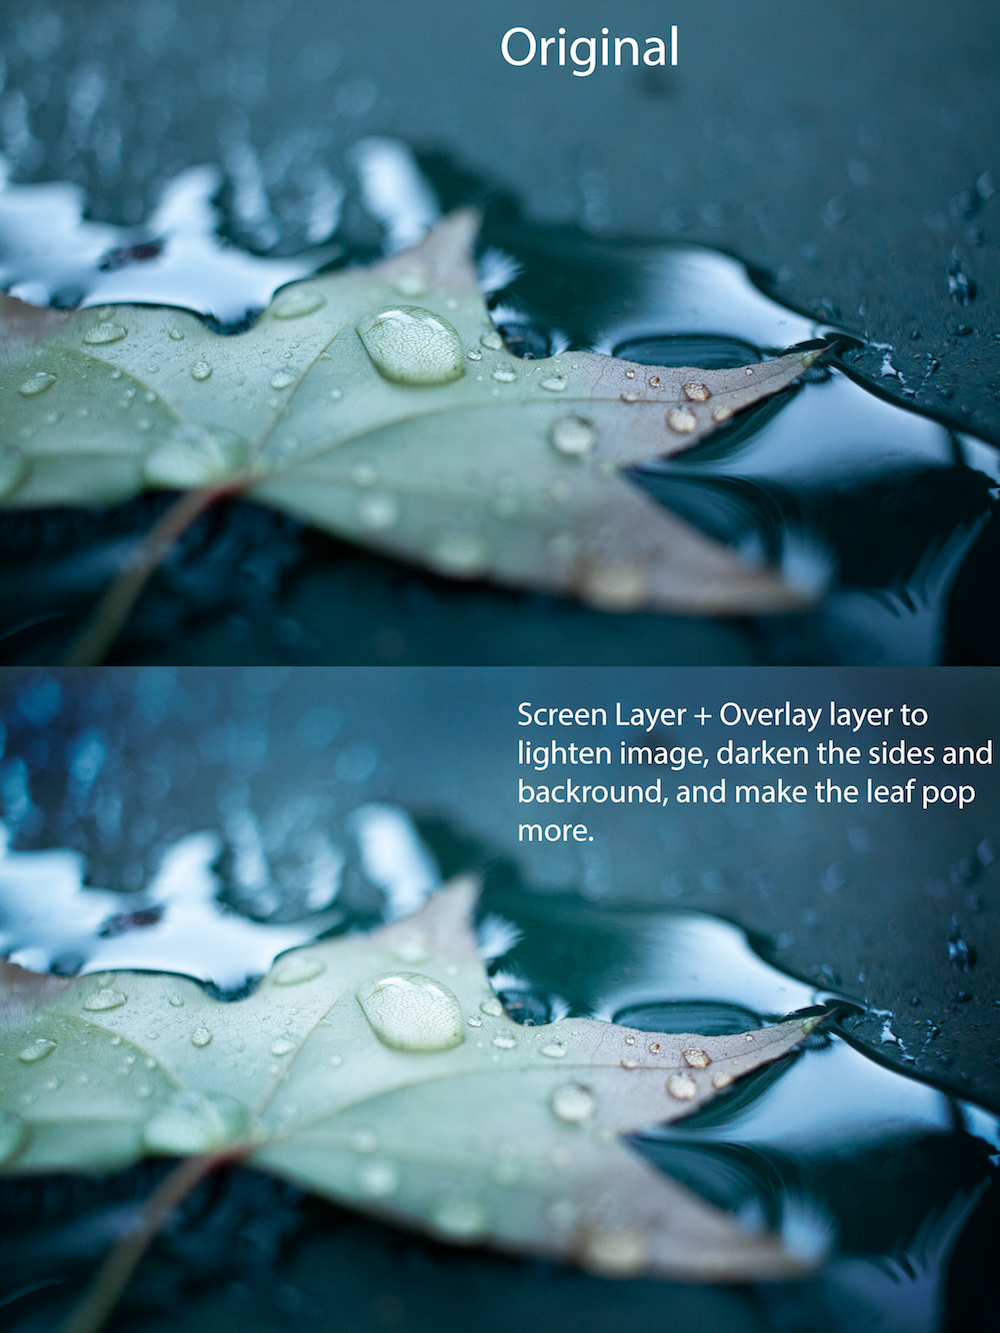
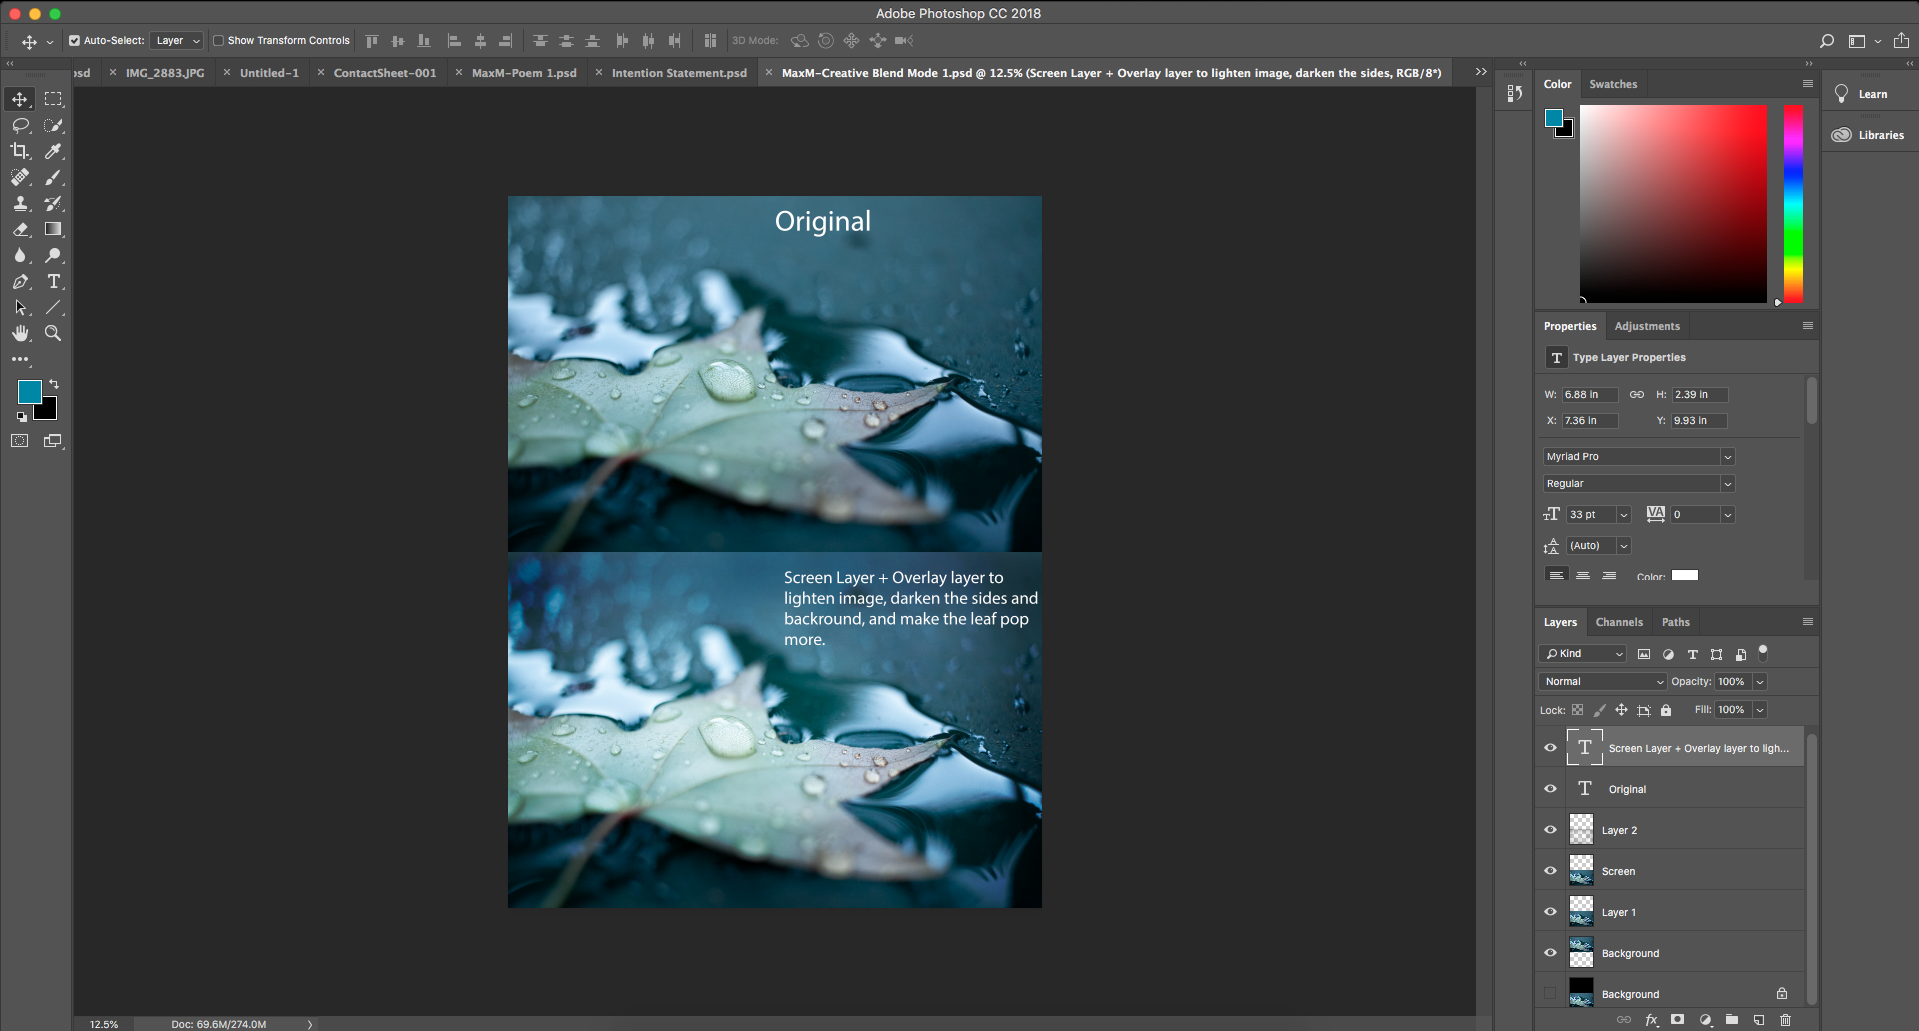
This is my Adobe Photoshop Workspace I used to create one of my creative blend photographs. In the bottom right corner you can see my layers panel. I used one screen layer over the original photo to brighten it. I also used an overlay layer in order to make the leaf pop more from the background.
Reflection
After taking these photos I learned about our DSLR cameras and photoshop. We learned how the different settings, such as aperture, ISO and shutter speed effect our photos. We also learned about lighting and how important it is in photos. After this project I started putting more thought in how I take photos and focused on using the correct settings for each situation.
Conceptual Photo
Our conceptual photo was our final project for design. We had to use a concept statement and represent it through a photo using two objects. My concept statement, was the feeling of improvement through the experience failure and difficulty. We did lots of brainstorming in this project, to think of objects that could fit this statement. We then edited our photos in photoshop as we saw fit. Lastly we wrote a artist statement explaining our intentions and photograph.

Artist Statement
I am exploring the feeling of improvement through the experience of failure and disappointment.
In the foreground of my photo I have a large trophy and bandages. In the background of the photo I placed a participation medal. I chose to place the large 1st place trophy in the foreground, because it shows how much I have improved. I chose to blur the participation medal to show how far I have come. Lastly I chose to place the bandages wrapped around the trophy, in order to show how success can only be achieved through failure and disappointment.
The participation medal juxtaposed with the 1st place trophy shows how much I improved in soccer. The first time my team entered this tournament we placed in last. The next year we entered the tournament we won it. The bandages wrapped around the trophy represent the injuries and constant failures or difficulties it took to improve. It shows how you can’t improve without failing a few times.
In Photoshop I enhanced my photo by adding a vignette, which slightly darkens the border of the photo, in order to put focus on the main objects. To make the large trophy stand out, I increased the saturation of red. This helped make the red pillars of the trophy pop. Additionally I increased the brightness and contrast of the photo to make the highlights on the trophy more visible.
Reflection
In this project I valued the brainstorming process. We took our time to plan our shots and come up with ideas before we took our photos. Especially because our photos had more complex underlying messages, it was important to find meaning in every aspect of our photo. Lastly we learned how to write an artist statement. Artist statements are important that the viewer can understand your piece and read more about how the piece was constructed.
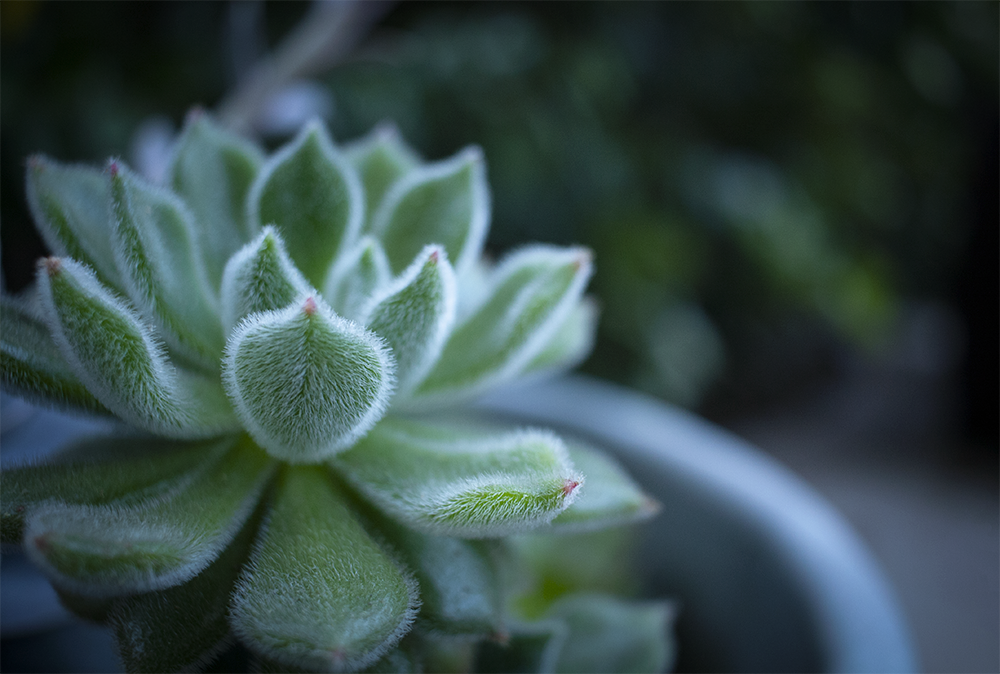
Macro Photography
This was one of our first assignments in design. We received a macro lens in order to take close up photos. This allowed us to capture really small things and notice texture on objects. Additionally we learned about the rule of thirds. Which is a way to structure your photograph that you emphasize the most important parts.
I took a photo of a cactus. I found it particularly interesting, because of the texture of the leaves. I especially liked how the light illuminated the sides of the leafs. I cut my photo in Photoshop, that the cactus falls in the rule of thirds. I also adjusted the brightness and contrast of the photo in order to make the cactus pop more. On top of this I added a slight blue filter over my photo. Lastly I added a vignette to my photo to further emphasize the cactus.
Reflection
In the macro photography unit I learned several new skills. I had very little experience with DSLR cameras and this unit helped me learn the settings for taking photos. I also learned how long it can sometimes take to get the shot you are looking for. I took several pictures for this assignment and most of them were unfocused or just not the shot I was looking for. After this assignment I started valuing the time it takes to get the photo you are looking for.
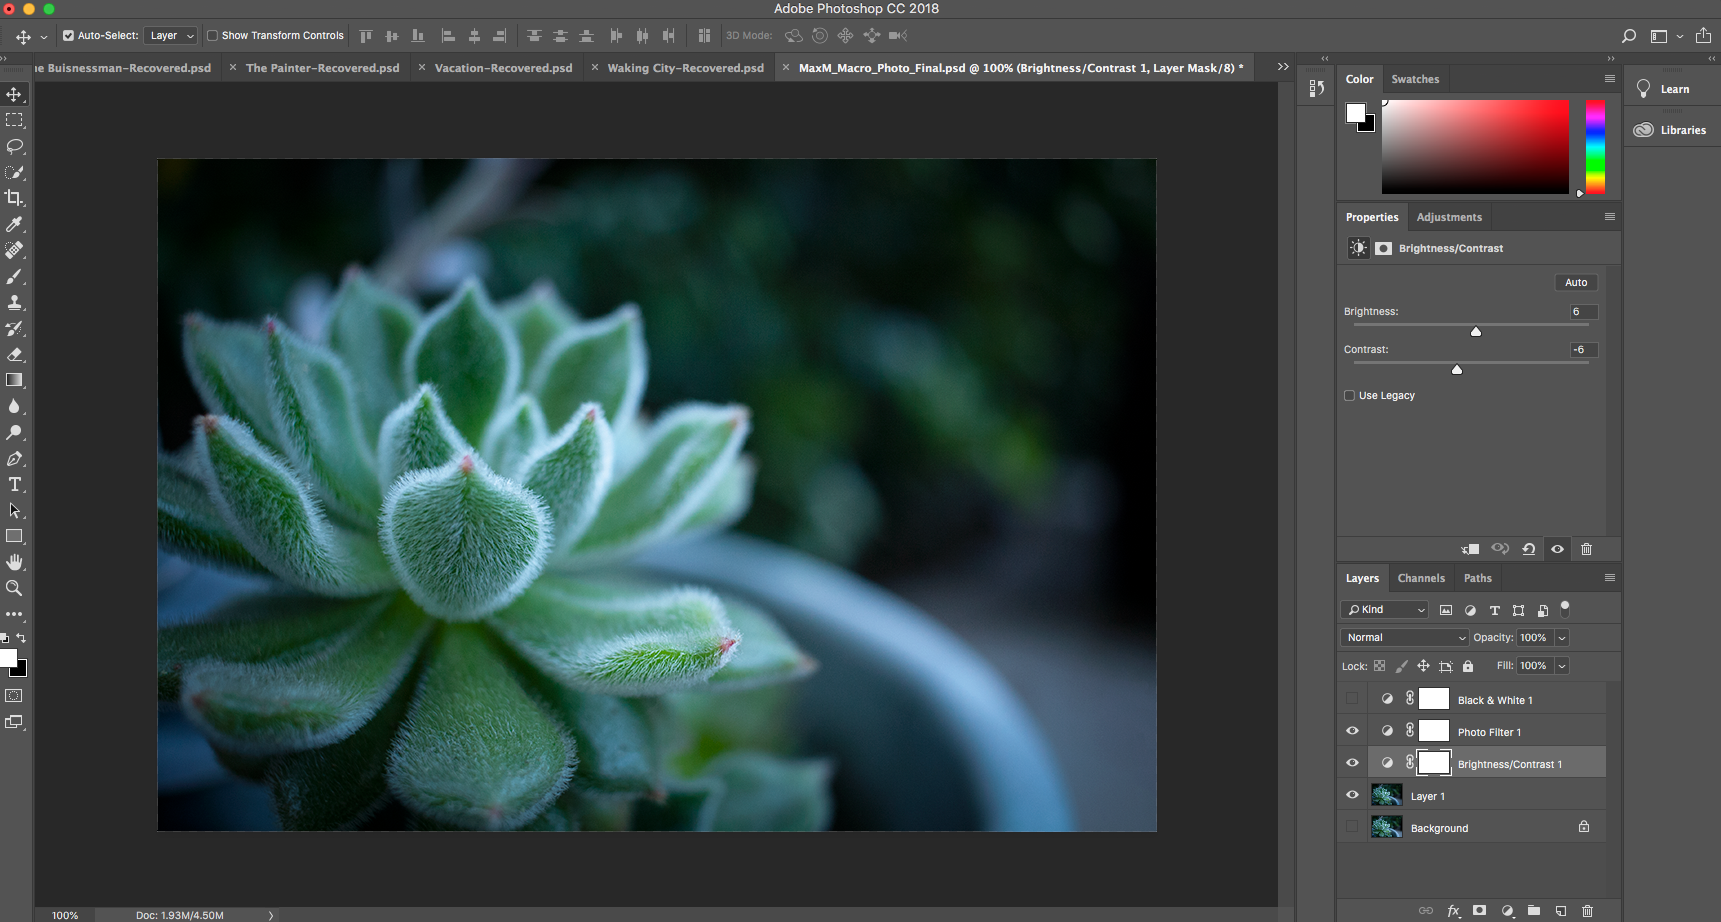
This is my Adobe Photoshop workspace that I used for my conceptual photo and macro photo. In the bottom right corner you can see my layers panel. I am adding layer adjustments to my photo, such as a photo filter and brightness/contrast in order to enhance my photo. This is called non destructive editing, as I can always take away a layer or change to my photo as I please, because I constructed separate layers.